Getting to know Jahia
Jahia enables you to update content in your different web projects, including websites, intranets, and extranets. This section shows you how to find your way in Jahia, create content, and make it available online.
Navigating Jahia
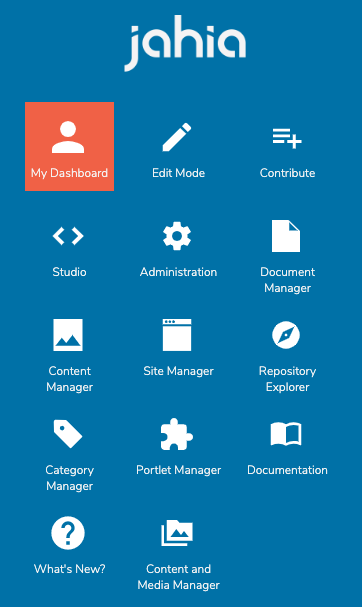
You can use the Jahia menu to navigate between different sections of Jahia. The Jahia menu is located at the top-left corner of Jahia.
You create and modify content in a site in Contribute or Edit mode. Contribute mode provides options for creating content that are more limited than in Edit mode. Contribute mode is suitable for new or occasional users. You can find detailed description of these modes in Working in Contribute mode and Working in Edit mode.
The following image shows Contribute mode.
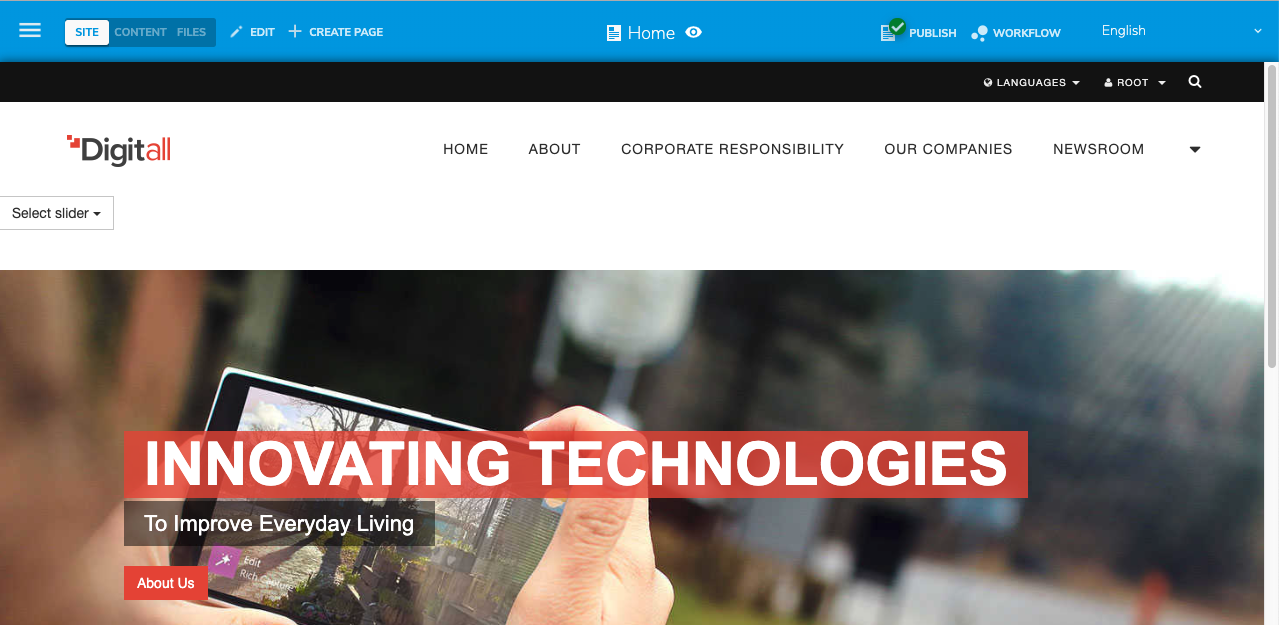
The following image shows Edit mode.

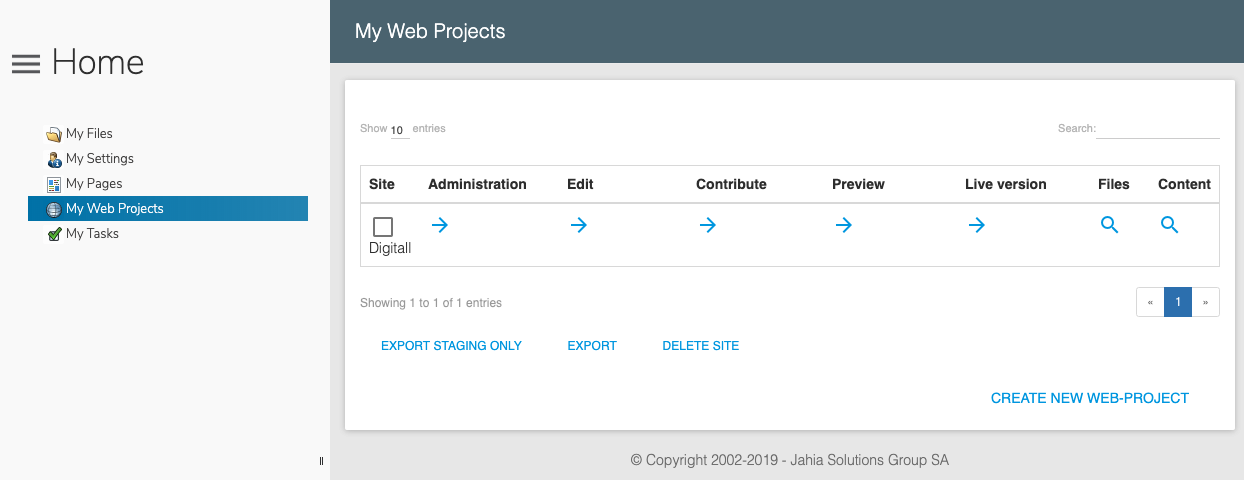
My dashboard is your personal space. On the dashboard, you can edit your profile, see your list of tasks, find pages that you have created, modified, or published, and use links to any web projects that you can contribute to. For more information, see Using My Dashboard.
You can also access specific interfaces for managing categories, content, documents, media including images and videos, and sites in a file explorer interface. For more information, see About content management tools. The access to these interfaces depends on your role.
Creating content
Making content available online is a two step process:
- Creating or modifying content
- Publishing content
The following roles are involved with publishing:
- Contributors and editors who create or modify content and request publication
- Reviewers who review content before publishing
- An Editor-in-Chief who can create, edit, and publish content
You create or modify content in Contribute or Edit mode. The workspace in which you work is also called the default repository. Before you publish, new and modified content is not visible in the online version of the site.
Depending on the type of page you are working on and your role, you can choose from several types of content to create. For example, this includes adding a new page, adding simple text or an image, or adding structured content that is specific to your site. If you have permissions to add any type of content, the + Any content button displays as shown in the following example.

After clicking + Any content, the content type selector displays.

You can use the search field to filter the types of content that displays in the content type selector. Available content types depend on the area of the page in which you create content. You only see buttons for available types. In the following example, only company entries can be created.

When you select a content type, the Edit engine opens. You add content and specify content settings when you create your content. You can edit existing content by right-clicking on it and choosing Edit in the context menu or by double-clicking on the content. The Edit engine is shown in the following image.
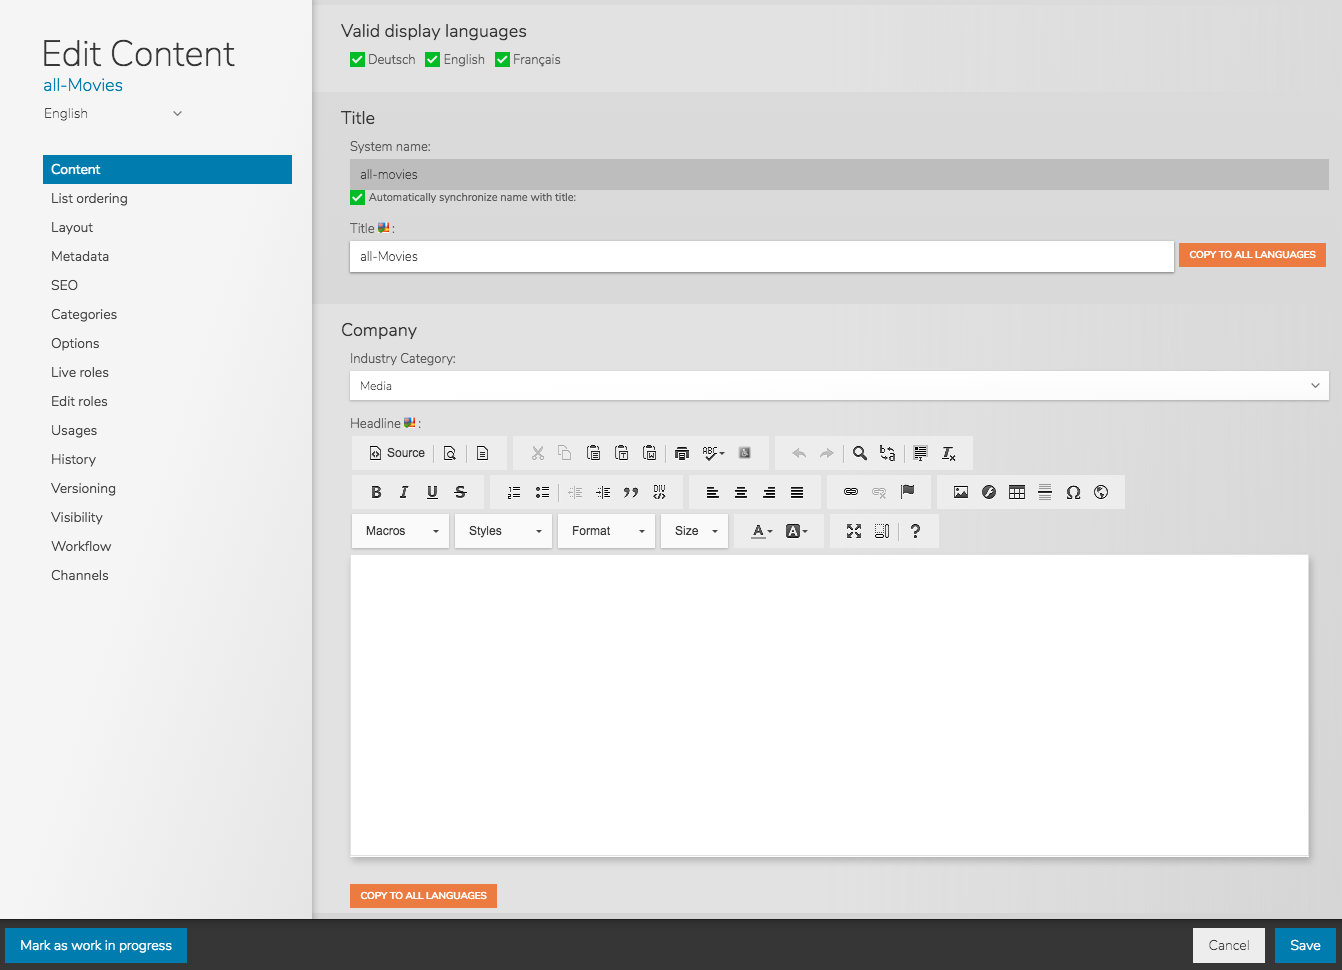
You can find more details on creating content in Contributing content to your site. You can find more information on the Edit engine in Adding and editing content.
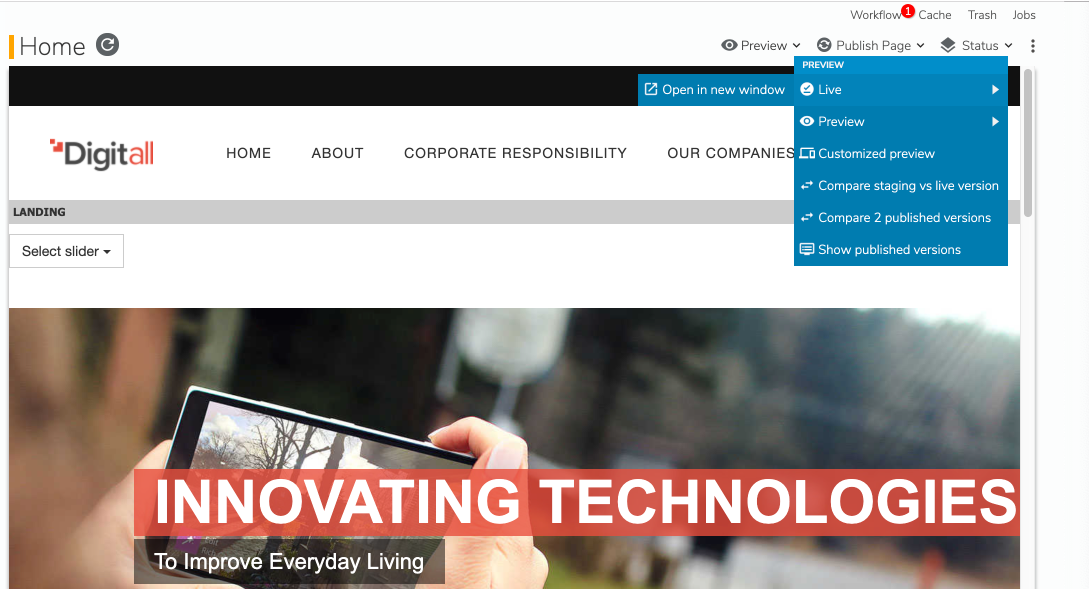
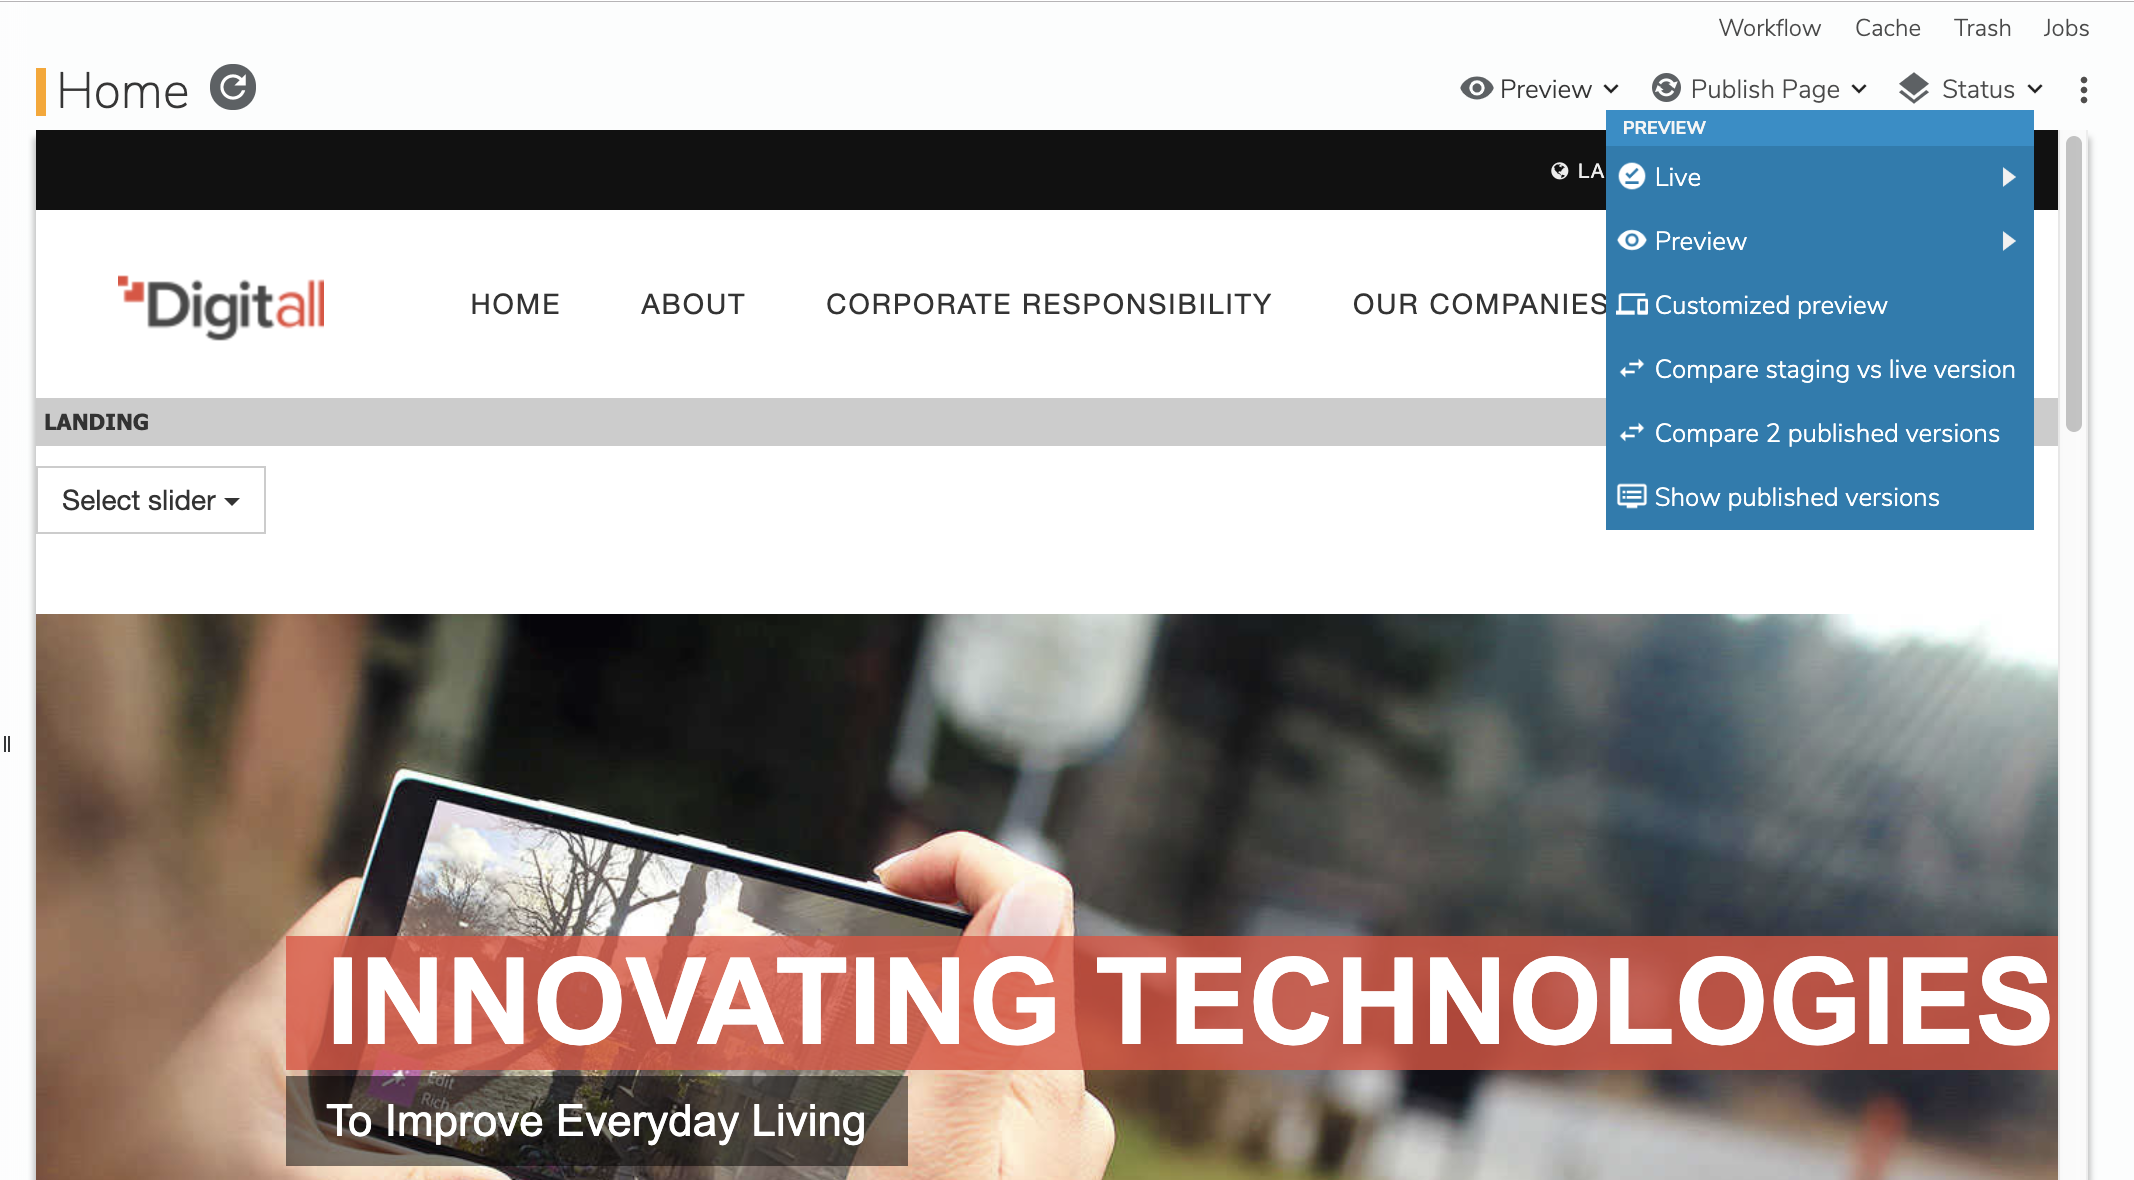
After creating or modifying content, you can preview it by clicking on the Preview menu to see how the content will appear after it is published. Several preview options are available to you and you can choose the one you want.
Publishing content
You must publish new or modified content to make it visible online. Published contents may be unpublished at any time.
The Publish menu is located on the Contribute mode toolbar and on the toolbar on the right side of the Edit mode. You can use Publish to start the publication of:
- A site at the site level
- A page and its sub-pages
- Page content
- One or more selected content items on a page. Use CTRL-click to select multiple content items.
You can also right-click to open publication options in the context menu in:
- A page
- Content in a page
If your site is available in multiple languages, you can choose to publish the content either in the current language or in any enabled language. See Publishing content for more details.
The Publishing dashboard displays the number of content items to publish. You can view the list of content to publish by clicking on Publication infos. For each content item, you can compare the online version to the version that you want to publish.

Depending on your role, you can either publish the content directly or start a publication workflow. When you publish content directly, then the publication process starts in the background and then the content updates online.
In the publication workflow, one or more other users verifies the content before it is published and visible online. Before starting a publication workflow, it is a good idea to give the workflow a meaningful name. You can edit the workflow name from the the Title field in the Action tab. You can also add comments, for example about your review decisions. When you start a publication workflow, users who can validate the request receive a notification in Jahia and also by email if the email notification is enabled.
The number of tasks assigned to a user displays on the Workflow button in Contribute and Edit mode.
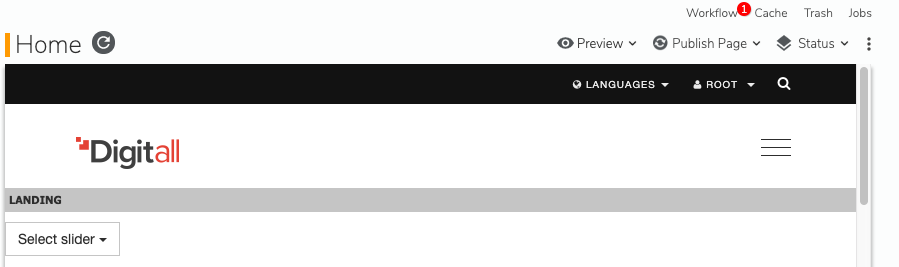
Clicking the Workflow button opens the Workflow dashboard.

In the dashboard, you review content to publish by clicking Review of content. On the next page, you complete or reject the publication. Once the request for publication is accepted, the publication process runs in the background and then the content updates online.
You can also access the online version of your site by clicking Live from the Preview menu.