Creating personalizations in Edit mode
You can create personalized experiences directly in Jahia in Edit mode. You can create personalizations for content on a page or for an entire page. You create a personalization by adding additional content items to an area in a page or by adding new pages, which are called variants. Then you specify the conditions under which variants display to different users.
Personalizing content on a page
You can apply a personalization to a content item in Edit mode.
To create a personalized experience:
- Navigate to a website page that is powered by Jahia.
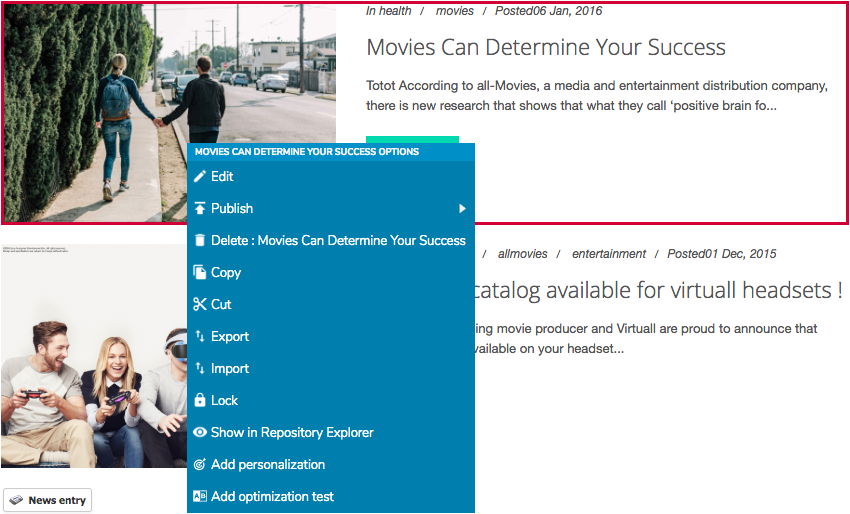
- On the page, right-click on the content where you want to create a personalized experience. Select Add personalization.

A box surrounds the content and a toolbar displays.

- Next, add other content items inside the personalized section. To add content, click the button at the top-right of the content item. In this example, the News entry button displays.
- In the New Content page, enter information for the new page.
Note: When you add content, the number in the toolbar updates. - Use the previous and next arrows to navigate between content items. The name of the current item displays in a button.
- To edit content, right-click and select Edit to open the content in Edit Mode.
- Click Save.

Next, specify conditions that define when a variant displays.
Personalizing a page
You can apply a personalization at the page level in Edit mode.
To personalize a page:
- From Jahia, right-click on the page that you want to personalize. Then select Add personalization.
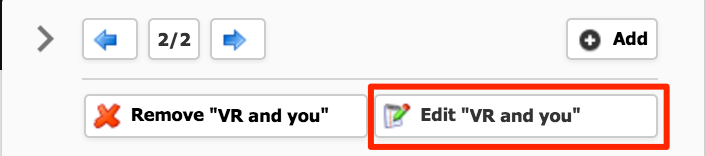
A toolbar displays at the top-right of the page.

- To add a new page variant, click Add. The existing page is copied as a new page variation.
- To edit the properties of the new page variation, click Edit Variant Name. You can also use the left and right arrows on the toolbar to navigate between variants.

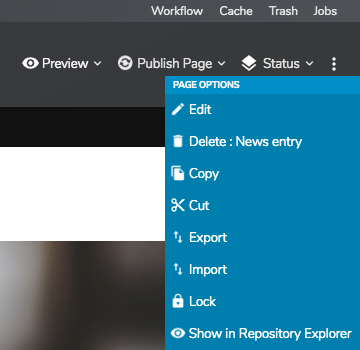
- To specify how the pages display to users, you must edit the first page variant. Select Edit from the Page Options menu at the top right of the page.
- In the Edit Content page, modify the page and click Save.


Next, specify conditions that define when a variant displays.
Specifying how a variant displays to users
After creating a variant, you define settings that specify when the variant is served to visitors who access the page.
To define a personalization setting for a variant:
- To specify how the pages display to users, you must edit the first page variant. Select Edit from the Page Options menu at the top right of the page.
- In the Edit Content page, modify the page and click Save.
- On the Edit Content page, select Content.
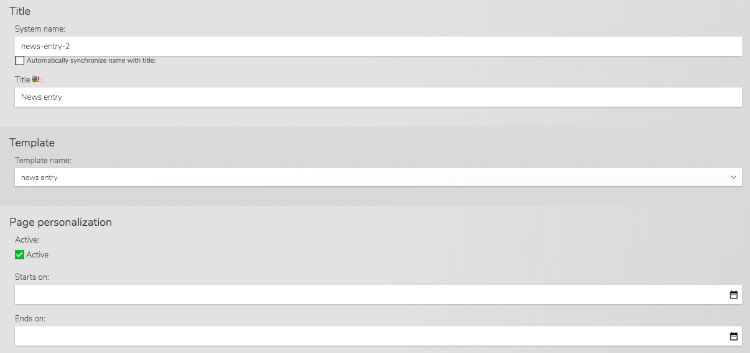
- Specify the variant's system name, whether the variant is active, and start and end dates for the personalization.
Field
Usage
System name
Name of the variant in the repository
Active
Whether the personalization is active. Selected by default. Deselect to make the personalization inactive.
Starts on
The date and time that the personalization will start. If the field is empty, the personalization will start immediately (as soon as the page is published)
Ends on
The date and time that the personalization will stop. If the field is empty, the personalization is active unless stopped by a manual action.
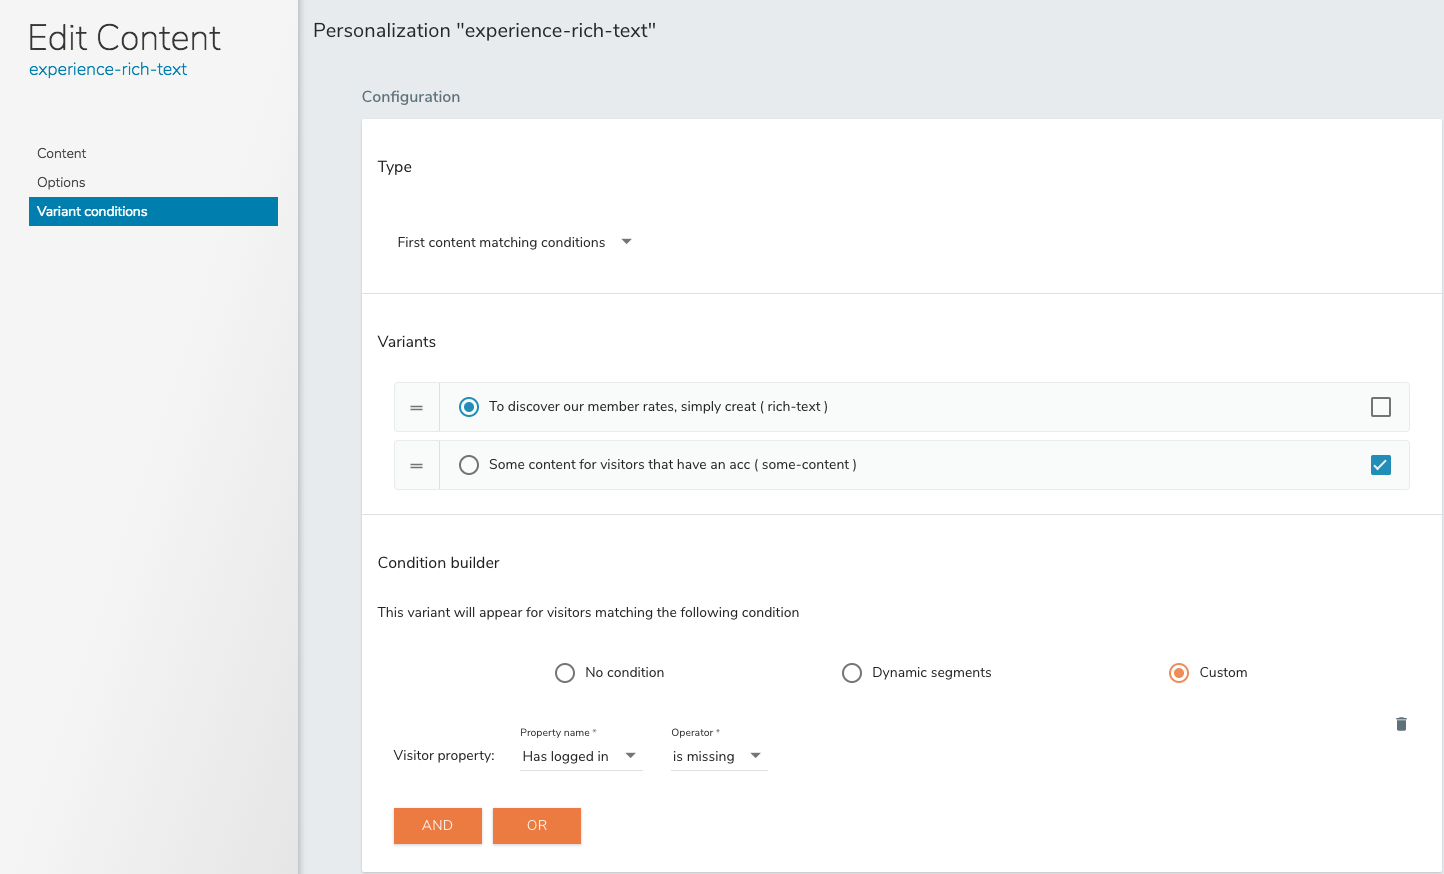
- To define when the variant displays to users, select the Variant conditions tab.

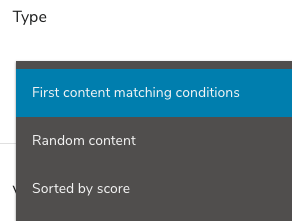
- To specify how variants are evaluated by conditions, choose one of the following from the Type list:

- First content matching conditions
Displays the first item in the Variants list that has a condition that matches the current profile and context. - Random content
Displays content randomly from all items in the Variants list that match conditions specified for the personalization. - Sorted by score
Displays content with the highest score. Each condition must be associated with a score.
- First content matching conditions
- To specify the fallback variant, select the check box beside a variant. The fallback variant is the variant that displays if criteria for a visitor does not match any of the variants.
- To change the order of variants in the Variants list, drag and drop variants in the Variants list to reorder them.

- To specify matching conditions for variants, see Condition builder for more information on how to build conditions on a page.
- Click Save.