Note: Marketing Factory is renamed to jExperience in version 1.11 and Apache Unomi is renamed to jCustomer. The 1.10 documentation has been updated to reflect the product name change.
In Site Settings, you can apply a personalization to a content folder, content on a webpage, or to a page.
When you create a personalization, you specify:
Whether the personalization applies to a content folder, content on a page, or to an entire page
A default variant and additional variants
How much traffic to allocate to each variant
The duration of the personalization
The goal for the personalization
Adding a personalization to a content folder
You can add a personalization to a content folder.
To add a personalization to a content folder:
In Edit mode, navigate to Site Settings>jExperience>Personalizations and optimization tests.
Select Create new>Personalization.
In the Create new Personalization page, in Configuration>Type, select Content from the Object type field.
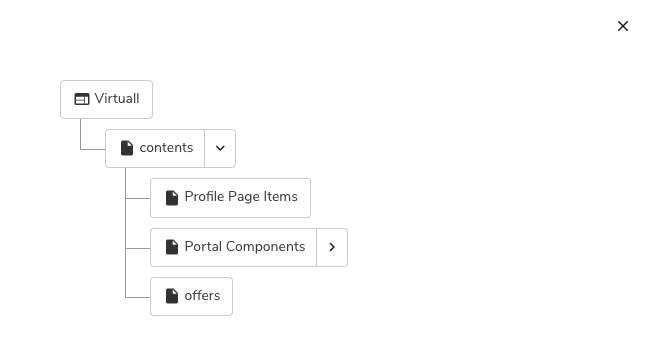
In the Location field, select In a content folder.
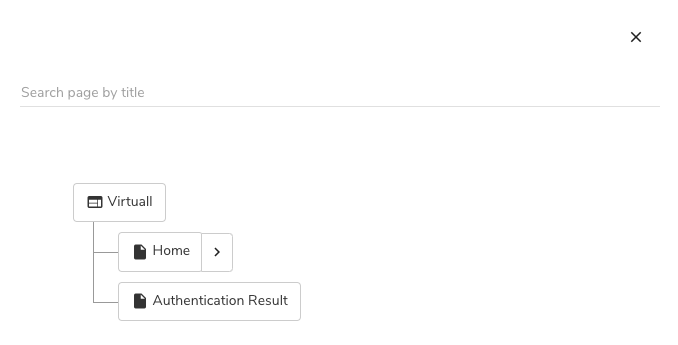
Then, click Show the page picker. Navigate the site tree and select the folder that you want to apply the personalization to.
In Display strategy, specify how variants display to website visitors. Select one of the following options:
First content matching conditions
Displays the first item in the Variants list that has a condition that matches the current profile and context.
Random content
Displays content randomly from all items in the Variants list that match the conditions.
Sorted by score
Displays content with the highest score. Each condition must be associated with a score.
In Title, enter a title for the personalization.
Then, click Create. Additional configuration options become available.
Next define the variants to display on the content or page personalization, conditions that determine when variants display, the time period during which the personalization displays to users, and whether the personalization is active.
To specify personalization settings:
Next, you must select one or more additional variants and define a control variant. To add a variant:
Click Add variant.
In the dialog, select a content type for the variant and click OK.
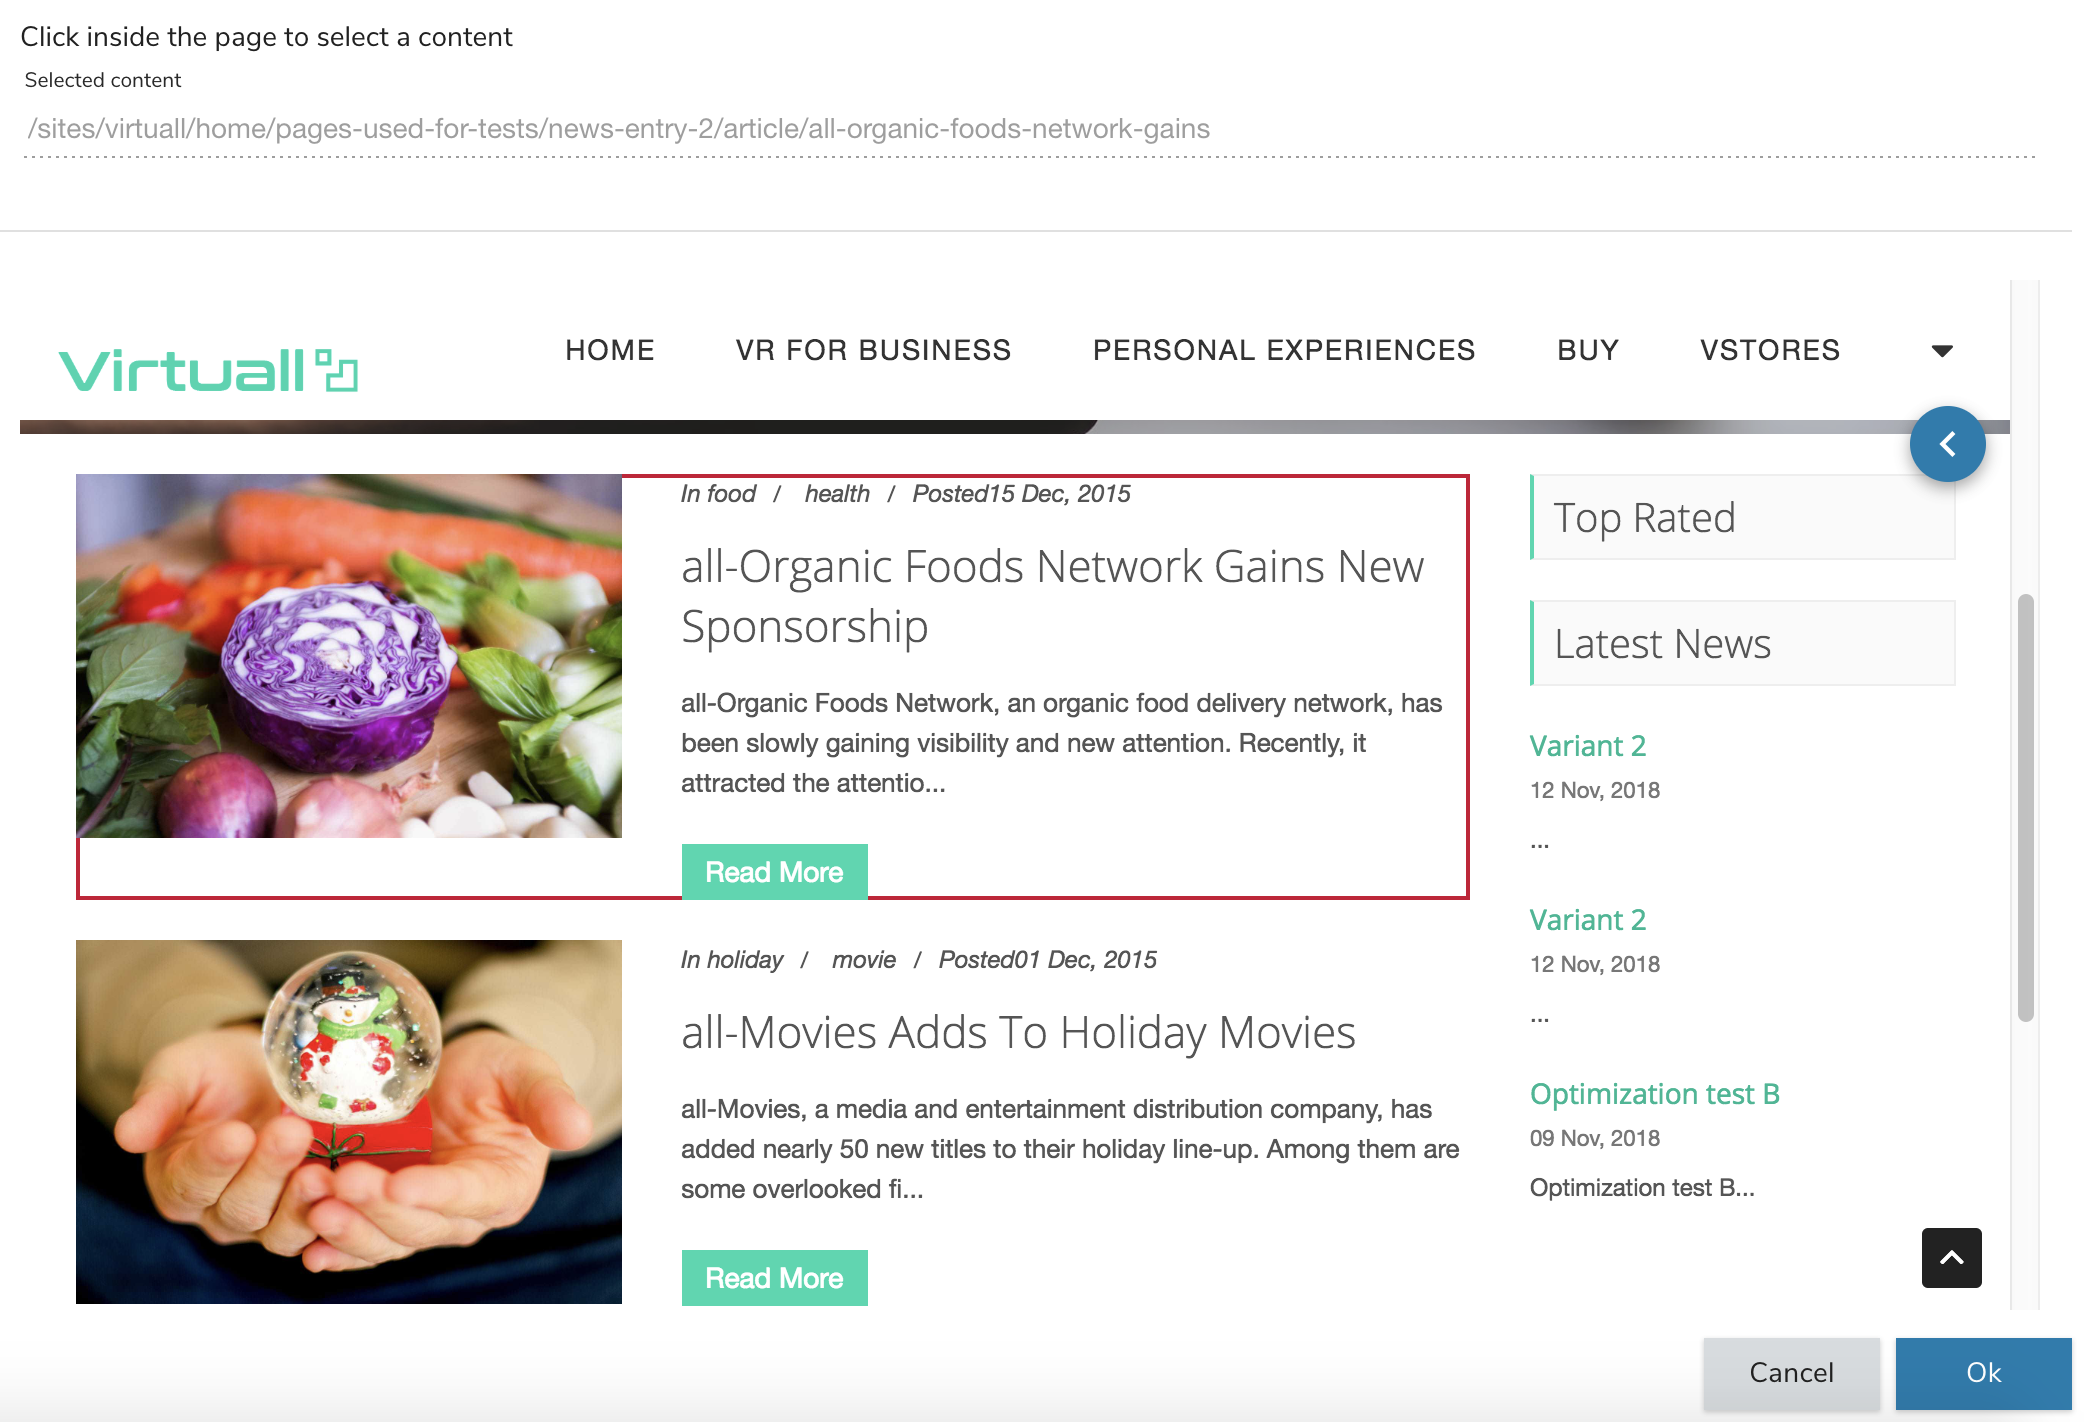
Then, in the New Content page, specify settings for the content.
For example, choose Content:Structured>News entry and then provide content for the news entry in the New Content page.
Do one of the following:
Click Save to save the variant.
Click Save and Add New to save the variant and to create another variant of the content type.
Add additional variants as needed.
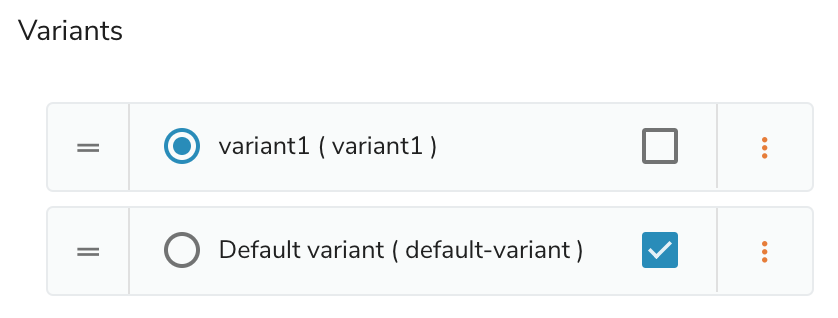
To specify the fallback variant, select the check box beside a variant. The fallback variant is the variant that displays if criteria for a visitor does not match any of the variants.
To change the order in which variants display in the list, select the drag and drop handle beside and variant.


 beside and variant.