Creating a site with Jahia Starter Templates
This topic shows you how to:
- Add the Jahia Starter Template module
- Create a new project
- Add metadata and assets to your site
- Build a site
- Create and add HTML code to a page
- Contribute content and add a navigation menu
- Publish your site
Adding the Jahia Starter module
Before using Jahia Starter Templates, you must add the module to Jahia and enable it. The Jahia Sarter Template package is available on the Jahia store.
For more information on enabling a module, see Installing a module tutorial.
Creating a new project
First, create a project in which to store your template.
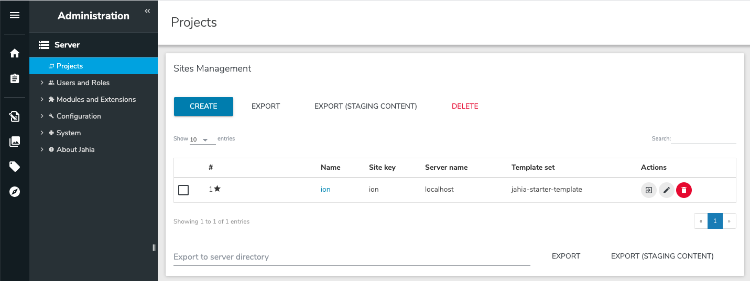
- In Jahia, navigate to Administration>Server>Projects.
- In Sites Management, click Create.
- Specify the name of your site, its key and servername. You can leave localhost during development, as this can be changed later on. Click Next.
- In Create your Project, select Start with your HTML.
- Select the language of your site in Select the project default language. Note that you can add additional languages later on if needed. For more information, see Managing languages for your site. No need to select modules. Click Next.
- Verify your project information and click Save.
- Click Go to Edit Mode to open your site in Page Composer.

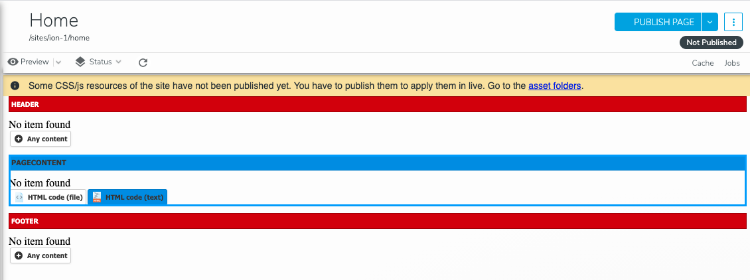
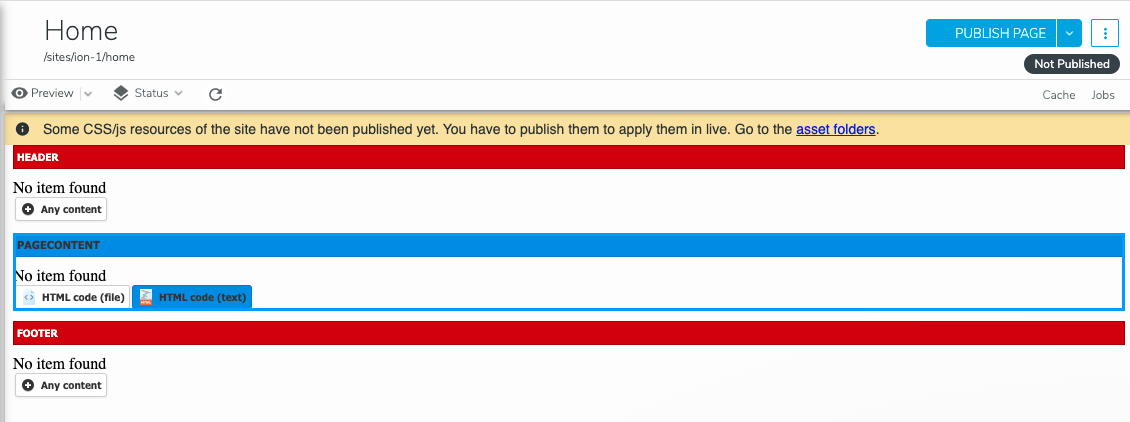
About the home page
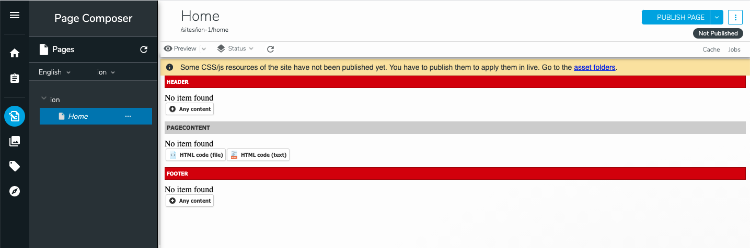
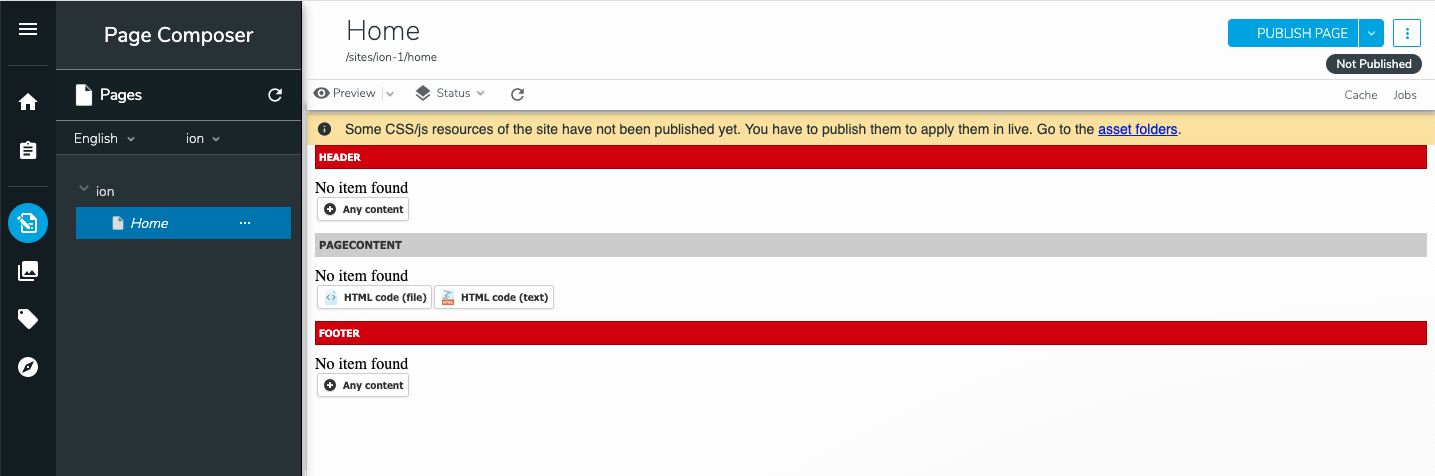
After creating your site it is initially empty. It does not contain content or styling and only contains an empty home page.
The home page has 3 areas:
- Header
This is an absolute area, meaning that all the content created in this area is visible in all the pages of the site. This is where you add a navigation menu for example (see Adding a navigation menu). By adding a navigation menu once in the header area of the home page, you do not have to add it to the subpages. - Pagecontent
This is the area where you will contribute the content on the page. - Footer
Similar to the header area, this is an absolute area where you add the footer for your site.
Before building the HTML of your pages, you can already add assets and metadata to your site.
Adding metadata and assets
Next you add metadata and assets that apply to all the pages in your site. If you need to add metadata or assets on a specific page, see CSS/JS and custom metadata at page level.
Adding CSS and JS assets
Next, add your CSS and JS assets. You add your files to existing folders in Jahia. You cannot create subfolders for better organization, otherwise the assets file will not be included.
Assets are loaded in the web pages in alphabetical order. Find out more about how the asset folder is organized.
To add the CSS and JS assets to all the pages in your site:
- Open jContent.
- Ensure that you have selected the correct site.
- Select Media and navigate to the assets folder.
- Copy your CSS files and JS files in assets/global in one of the following locations:
- css
Copy your CSS files here - jsHead
Copy JS files here to add them to the <head> tag in all pages in your site - jsFooter
Copy JS files here to add them to the end of the <body> tag in all pages in your site
- css
Adding metadata
Adding metadata to the top page in your site applies it to every page in your site.
To add custom metadata to all the pages of your site:
- Open Page Composer.
- In the navigation pane, right-click on your site name (not on the home page).
Content Editor opens. - In Add metadata in the <head> tag, you can add your own metadata in the headCode text area. For example, to add Google fonts using the Google Fonts API, add:
<!-- Google Fonts --> <link href="https://fonts.googleapis.com/css?family=Open+Sans:300,300i,400,400i,700,700i|Montserrat:300,400,500,700" rel="stylesheet"> - Click Save.

Building your site
To create placeholder areas for authors to add content, you add attributes in your HTML code that are interpreted by Page Composer. You can create placeholders to add:
- Plain text, rich text, or an image
- An area in which you can add any type of content
Preparing the HTML code
Only add HTML code that is inside the <body> tag. Do not add <body> tags as they are already provided by Jahia.
- In a text editor, locate the tag in your HTML code inside which you want to create the text or the area.
- Remove all comments in your HTML as the Jahia Starter Template does not support comments for the moment. This is already identified for improvement.
- Add the Jahia attribute depending on what you want to create in the tag.
- data-jahia-text="componentID" for a simple text
The simple text component injects an escaped version of the text typed and is useful for labels and titles. - data-jahia-richtext="componentID" for a rich text
The component opens CKEditor, allowing you to contribute rich text. - data-jahia-image="componentID" for an image
This component allows you to display an image that has been uploaded in jContent - data-jahia-area="componentID" for an area
In an area, you can contribute an unlimited number of content, of any type. In addition to data-jahia-area, you can use the following attributes:- data-jahia-types="type1 type2" to only allow type1 and type2 components in this area
- data-jahia-limit="2" to only allow X component in this area
- data-jahia-text="componentID" for a simple text
Ensure that all the componentID are unique in your HTML.
In the following example, “My article title” and “<p>First paragraph</p> <p>Second paragraph</p>” do not display in Jahia. Instead, there will be a button to add a “title” with an area underneath where you can add any type of content.
<div>
 <h1 data-jahia-text="title">My article title</h1>
 <div data-jahia-area="content">
  <p>First paragraph</p>
  <p>Second paragraph</p>
 </div>
 <div><span>This line is not editable in Jahia</span></div>
</div>
Adding the HTML code in a page
Now that your HTML is ready, you can add it to a page by:
- Contributing to it directly in an HTML code (text) component.
- Uploading your file in jContent>Media and then creating an HTML code (file) which points to this file.
Using the HTML code (text) component
- In Page Composer, click on the HTML code (text) button.
- Enter your HTML code in the text area.
- Click Save.
- Close Content Editor using the arrow in the top left corner, next to Create HTML code (text).
Your HTML code is now rendered and buttons have been added for you to contribute content where you specified them.
Using the HTML code (file) component
- In Page Composer, click on the HTML code (file) button.
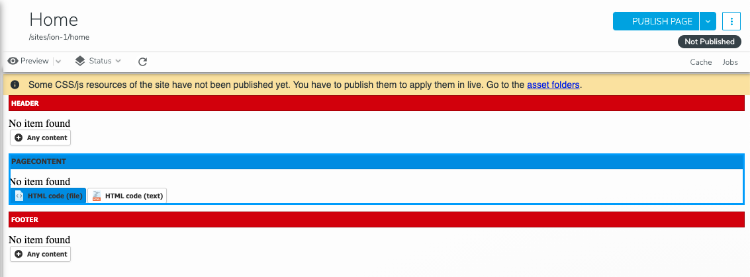
- In HTML Code File, click Add File.
- Navigate to your HTML file, select it, and click Upload File. Note that you cannot currently create folders in the picker. Instead create folders in jContent>Media.
The file displays in Content Editor. 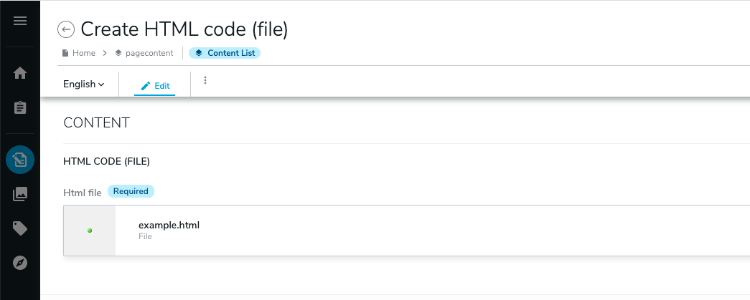
- Click Save.
- Close Content Editor using the arrow in the top left corner, next to Create HTML code (file).


Your HTML code is now rendered and buttons have been added for you to contribute content where you specified them.
Editing the HTML code
You can edit the HTML code that you added to Jahia. By using the same componentID (added in the data-jahia-component attributes), you will keep the content that has already been contributed in Page Composer. You can add new areas and text, with the condition that you use different component IDs.
Using the HTML code (text) component
To edit the HTML code of a text component:
- Open Page Composer.
- Browse to the page containing the code to update.
- Right-click the HTML code (text) component and select Edit. If needed, place the cursor on the HTML component until you see a red border.
- In Content Editor, edit the HTML code.
- Click Save and close Content Editor.
Using the HTML code (file) component
jContent currently does not allow editing of HTML files directly from jContent. To update HTML code, you must modify the file on your machine before uploading it.
To edit the HTML code of such component:
- In jContent>Media, navigate to the folder that contains the HTML file you want to update.
- Open the context menu of your file and then click Download.
- Make the changes locally.
- In jContent, open again the context menu of the file and select Replace with.
- Then select your local file.
Contributing content
Now that you have integrated the HTML in your page, you can click on the following buttons:
- Simple text
Lets you create plain text where you defined it in your HTML - Rich text
Opens CKEditor, a rich text editor - Image reference
Lets you add an image in your page - Any content
Lets you add any type of content in the area you have defined. Note that if you used data-jahia-types, only the types defined there will be available. If you have:- Used data-jahia-limit, you will be able to only create a certain amount of the created content
- Not set any limitation in the HTML, it is still possible to do so from Page Composer. See how to restrict the types of content that authors can create and limit the number of content items that authors can create in the area.
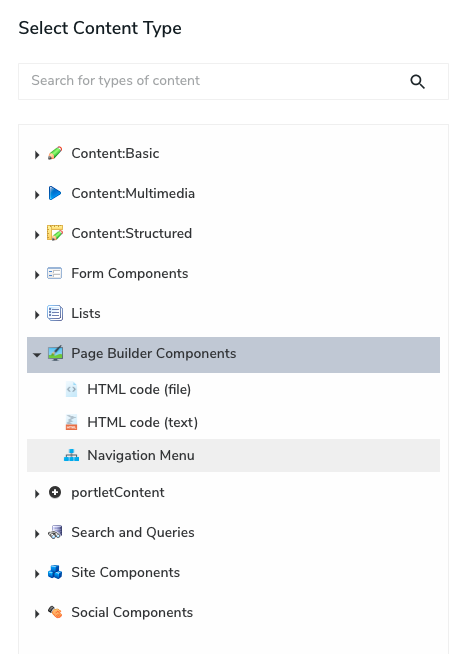
Adding a navigation menu
The navigation menu adds a <nav> tag, with either <ul>, <li> or nested <div> tags to create the links to the pages. You can add the menu in the Header absolute area, by selecting Any Content>Page Builder Components>Navigation Menu.
When you add the navigation menu in the Header absolute area, the menu displays links to pages created under the home page and their direct children. You can also exclude the second level pages by deselecting Include level 2 pages.
You can also choose to use nested <div> tags instead of <ul> and <li> ones in Navigation menu type and specify the classes required for each tag of your nav menu component in Customize HTML tags. For more information, see the GitHub readme.
Publishing the site
The changes you make in Page Composer and jContent, such as file uploads and content creation, are applied in the staging repository. To make your site available online, you need to publish it.
To publish your site:
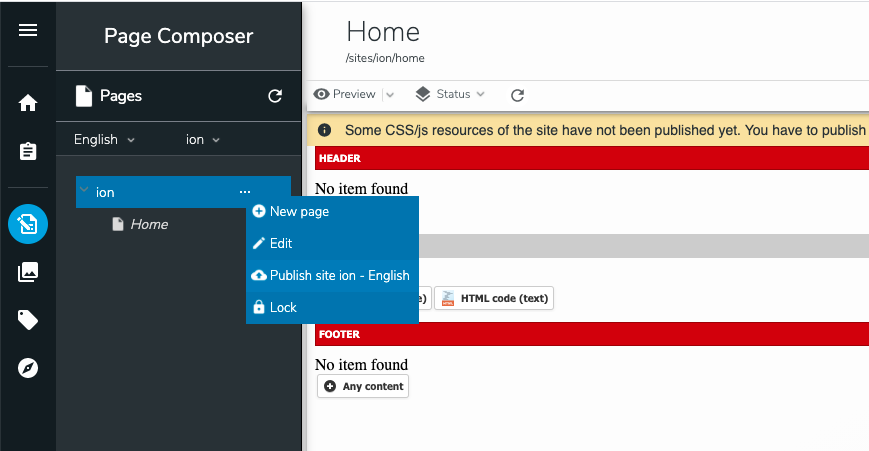
- Open Page Composer on your site.
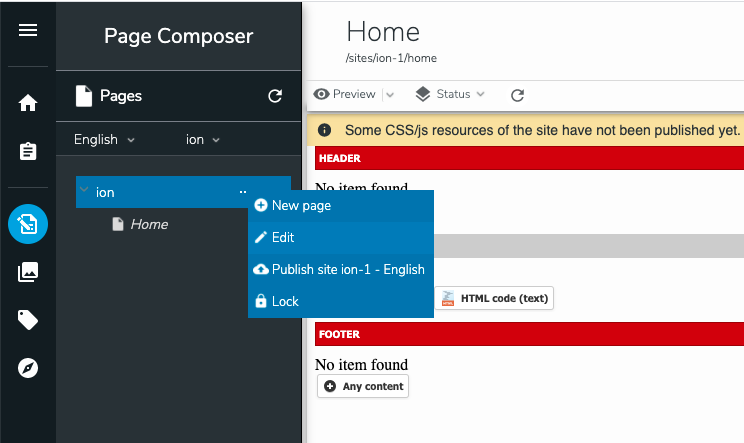
- Open the context menu of your site (different from the home page).
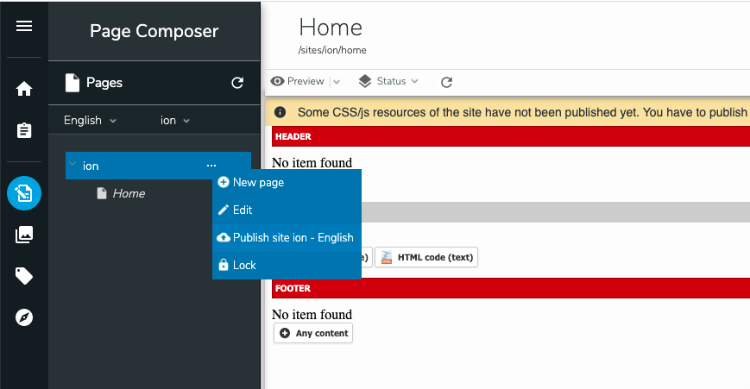
- Click Publish site.
- In the Publication dashboard, click Publish.
- To see your live site, click on the dropdown menu next to Preview, and then click Live.
Keep in mind that all changes need to be published to have them available in live, including the:
- Metadata set when editing the site, see Adding metadata and assets. In this case, you can publish directly from Content Editor when you add or edit your metadata.
- Assets, html, image files uploaded or modified in jContent>Media. You can publish from jContent.
- Content, including the HTML code (text), created in the pages. It is best to publish from Page Composer.