Adding a new page
Through jContent and PageComposer Jahia provides the ability to create, edit, and maintain web pages as part of the digital experience platform. This tutorial guides you through creating a page, adding different types of content to it, previewing the page, and finally publishing your new page.
Before you begin
Whether you are in our free cloud trial, or working in a system you have deployed, there are a few things you’ll need to get started:
- Access to a deployed Jahia system, in your own environment or on our Cloud trial system
- User id and password with permissions to edit content and personalization.
- At least one template set and some images, we provide these with our demo installer as well as in our free cloud trial environment.
Ready to begin?
For detailed instructions on getting started visit the Getting Started with Jahia Tutorials page.
What you will learn
- How to create and add a basic page to a site.
- Add basic content - rich text and image.
- How preview mode can be used to view the site on different devices.
- Successfully publish new content and pagespage.
- How to use jContent and Page Composer.

Helpful terms
- Page Composer
Is the application you use to create and edit content in pages on your site. Each page includes a combination of content, areas and layout that are specified by the template you chose (based on your permissions). Use Page Composer to see all the pages that are part of your tutorial project. - Content Editor
Lets you create content and publish it to sites or applications. Content can refer to rich text, images, files and dynamic page elements like navigation bars and lists. In this tutorial you will create a page using templates and content types available in the trial system. - Template
A template is a model used to set up the layout of elements on pages, including headers, footers, menus and breadcrumbs that will appear on all pages. - Component
A type of Jahia module that describes the structure of a content type, what types of content it can display and how it will be displayed. - Content
Rich text, images, files, and dynamic page elements like navigation bars and lists.
Creating and configuring a new page
In Jahia a page is a type of content, it always needs a title and a template to set the layout. Let’s start off by creating a new page in page composer. Using the left navigation, click the  icon. Page Composer will open.
Create a new page
- expand the site tree until you see the Home page in the tree.
- Click the ellipsis (...) to the right of the Home page.
- Select New page item from the flyout menu.

A new Create Page pane will appear, this pane is also referred to as the Content Editor. From the Create Page pane you can set some simple properties for your new page.
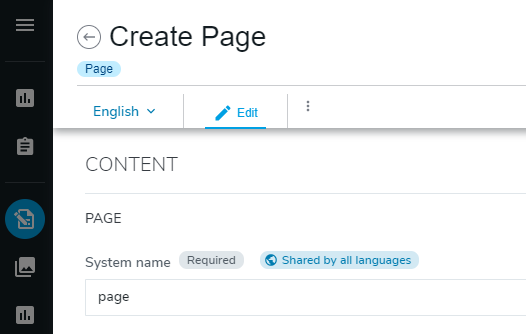
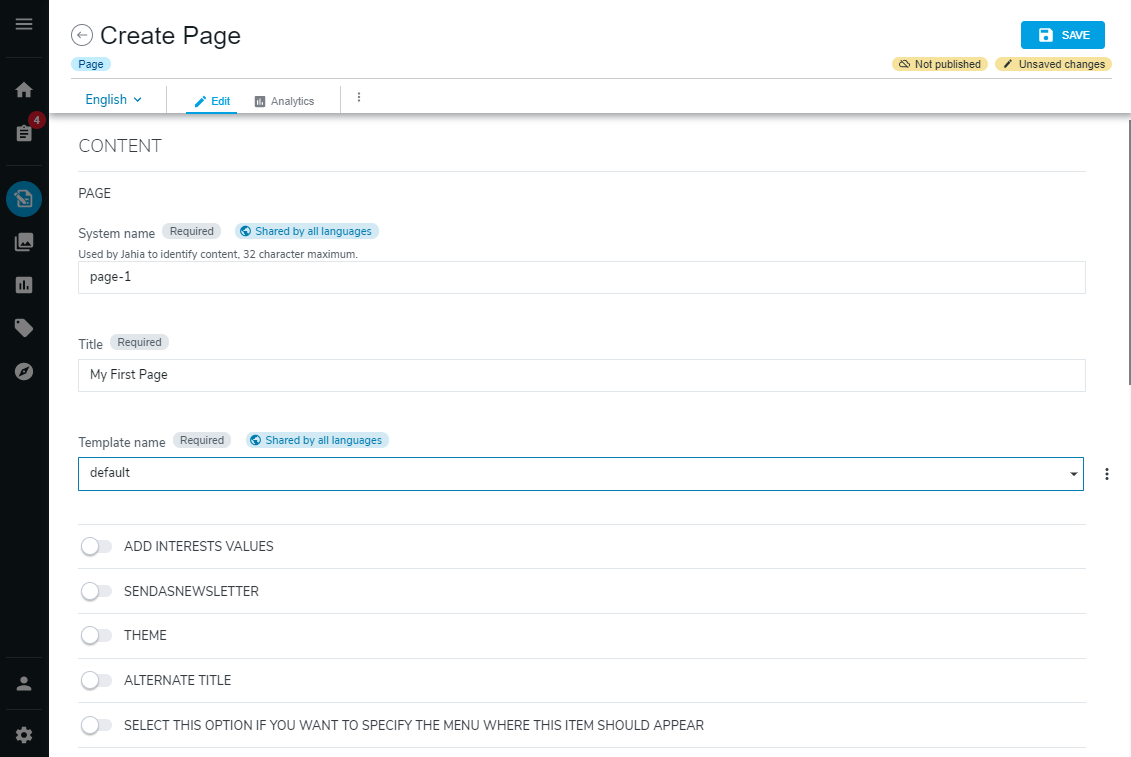
Configure your page
- System Name: This is used to build the page URL, it is automatically created from the page title by default, but can be modified although for the purpose of this tutorial you do not need to change it.
- Title:eg. Write ‘My First Page’.
- Template: Select a template from the choices available to set your page layout, click save to see a preview in Content Editor.
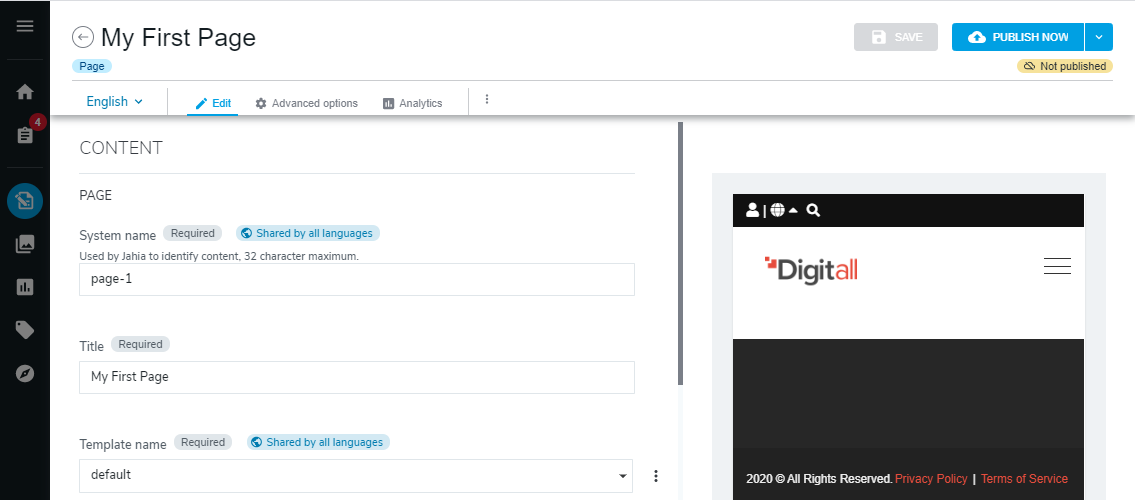
Note that the title of the pane has changed to the title of your page. The preview you see at the right is displayed based on what has been defined in your template, once you add additional content components like text or images the view will become more interesting.
Finish creating your new page
The status of your page is visible in the upper right corner, indicating the type of content language of the content edited, the publication status and the saved status. Click Save.

*Note: If you see an exclamation badge on the save button please review your inputs to make sure they are all valid.
You should now see a preview summary of all the properties you have set for your new page:
Return to page composer you can click the back button located left of yourtitle in the header.
Now select “My First Page” at the bottom of the site tree.
Adding content to a page
Once the page is created and you’ve returned to Page Composer, you may notice that the new page already includes elements like a site logo and a navigation menu at the top or footer links at the bottom. Any elements that were added to the page automatically are configured as part of the template that you selected when you created the page.
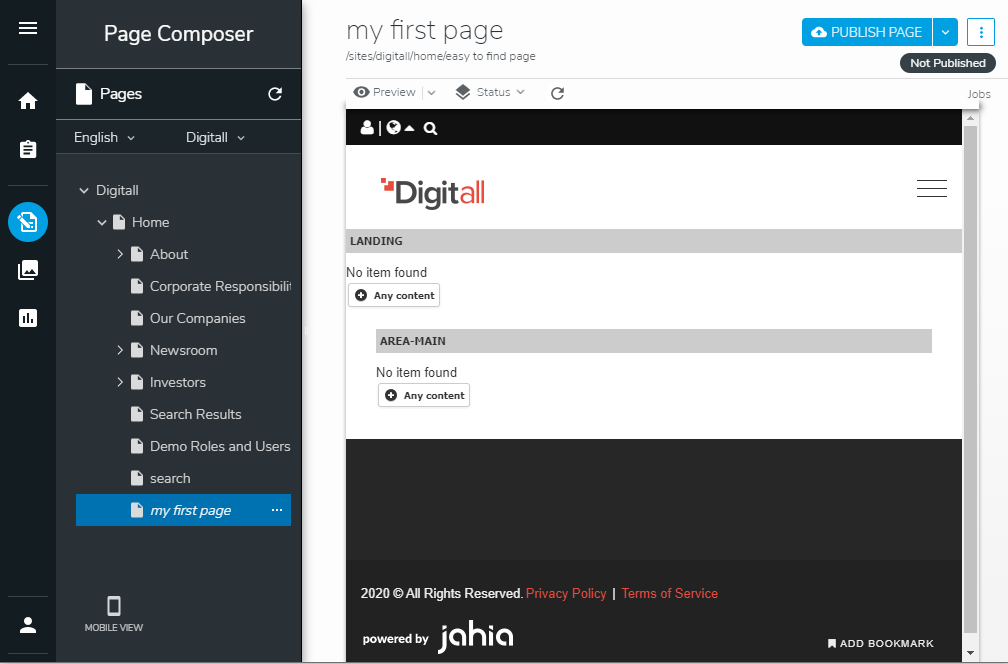
The page template you selected earlier will have defined areas of the page where additional components or content can be created. A component can be added by clicking on the Any content button in the editable area.
Note: The page properties (such as the page template) can be modified or edited after creating the page. You can do this on any page in the site tree by right clicking on the ellipses (...) and select Edit item from the menu. Additionally, you can edit a page’s properties through the Page Options menu found in the vertical ellipsis in the header / right of the publish button.
Adding Content Components
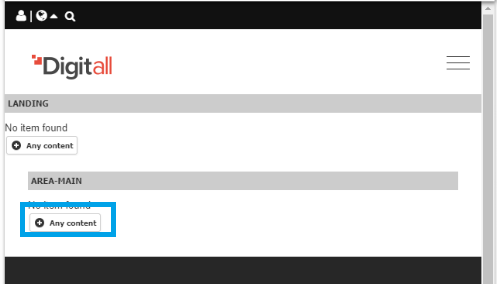
In the Page Composer pane, hover over the available areas until you see a + Any content or + Add component button
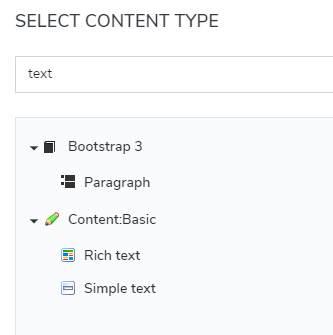
- Click the + Any content button to display the SELECT CONTENT TYPE dialog.
The component dialog provides a list of components that can be added into the area. The components available will vary from one template set to another, you may have to add a layout element before you add a text or image component. Some examples of available components can include:- Structured content: news or person
- Unstructured content: rich text, images
- Presentation elements: carousels or sliders
- Layout elements: sections, rows, and columns
- Other types: web forms, search boxes, etc.
- Add a text content to the page, if one is not available add a layout component or other component that will allow text content to be added. You can find components quickly by typing in the search bar. For example type "text".
Add a Text component
- Select the component of your choice and click Create. For this tutorial based on the Jahia Base Demo Templates choose Rich text. Similar to when you created a new page, the Content Editor displays and lets you edit the fields and properties of the Text component that you just selected.
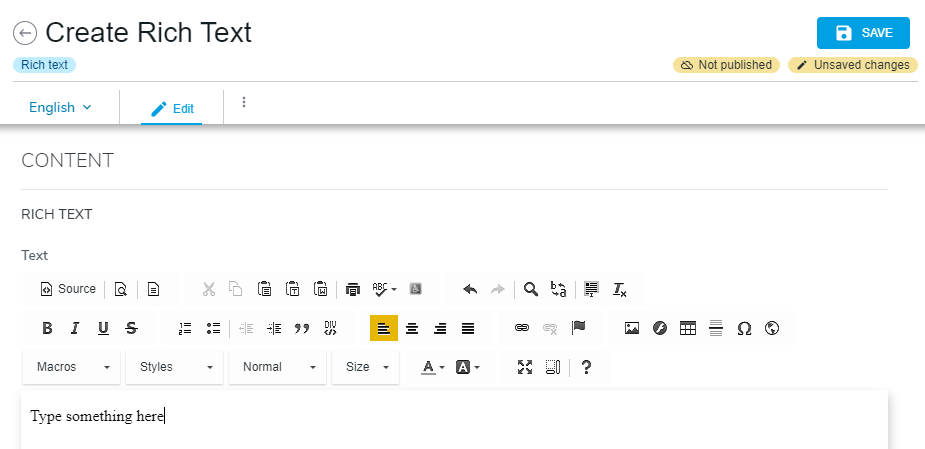
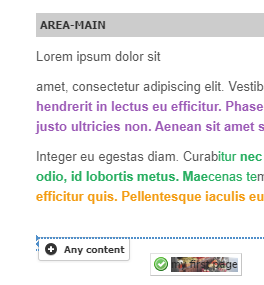
- Add text, you can copy and paste the text here, or type your own.
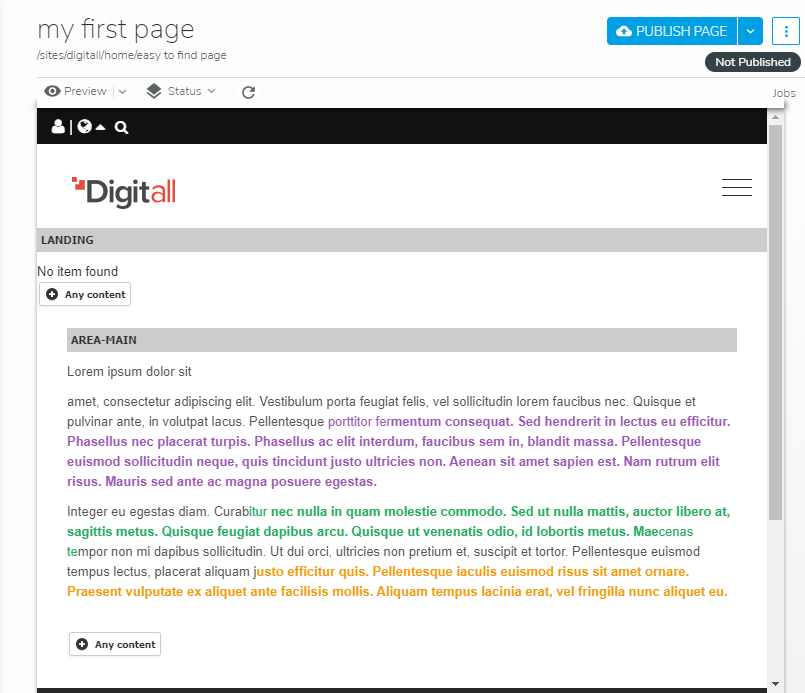
Lorem ipsum dolor sit amet, consectetur adipiscing elit. Vestibulum porta feugiat felis, vel sollicitudin lorem faucibus nec. Quisque et pulvinar ante, in volutpat lacus. Pellentesque porttitor fermentum consequat. Sed hendrerit in lectus eu efficitur. Phasellus nec placerat turpis. Phasellus ac elit interdum, faucibus sem in, blandit massa. Pellentesque euismod sollicitudin neque, quis tincidunt justo ultricies non. Aenean sit amet sapien est. Nam rutrum elit risus. Mauris sed ante ac magna posuere egestas. Integer eu egestas diam. Curabitur nec nulla in quam molestie commodo. Sed ut nulla mattis, auctor libero at, sagittis metus. Quisque feugiat dapibus arcu. Quisque ut venenatis odio, id lobortis metus. Maecenas tempor non mi dapibus sollicitudin. Ut dui orci, ultricies non pretium et, suscipit et tortor. Pellentesque euismod tempus lectus, placerat aliquam justo efficitur quis. Pellentesque iaculis euismod risus sit amet ornare. Praesent vulputate ex aliquet ante facilisis mollis. Aliquam tempus lacinia erat, vel fringilla nunc aliquet eu. - Format your text. Many text components will allow you to format, add links, images and more. Try out some formatting and once you are satisfied, click Save. The Content Editor Preview will appear, click to return to the page composer.
Adding a header image
To make it this page more interesting add an image header to the page. Repeat the steps from when you added the text component.
- Click on the +Any content button on the page.
- In the Select Component Type dialog, search for Heading or Banner depending on your template components and choose one.
- Click Ok.
Configure the Header/Banner image
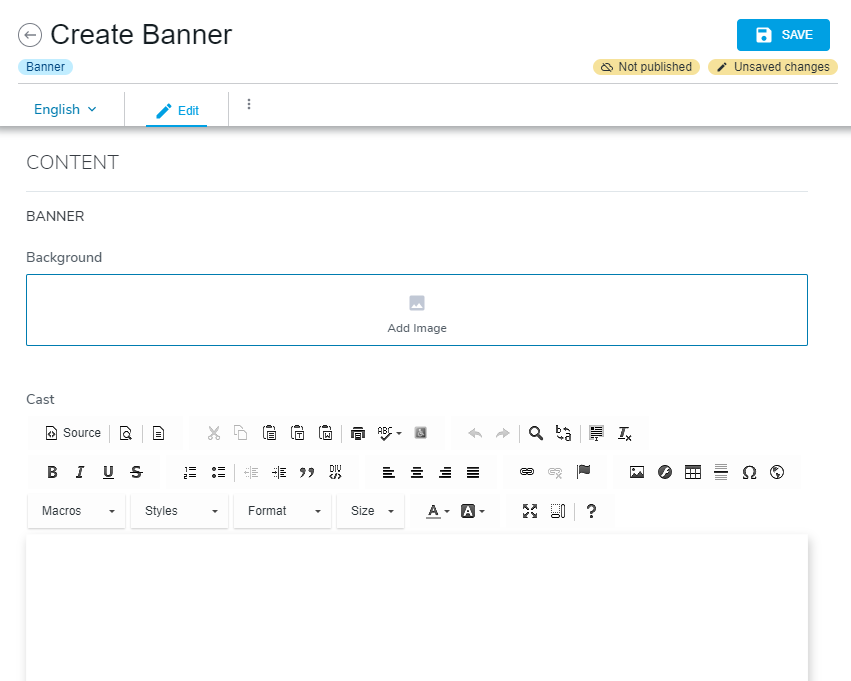
Adding an image from the jContent Media Library
- Click on ADD IMAGE in the image field to select an image for this field. This will open up the jContent Media Library.
- Navigate the hierarchy Digitall>images>banners
- Select an image from banners, or upload your own
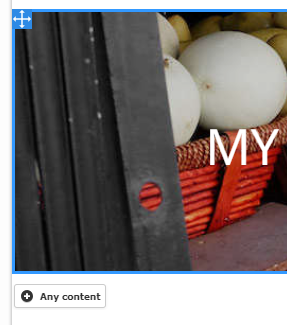
- Add a title for your banner content, click SAVE
Add text to the body field:
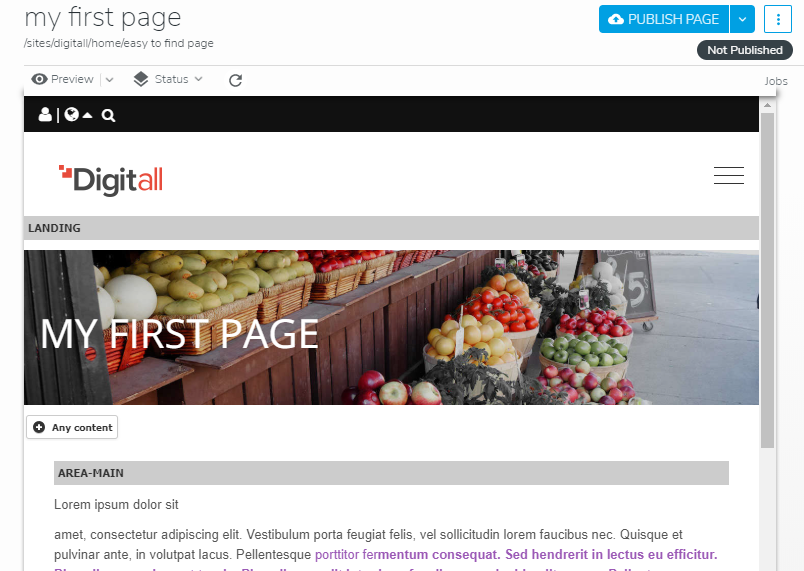
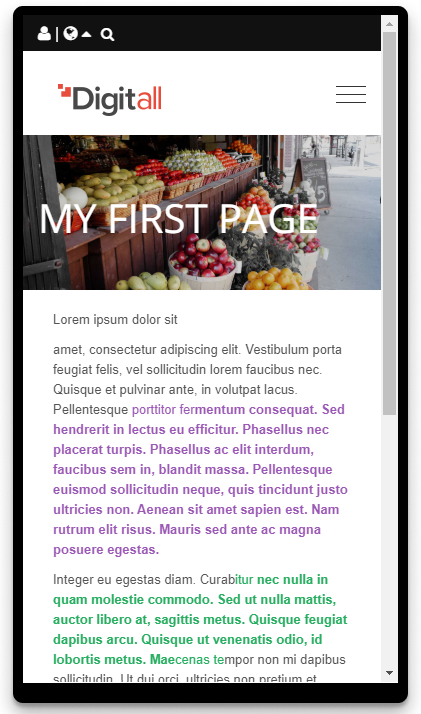
- Add the text “My First Page” - this will display over your image on the page
- Click Save to preserve your change.
- Check your preview results.
- Click the back arrow in Content Editor to return to Page Composer.
Change content layout
Building upon the previous steps, you will now use the drag and drop functionality to rearrange the components on your page. Drag and drop a component by:
- Hovering your mouse over the component you want to move.
- Notice the blue box that appears at the top left of the component.
- Click (and hold) on that blue box and move your mouse towards the area you want to move the component to.
- In the case of the Heading component, drag it just above or below the Text component.
You should see a green checkbox appear when the Heading component is dragged to a spot on the page where it can be dropped.
Previewing the page
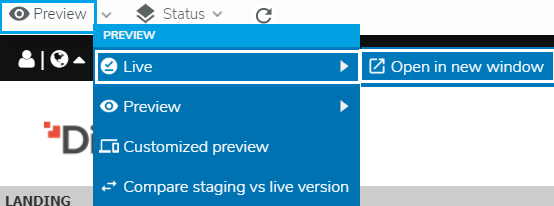
To access Preview Mode, click on the Preview dropdown found at the top left of the page toolbar and click preview to open your web page in another browser window or tab. This lets you see exactly how your page will look to the visitor once it’s published.
In Preview Mode, you can also navigate to other pages of your website, allowing you to fully test the entire site experience.
Preview for other channels
Jahia’s Preview Mode also lets you test what your web pages will look like on mobile devices and other channels. To preview your page for various mobile device types:
- Return to Page Composer.
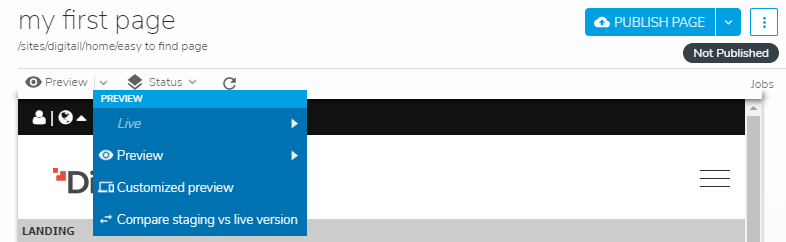
- Click the down arrow next to Preview in the page toolbar. This will display the Preview menu.
- Select the Customized preview option from the menu.
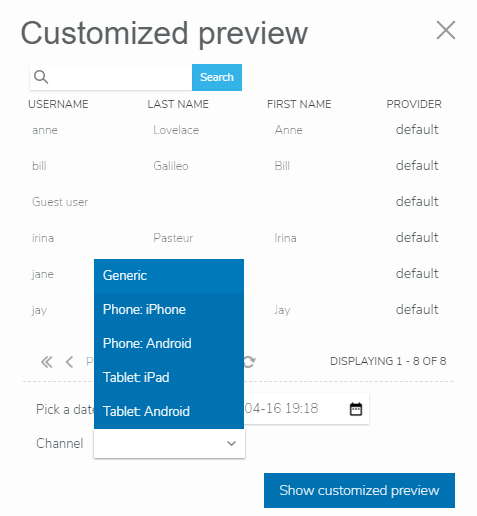
There are several options you can use in order to test what the page might look like under different conditions. To preview your page for a mobile device:- Click into the Channel dropdown.
- Select the device you’d like to test (for example, Phone: iPhone).
- Set the orientation (Portrait or Landscape).
- Click on the Show customized preview button.
In another tab or window, your web page should now be displayed in the device and orientation you selected.
Publishing the page
Now that you’ve verified that the page looks and behaves as intended, the last step is to publish the page to make it available to your website visitors. To begin the publishing process, click Publish Page found at the top right of the page toolbar.

Publication Dashboard
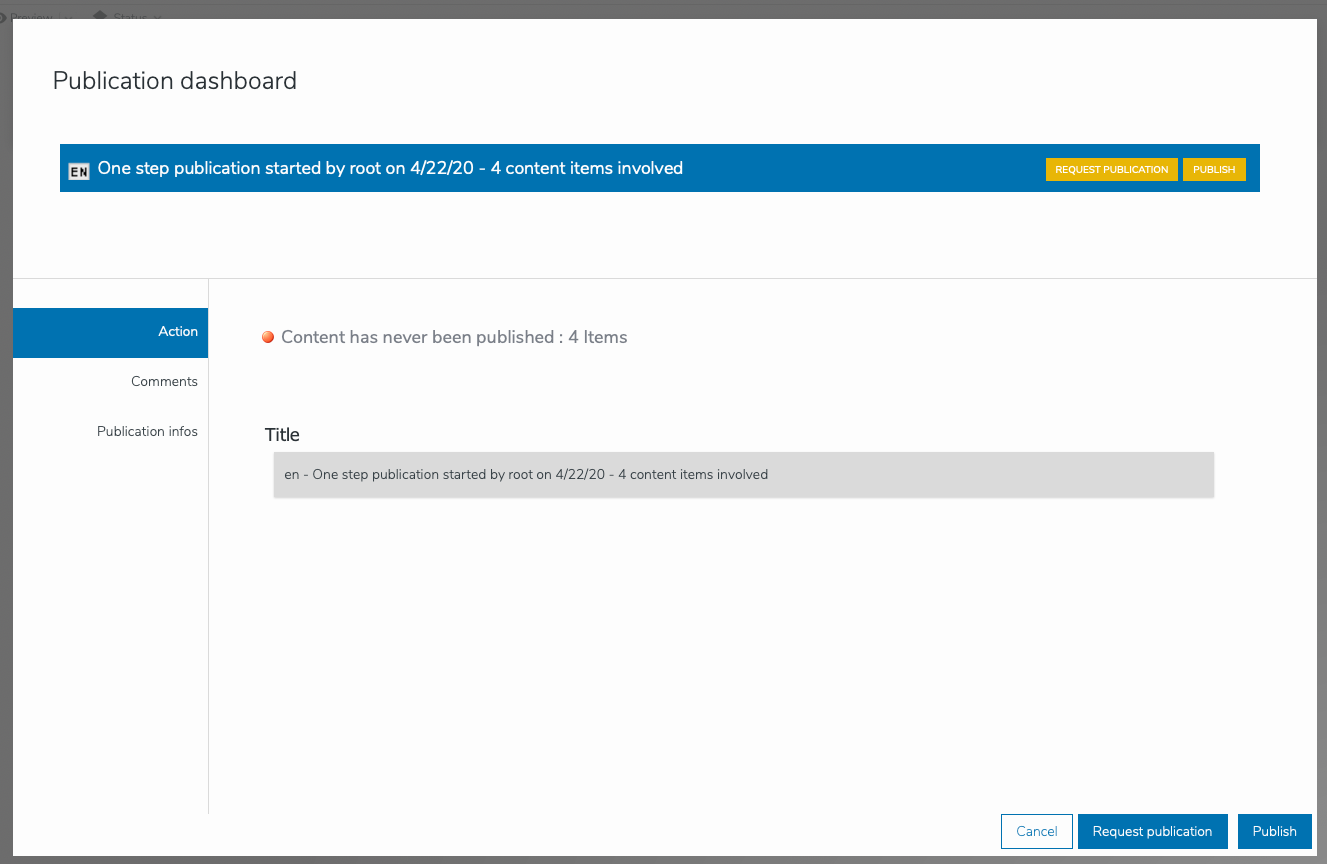
The Publication Dashboard has three kinds of information
- Action: An overview of the page and content being published
- Comments: All comments and descriptions provided by users involved in the publishing process
- Publication infos: a detailed view of all the content being published with the option to review individually and compare pages side by side.
To publish your page:
- Click on Action at the right:
- In the top line you will see <status indicator and text > : <number of items> similar to:

This indicates whether the page has even been published and how many content items are in the page.
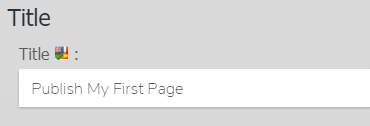
Note: the number of items will depend on the template you have chosen for your page. - Click on the Title field and replace it with “Publish My First Page”. This is the title for the publication request and is important to track your changes over time and to communicate with others who may share your project.
- In the top line you will see <status indicator and text > : <number of items> similar to:
- Click on Comments: When working alone, or with a team, it can be helpful to add notes to the pages you are working on. Comments provide a space for you, your collaborators and reviewers to describe and converse about changes made, required, rejected etc.
- Type in a comment and click ADD COMMENT

- Type in a comment and click ADD COMMENT
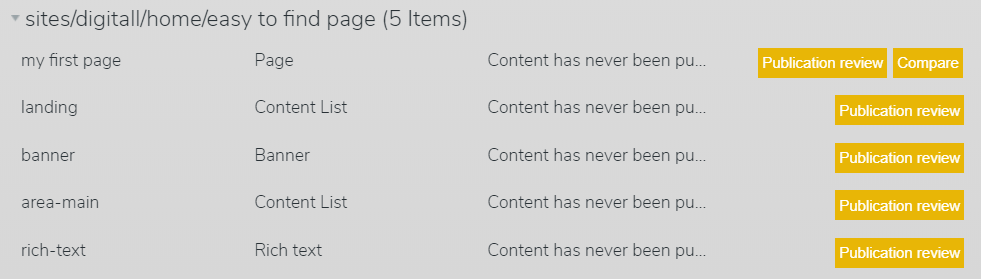
- Click on Publication Information and click to expand the list. This section provides a detailed list of the items being published. Items in the list may have additional buttons.
- Compare - Allows you to do a side-by-side comparison with previous versions - it isn’t applicable if you haven’t published before.
- Publication review - Takes you back to the Content Editor view.
- Click the Publish button - a notification will appear in the bottom left corner while the page is publishing. You will be returned to Page Composer where you will be able to see that the page has been published by looking at the Published status in the upper right corner.
Note: More complex scenarios can be implemented when working with teams that include other contributors, translators, reviewers etc. To learn more go to validating and reviewing workflows.
View your Live page
- To access Live page view click the dropdown arrow to the right of preview.
- Select Live> Open in the new window.