Adding personalization
Personalization provides your site visitors with content that is specific to them and ensures you are delivering relevant individual experiences. Page Composer integration with jExperience helps you to add a content variant quickly and easily on your page or content and to build conditions to control when each variant will be displayed. In this tutorial, you will build a personalization that displays an alternate image as the header for users visiting from desktop browsers versus mobile browsers. You will learn how to test and preview the personalized content.
Before you begin
Whether you are in our free cloud trial, or working in a system you have deployed, there are a few things you’ll need to get started:
- Access to a deployed Jahia system, in your own environment or on our Cloud trial system
- User id and password with permissions to edit content and personalization.
- At least one template set and some images, we provide these with our demo installer as well as in our free cloud trial environment.
- Complete the Adding a new page tutorial or an existing page with at least one image.
Ready to begin?
What you will learn
- Adding personalization to content on a page
- How to add a content variant
- Gain a basic understanding of Visitor data
- How to create a condition
- How to use personas to test personalised content

Helpful terms
Here are a few things you should know about before you get started:
- jExperience - jExperience helps you use data about your visitors and visitor interactions to improve the quality and relevance of your digital experiences.
- Personalization - allows you to tailor content for website visitors to improve their experience by anticipating their needs and providing relevant content. In Jahia you can add personalization to a content element such as an image or header.
- Variant - an alternate content for your targeted visitors. For example, a US visitor would see one header image, but an EU visitor would see a different header image on a given page.
- Fallback variant - a content that will display if criteria for a visitor does not match an existing variant.
- Persona - a fictional visitor with predefined properties, based on your knowledge and assumptions, that can be used to test the visitor experience.
- Conditions - logical expressions or rules that evaluate available information to produce a true or false result. If X, then Y.
- Content: rich text, images, files, and dynamic page elements like navigation bars and lists.
To learn more visit jExperience on the Academy.
Getting started with personalization
You’ll be working with the same piece of content that you created previously in the Creating a new page tutorial. If you haven’t done the earlier tutorials, then any page with content on it can be used.
To begin personalizing your content, navigate to the page you want to personalize in Page Composer.
Add personalization
- Choose a content element on the page, a header or a banner is recommended
- Hover your mouse over the content & right click
- Select Add personalization from available options
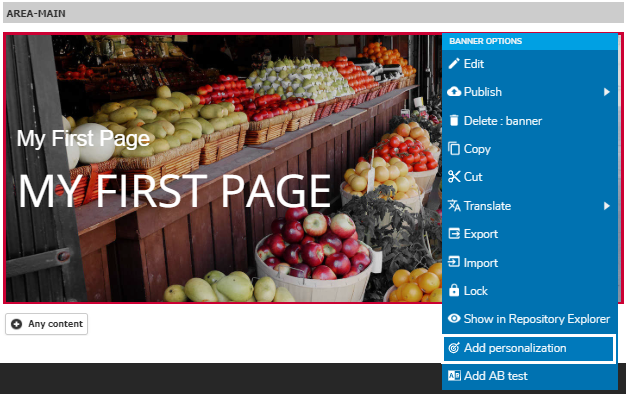

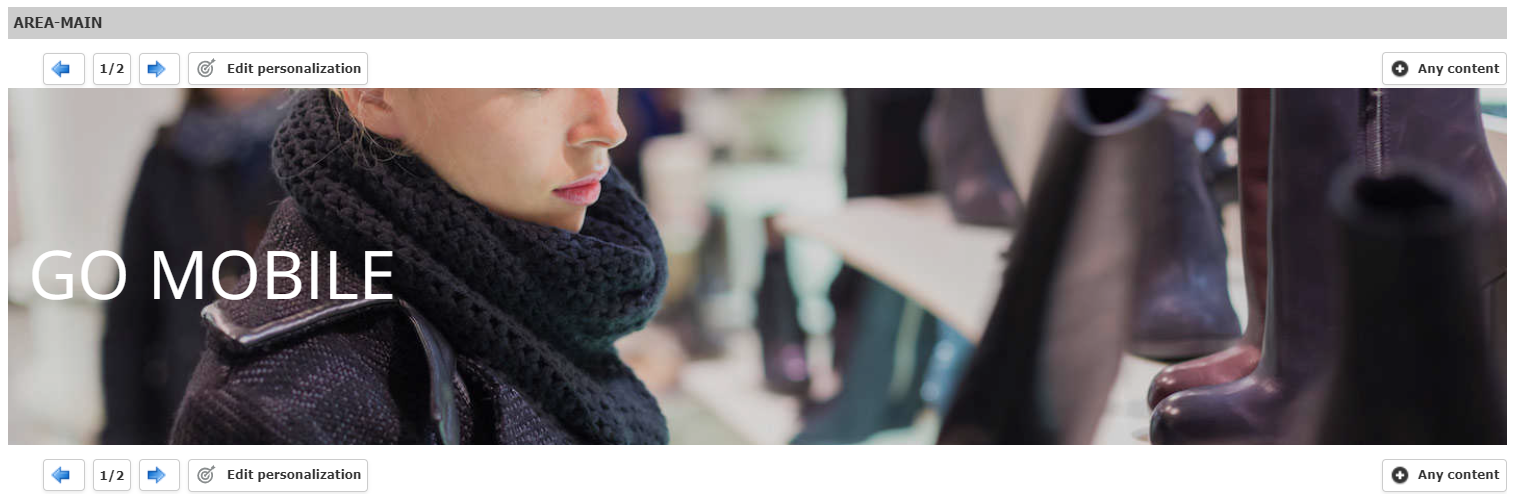
You may notice a new toolbar above your content and a box surrounding your new personalized section. This is the toolbar you’ll use to add other content items.

Note: if you make a mistake, you can access the same menu and select Remove Personalization
Add a content variant
- Click + Any content

- You will be prompted to select a content type, eg. Banner. *Ignore the jExperience components for now, they will be covered in later tutorials.
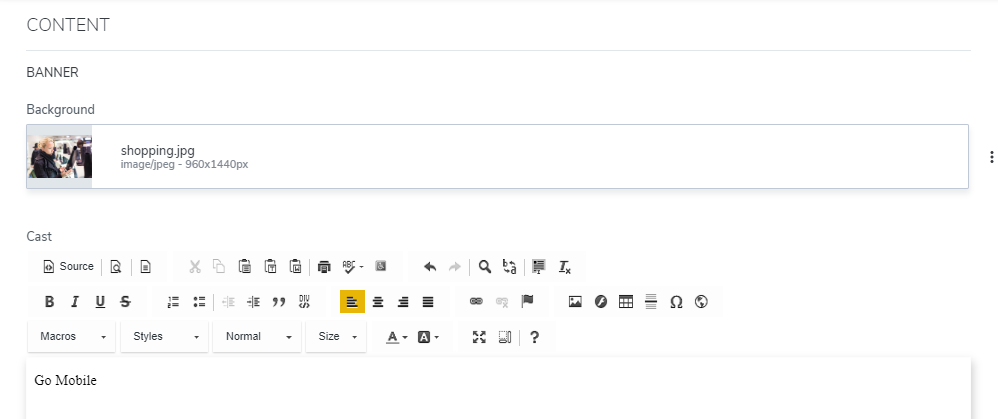
- Select an image, for the body field, add the text: Go Mobile.
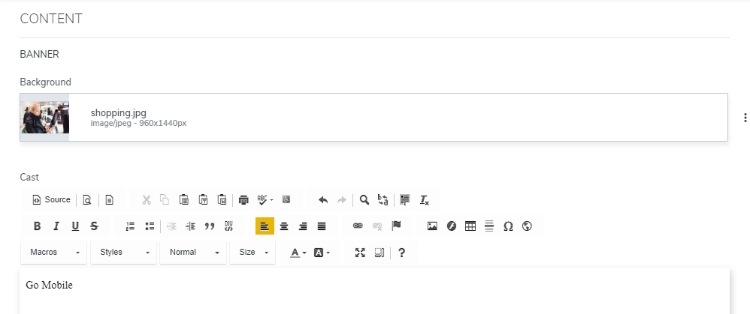
- Click Save and exit the Content Editor.
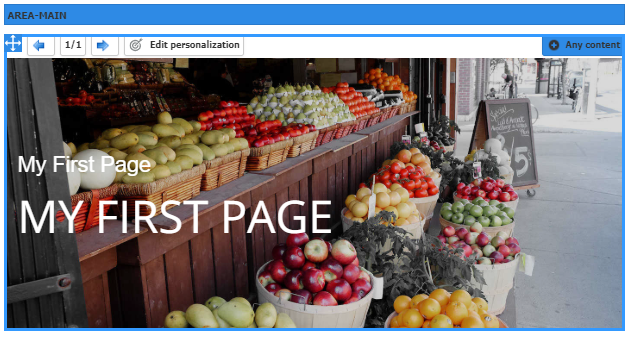
You should now be back in Page Composer.

Notice that the number in the toolbar updates as you add new variants to your personalized section. You can click the arrows to display each variant that you have defined. 
In the next steps, you’ll decide when and how the new variant will be shown to your visitors, but first you will need to know a little bit about what information you have to work with.
Visitor Information Overview
Information available about your visitors falls into 3 major categories. Information collected can be configured as part of your jExperience setup and is a key resource for successful personalization. To learn more go to jExperience>Key concepts documentation in the Academy.
- Current Visit (Session) - this is information specific to the current visit. Commonly available information from the visitor browser will tell you about the following:
- Location (by country or by point)
- Session duration (how long they stayed on the site)
- Device Category (eg. desktop, mobile, tablet, anonymized,unknown)
- Session properties ( operating system, previous page, referring page etc)
- Visitor properties (Profile) - First name, last name, pets and more, this information can be extensive and will be unique to your Jahia system.
- Information collected in Jahia based on your configuration of user logins, user forms, social media account linkages etc
- Information aggregated external sources using Jahia Stack Connect. 250 + sources include files, CRM and martech systems, databases and more.
- Computed information - It is possible to define many conditions in the Jahia system to score and categorize users, define goals and track campaigns.
- Profiling - Segments, lists, scoring plans
- Behavioral - Interests, pages viewed, campaign engagement, goals matched, time events
- New/Returning - status of visitors who are identifiable
Configuring your personalization and display strategy
- Right-click on the section you just added the content variant to and select Edit Personalization from the bar

- The Personalization pane will open, this allows you to set up your personalization conditions. Add a title, the titles will be used in the list of personalization and A/B Tests.

- Review the information in the type section, you can see information about this variant,. It is Content In a web page, you can see the path of the page it belongs to and the path of the content itself.

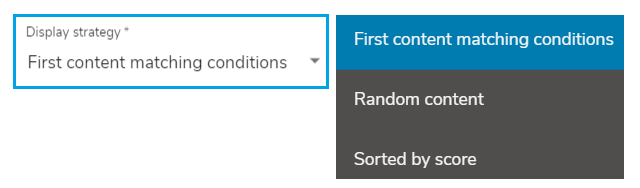
- Review the Display Strategy. Choose First content matching conditions so that you can try out building a condition based on Current Visit information.


Next, you’ll need to specify the conditions for each variant. In other words, you’ll choose which variants display to different visitors to your website.
Define conditions
When a visitor reaches a page with personalization, content variant conditions are evaluated in the order they appear, therefore it is best practice to order your variants with those that DO have conditions first in your list.
For this tutorial you have a specific variant you want to display to mobile users, and another for all other users.
Logically, you want to say something like <if “mobile” then display X, else display Y>, so it makes sense to bring the mobile condition to the top of your list.
- Select the variant that you want to set a condition for and move it to the top of the list.
Hint: hold your mouse over the “=” icon to move variants up and down in the list.
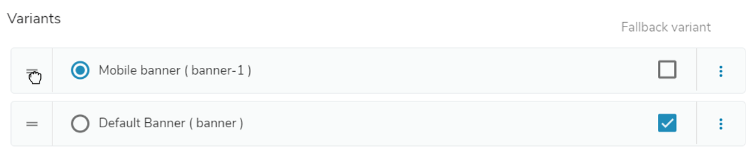
Note: The fallback variant checkbox is mandatory, check this for one item that will be displayed if no conditions are met. - Click the radio button on the first content variant, the Condition Builder will appear.

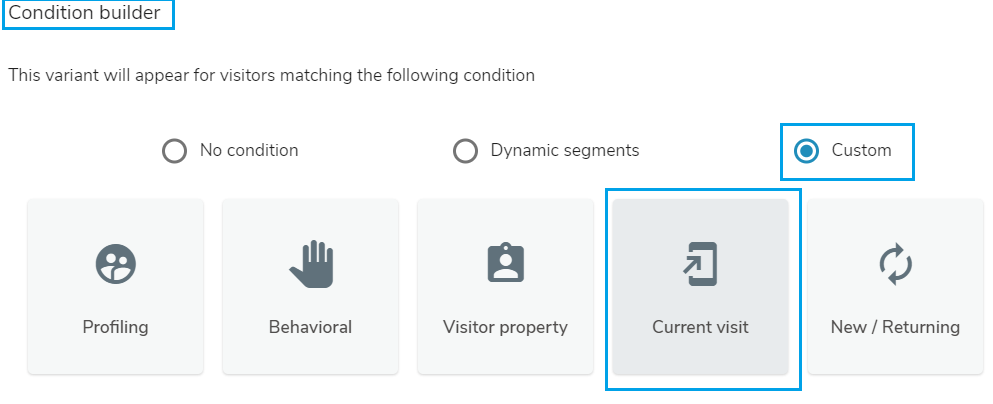
- Now you are ready to create condition for mobile visitors Select the Custom option and click on Current Visit

- From the Current Visit options, choose Device Category from the available options.

- Now you can specify the details of the condition. In this tutorial you will create a condition where the Device matches Mobile: to do this select for Device matches all these categories from the dropdown and mobile for Devices.
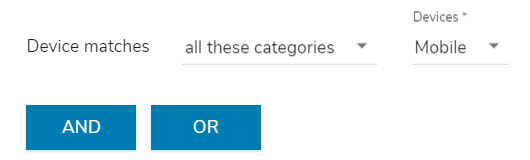
Note: the AND/OR options allow you to build more complex logic. Learn more about conditions here Conditions Builder. - In the options section you can specify when you want your personalization to begin and end, no selection is required.
- Exit Personalization by clicking the back arrow.


You will see that the number assigned to your personalization has changed to represent the order you selected.
Previewing your personalization before publishing
To begin, click preview from the top menu to test your personalization, you should see your second, or fallback, content displayed.
Using a predefined persona to test
Jahia has integrated the concept of a persona, or test user. Your system may have one or more personas already defined. To explore them and test scenarios by changing properties, click on the arrow at the right of your preview pane.

The personalization & A/B testing pane will open.
- Choose the built-in U.S. Visitor persona from the list and scroll down to the Session Properties. Choose “Mobile” as the device category, then click Reload (show icon) in the upper right corner.
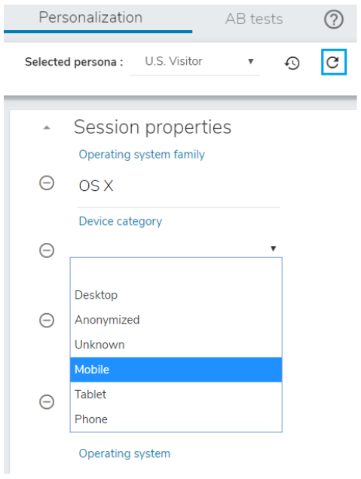
- If a personalization has been defined on the page, and if the persona matches the conditions, the personalized content item displays, in this case you should see your Go Mobile banner image.

- Click the blue arrow to continue exploring Personas. You should see a Reset icon(show the icon) appear beside the Reload icon as soon as you start changing properties on the persona, these allow you to return to the default settings of th persona. Reset or change persona's to see the original banner.


Publishing your personalization
Now that you’ve verified that your personalization works, the next step is to publish your changes to make them available to your website visitors. The publication workflow is the same as publishing the whole page.
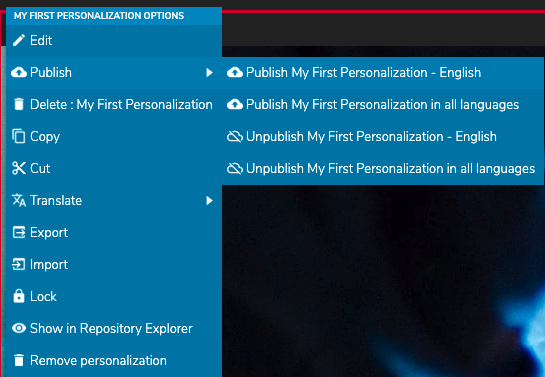
To publish right-click on the personalization section you just created and select Publish>Publish My First Personalization - English from the menu.
Note: you can also publish your entire page by selecting the page, right clicking the ellipsis and choosing publish.
Testing the personalization
To test your personalization on your live website:
- Open a new browser or new incognito window.
- Go to your live website.
- Log in with your username and password.
You should now see your Jahia page with your personalization, try the URL from a mobile device to see the personalization!