React App
Before you begin
Prior to starting this tutorial, you should have already completed the headless tutorial. This tutorial builds upon the concepts you learned in that tutorial as well as the web project and content type definitions discussed previously.
This tutorial aims to show how a React developer might use Jahia’s GraphQL API in a React application. Therefore, while some elements and concepts of React will be touched on and explained, it is assumed that you have some basic experience with React.
What You’ll Need
- Jahia 8
- NodeJS 8.10 or greater with NPM 5.2.0 or greater
- Yarn
- Your favorite code editor (Visual Studio Code, Sublime Text, vi/vim, etc.)
What You’ll Build
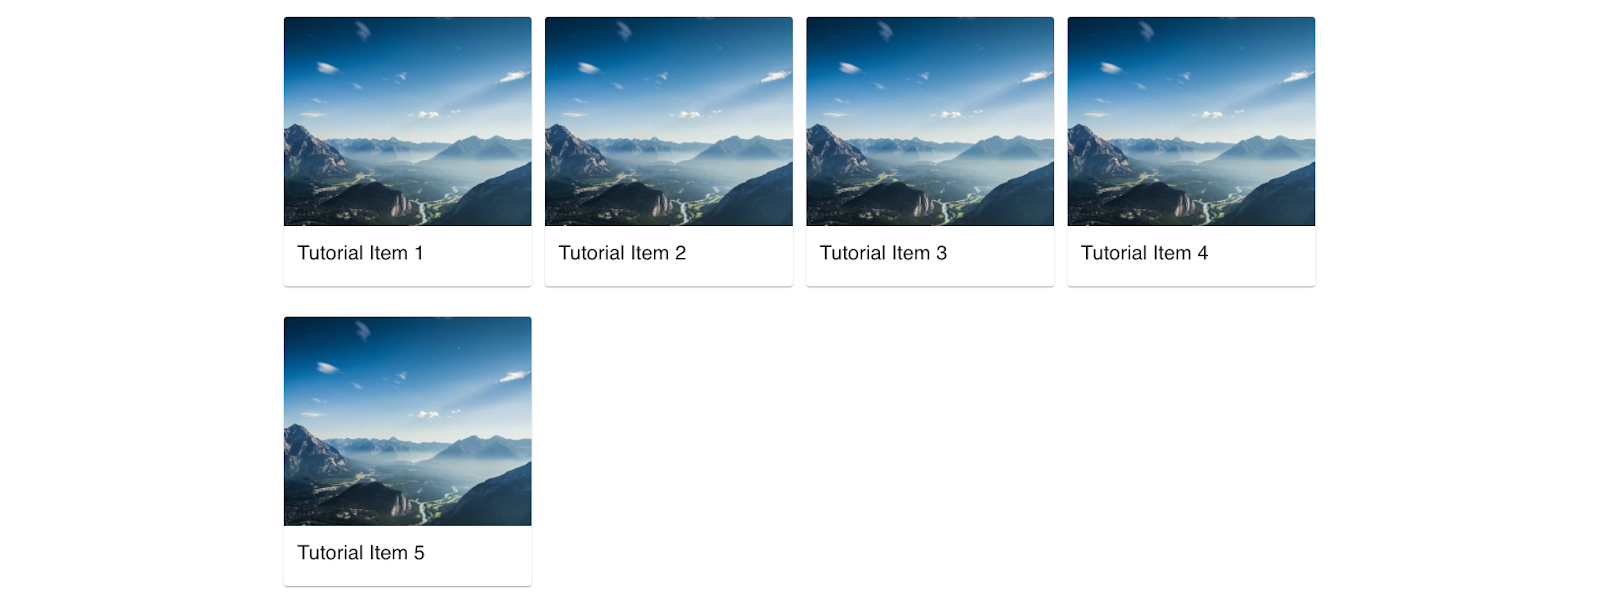
We will be building a single-page application (SPA) that displays a list of tutorial items created and published in Jahia.
The main screen will show the list of tutorial items:

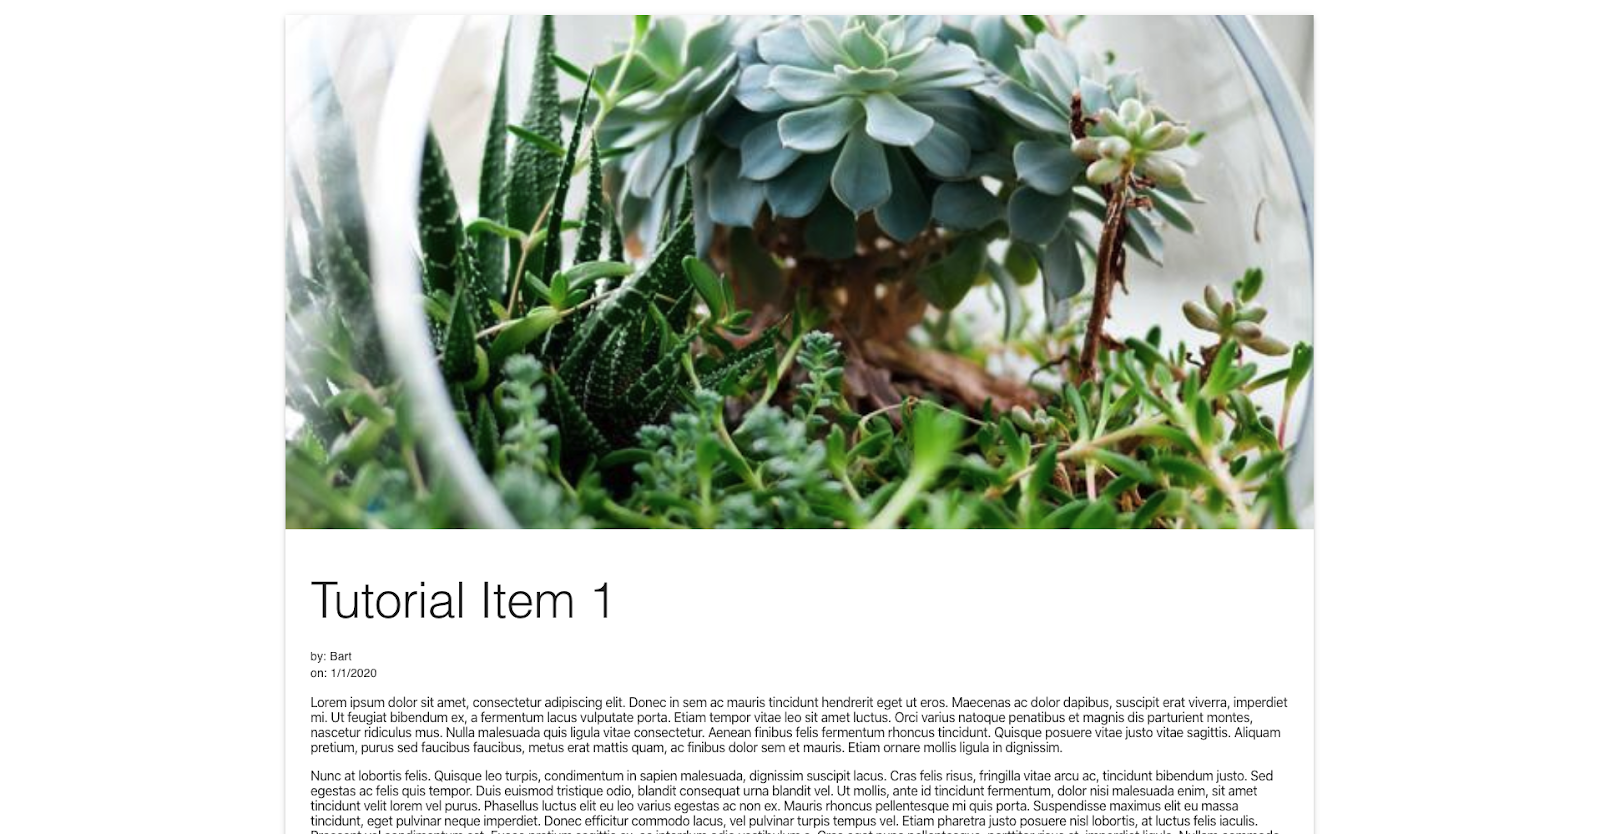
Clicking on the card will show the details of the tutorial item:

Source Code
The source code for this tutorial can be found here. Also note that for each subsequent section in this tutorial, there is a corresponding branch in the repo. Each branch contains the source code that you should have at the completion of that section. For example, the 01-getting-started branch contains the state of the source through the end of the Getting Started section, before any changes to the code were made as part of the next section.
Getting Started
To get started, we’ll use Create React App (CRA) to bootstrap a new SPA project for us.
Open your terminal or command prompt and navigate to a directory where you want to save your project. Type in the command:
npx create-react-app jahia-react-headless-tutorial
This will create a new directory named jahia-react-headless-tutorial with the initial project structure and files and install various dependencies.
To run the SPA, navigate to in jahia-react-headless-tutorial your terminal and issue the command:
yarn start
This will start the app and make it available on port 3000 (assuming no other app is currently listening on port 3000). You should be able to see this app at http://localhost:3000, or at the same port on your cloud environment
Once you’re done looking at the initial application, you can stop the app (ctrl+c in the terminal) and open the jahia-react-headless-tutorial directory in your code editor.
Using Mock Data
Before working with real data, it is often easier to start with mock data and build out the components with the mock data before using the real data.
Create a folder named data under the src directory and add a file called items.json to that directory. Copy the contents of this file to your items.json file.
Displaying a List of Tutorial Items
The next step is to build a component that will display a list of tutorial items. These items will be retrieved from Jahia later in the tutorial but for now, we’ll use the mock items.
To make the list and the app look a little better, we will use Material Design to style our components. Luckily, there is already a library of Material Design-style React components ready for us to use in our project. To add them to our project, open your terminal to the project directory (jahia-react-headless-tutorial) and execute the following command:
yarn add @material-ui/core
Create TutorialItem Component
Next, create a components directory under src and then add a new file called TutorialItem.js in this new directory. Copy this code into TutorialItem.js.
Below is the main code of the component, please go to the GitHub repository to get the complete code:
const TutorialItem = props => {
  const classes = useStyles();
  const tutorial = props.item;

  return (
    <Card
      key={tutorial.id}
      className={classes.root}>
      <CardMedia
        className={classes.media}
        image={tutorial.image}/>
      <CardContent className={classes.content}>
        <Typography variant="h5">
          {tutorial.title}
        </Typography>
      </CardContent>
    </Card>
  )
}
The TutorialItem component is pretty straightforward. Each tutorial item will be rendered as a Material UI Card and the component will receive the tutorial item it needs to render as its item property. It will receive that item through another component that we will add now.
Create TutorialsList Component
Add a new file called TutorialsList.js under the src/components directory and copy the contents of this file to it.
const TutorialsList = props => {
  return (
    <Grid container spacing={2}>
      {props.items.map((item) => (
        <Grid
          item sm={12} md={3}
          key={item.id}>
          <TutorialItem item={item} />
        </Grid>
      ))}
    </Grid>
  )
};
As you can see in the above snippet, all this component does is render a TutorialItem component for each item in its items property. Those items are passed in from the App component (defined in src/App.js), which should be refactored to the following code:
import React from 'react';
import './App.css';
import TutorialsList from './components/TutorialsList';
import data from './data/items.json';
import { Container } from '@material-ui/core';

function App() {
  return (
    <Container>
      <TutorialsList items={data} />
    </Container>
  );
}

export default App;
At this point, if you run your app with `yarn start`, your app should look something similar to this:
You can also delete all the styles found in src/App.css because the initial styles created by CRA are no longer used.
Tutorial Item Detail Page
The last component we want to design and build is the detail page that will display the rest of the tutorial item content when the user clicks on a tutorial from the Tutorials List.
In order to handle the navigation from the list to the detail page, install react-router-dom:
yarn add react-router-dom
Update TutorialItem Component
Next, we need to update the TutorialItem component so when a user clicks on the card, they will be redirected to the right tutorial detail page.
In the updated TutorialItem component source code, the primary change we need to make to the component (other than adding a few new styles) is to wrap the Card component with a Link component:
    <Link
      className={classes.link}
      to={`/tutorial/${tutorial.id}`}>
      <Card
        key={tutorial.id}
        className={classes.root}>
        <CardMedia
          className={classes.media}
          image={tutorial.image}/>
        <CardContent>
          <Typography variant="h5">
            {tutorial.title}
          </Typography>
        </CardContent>
      </Card>
    </Link>
Clicking on the link will navigate the user to ‘/tutorial/’ + whatever the id of the tutorial is.
Create TutorialDetail Component
Next create a new TutorialDetail component by adding a new file named TutorialDetail.js under src/components.
The full source code for the TutorialDetail component can be found here. The most interesting part of the component code is:
  const [tutorial, setTutorial] = React.useState({
    image: "",
    body: "",
    title: "",
    id: ""
  });

  let { tutorialId } = useParams();

  React.useEffect(() => {
    setTutorial(data.find((tutorial => tutorial.id === tutorialId)));
    console.log(tutorial);
  },[tutorialId, tutorial]);
We use React’s Effect Hook to retrieve the right tutorial to render in the TutorialDetail component. We can use the tutorialId that’s part of the path the user navigated to and is made available through React Router’s useParams in the find method of the mock data array to find the tutorial with a matching id. We then use React’s State Hook to set the tutorial that the component will render.
The rest of the code is for how the component will render the data and is nothing special:
return (
    <Paper
      className={classes.root}  elevation={3}>
      { tutorial !== undefined &&
        <>
          {/* Only output CardMedia if there's an actual image to use */}
          { tutorial.image !== "" &&
            <CardMedia
              image={tutorial.image}
              className={classes.media} />
          }
          <div className={classes.content}>
            <Typography variant="h2" className={classes.title}>{tutorial.title}</Typography>
            <Typography variant="body2" component="p">by: {tutorial.publishedBy}</Typography>
            <Typography variant="body2" component="p">on: {new Date(tutorial.publishedDate).toLocaleDateString("en-US")}</Typography>
            <div dangerouslySetInnerHTML={{__html: tutorial.body}}/>
          </div>
        </>
      }
    </Paper>
  );
Update App Component
The last thing we need to do is to update the App component so that the user is properly routed to the correct part of the application based on the URL.
To make sure the user is directed to the right part of the application, we use React Router in the new App.js code and define two routes, one for rendering the TutorialsList component when navigating to the root path (/) and another for rendering the TutorialDetail component when navigating to a tutorial path (/tutorial/tutorialId):
return (
    <Container>
        <HashRouter>
            <Routes>
                <Route exact path="/tutorial/:tutorialId" element={ <TutorialDetail /> } />
                <Route exact path="/" element={<TutorialsList items={data} />} />
            </Routes>
        </HashRouter>
    </Container>
);
After making these changes, you can restart the application. Clicking on any of the cards in the list of tutorials should take you to that tutorial’s details page, which will look something like this:
Retrieving Contents from Jahia
Now that we have the app looking the way we want it to look, the final thing we want to do is to replace the mock data with the real content published from Jahia.
As covered previously, content from Jahia is made available via its GraphQL API. While there are different client libraries you can use to interact with a GraphQL API, we’ll use graphql-request. Add this to the project by issuing the following command in your terminal (inside your project root directory):
yarn add graphql-request
Working with Different Environments and Paths
Next, before we start refactoring the app to work against the Jahia API, we should consider that this app might be used against multiple different instances of Jahia and therefore, we should make the Jahia URL configurable through an environment variable. To do so, create a .env file in the project’s root directory and add the following line (make sure to replace the value):
REACT_APP_JAHIA_HOST=http://localhost:8080

OR

REACT_APP_JAHIA_HOST=https://trial.jahia.com/<your-id>
We also should create a module that will encapsulate that URL value along with other paths that our application is going to need. To do so, create a config.js file also directly in the project’s src directory. That file should contain the following code:
const JAHIA_URL = process.env.REACT_APP_JAHIA_HOST;

const environment = {
  graphQLEndpoint: `${JAHIA_URL}/modules/graphql`,
  mediaBasePath: `${JAHIA_URL}/files/live`
}

export default environment;
This will basically allow other parts of the application to easily retrieve the GraphQL API endpoint as well as the base path for media (e.g., images).
Refactoring the App Component
The next step we want to take care of is to retrieve the real list of tutorial items. To do so, we need to make some changes to the App component. The full changes of App.js can be found here, but here are the main changes we need to make:
    const [tutorialItems, setTutorialItems] = React.useState([]);

  const query = `{
    jcr (workspace: LIVE) {
      queryResults: nodesByCriteria(criteria: {
        nodeType: "jntuto:tutorialItem"
      }) {
        nodes {
          uuid
          title: property(name:"jcr:title") { value }
          image: property(name: "image") { refNode {path} }
        }
      }
    }
  }`

  React.useEffect(() => {
    request(environment.graphQLEndpoint, query).then(results => {
      let items = [];
      results.jcr.queryResults.nodes.forEach(node => {
        items.push({
          id: node.uuid,
          title: node.title.value,
          image: `${environment.mediaBasePath}/${node.image.refNode.path}`
        });
      })

      setTutorialItems(items);
    })
    .catch(error => console.log(error));

  }, [query]);
The above code takes care of retrieving the tutorial items from Jahia. It uses graphql-request to send and execute the query to Jahia’s GraphQL API.
The query that we use takes advantage of the nodesByCriteria query field provided by the Jahia GraphQL API. This allows us to create a query that will only return back content items that fit a certain criteria. In this case, we are looking for all content in the system of a certain content type (jntuto:tutorialItem). Also notice that we are targeting the LIVE workspace, which is the workspace that contains the published content. Lastly, for this query, we are only asking back the item’s uuid, its title and its image.
The results of the query are then iterated through and stored in an array called items. Once all the items are collected, the tutorial items are saved to state.
The last piece we need to change is the list of items we pass to the TutorialsList component’s items property. Instead of using the items from our mock data, we can now pass it tutorialItems from the state:
<Route exact path="/" render={() => <TutorialsList items={tutorialItems} /> } />
Now, if you run your app, your list of tutorials should look something like this (content will be based on the actual tutorial items you created):

Refactoring the TutorialDetail Component
The last piece of code we need to update is the code for our TutorialDetail component. The updated code for this component is located here. The main changes that were made to this component is in the Effect Hook:
const query = `{
    jcr (workspace: LIVE) {
      queryResults: nodeById(uuid: "${tutorialId}") {
        uuid
        title: property(name:"jcr:title") { value }
        body: property(name:"body") { value }
        image: property(name: "image") { refNode {path} }
        publishedDate: property(name: "jcr:lastModified") {value}
        publishedBy: property(name: "jcr:lastModifiedBy") {value}
      }
    }
  }`

  React.useEffect(() => {
    request(environment.graphQLEndpoint, query).then(results => {
      const tutorialNode = results.jcr.queryResults;

      let item = {
        id: tutorialNode.uuid,
        title: tutorialNode.title.value,
        body: tutorialNode.body.value,
        image: `${environment.mediaBasePath}/${tutorialNode.image.refNode.path}`,
        publishedDate: tutorialNode.publishedDate.value,
        publishedBy: tutorialNode.publishedBy.value
      }

      setTutorial(item);
    })
    .catch(error => console.log(error));

  },[query]);
Like the App component, we retrieve the content item from Jahia using graphql-request. This particular query uses the nodeById query field to find the content item based on its uuid.
Once the results are returned, we create an object that maps the JSON returned by the API to different properties and then save the item to the component’s state.
Once these changes are made, the component should now render real data from Jahia similar to this: