Private AppStore Documentation
Introduction
The Private App Store solution is composed of two modules that can be deployed on a Jahia DX instance to create a browsable repository of modules.
A Private App Store establish a bridge between developers and running instances of Jahia DX, enabling seamless and secure distribution of new or updated modules, reducing risks, time spent on maintenance an TCO.
Developers can publish their modules directly from the Jahia DX Studio. Users with enough privileges (site administrators, webmasters) can use the App Store to
- Browse the catalog of modules
- Download and install a module manually or
- Install new modules in one click from the Jahia DX GUI
- Stay informed of new versions and
- Install updated modules in one click from the Jahia DX GUI
Each module stored can receive a description, be commented, illustrated with screenshots or videos and must be categorized. For each version of a module there can be specific release notes.
1 Requirements
- Jahia DX 7.1.1.0 or higher
- dedicated Maven repository
You can find more information on maven repositories here
https://maven.apache.org/guides/introduction/introduction-to-repositories.html
If you don't have any Maven repositories manager yet, we suggest you to have a look at Nexus http://www.sonatype.org/nexus/.
The repository stores the artifacts uploaded on the Private App Store.
The Private App Store will proxify all the access to the maven repository. It means that Jahia DX users will only be aware of the Private App Store, but not of the Maven repository itself.
2 Installation
2.1 Download
From your Jahia DX server modules administration page:
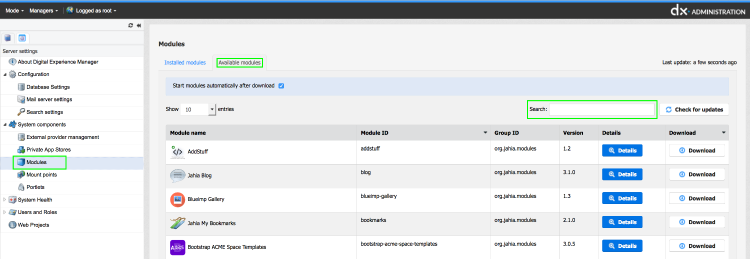
- First search in the "available modules" menu the Jahia Public App Store module.
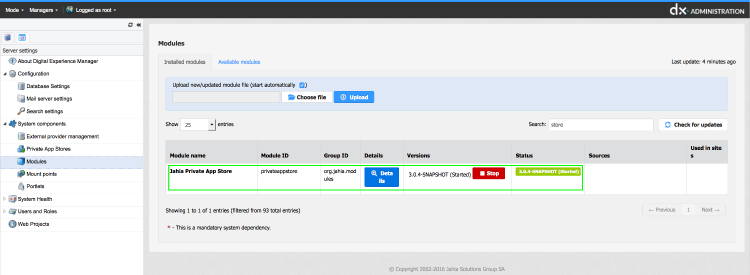
Once the module is installed, check that it is properly started.
Now search on the administration module the Store Template set and follow the exact same pattern to install it.
2.2 Creation
Once the module and templates are installed on your server, go to the Web project administration to create the App Store site.
Click on the "create" button, then give it a name, a key and a description, then click on "next.
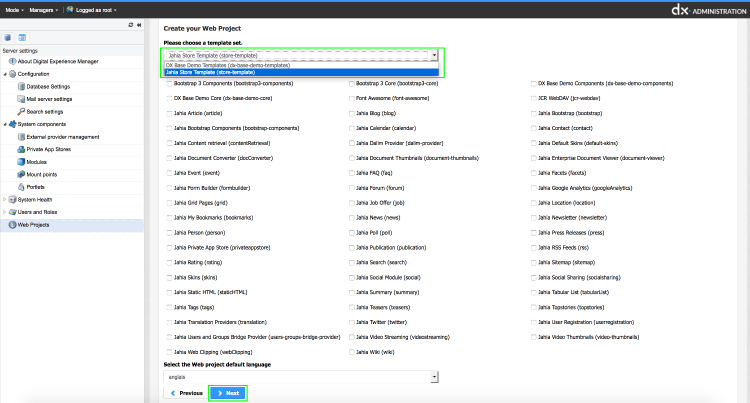
Now, select the Jahia Store Template set and click on "next".
Your App Store website is now installed and ready to be configured.
Go to edit mode of the newly created site and publish it.
3 Configuration
Once your store is installed and published, log as root and click on "forge settings" to configure it
3.1 Repository settings
First things, the repository needs to be set.
Url of nexus repository: Complete url of your repositoryRepository identifier: Identifier for the repositoryUser and password: user on the Nexus repository with write access
Once the data have been given, click on "save". The private App Store will test the connection with the repository.
3.2 Roles
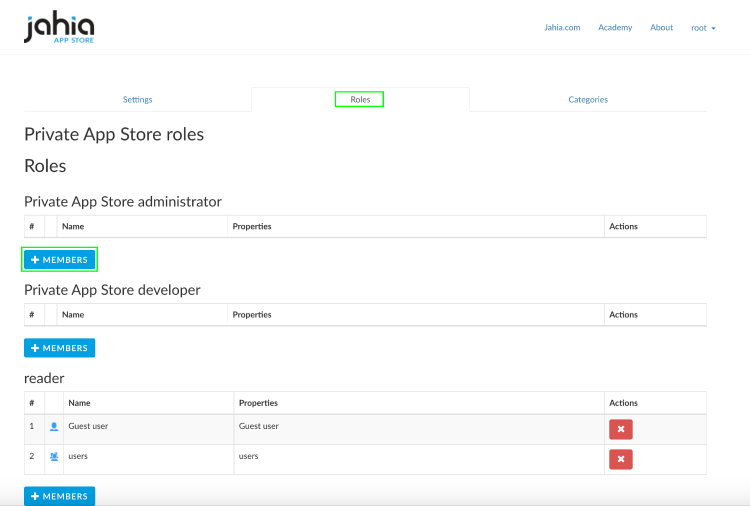
Then the different roles may be set.
Administrator: the user is allowed to moderate modules and perform any operation on any modulesDeveloper: the user can add new modules, edit them and add new version to his own modulesReader: if you want to forbid the access to your App Store, you can specify which user can read the store. Note that you will need to specify it in Jahia DX administration to access the store.
3.3 Categories
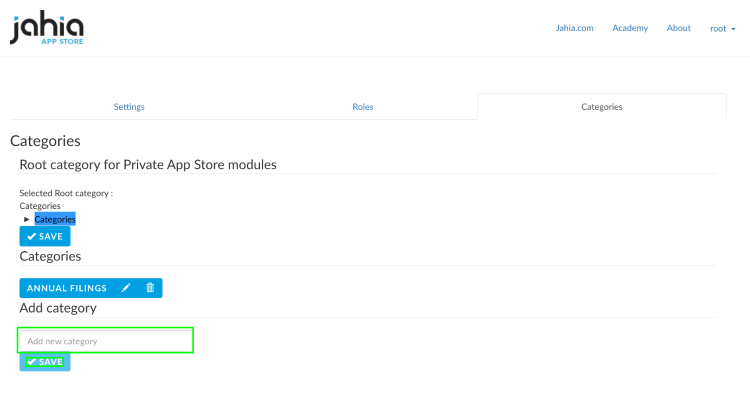
The store uses a flat list of categories. Categories are a mandatory information for each publiched module. Please, create the category tree before you start using your Private App Store.
First, click on "categories" and then "save" to open the "add category" feature.
Once all categories have been entered, you may update the list at any time.
Your store is now ready to be used.
4 Using and managing a Private App Store
4.1 As a developer
4.1.1 Upload a new released module
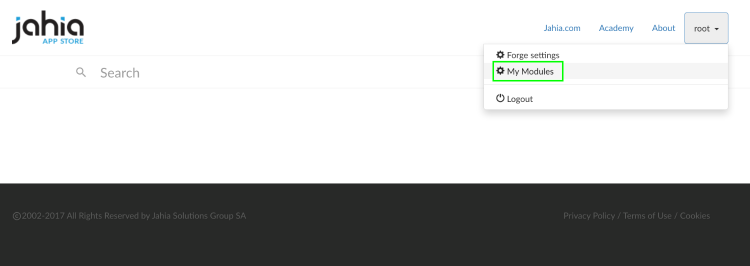
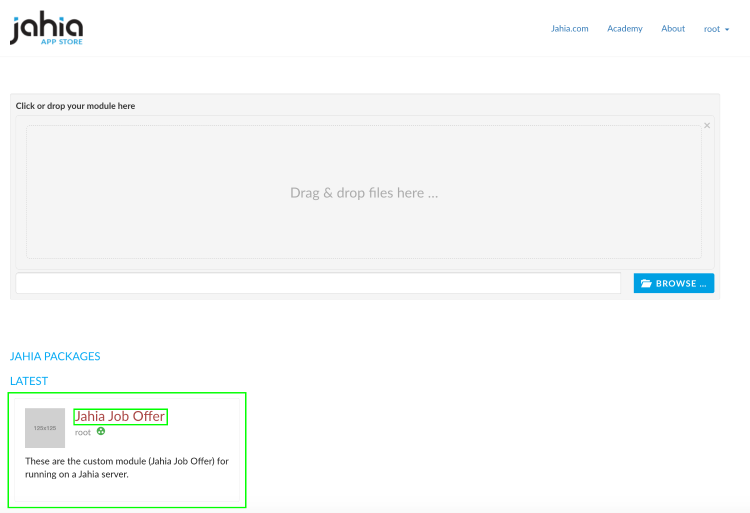
Developers can upload any Jahia DX released module using the web form. When connected, go to the "my modules" feature.
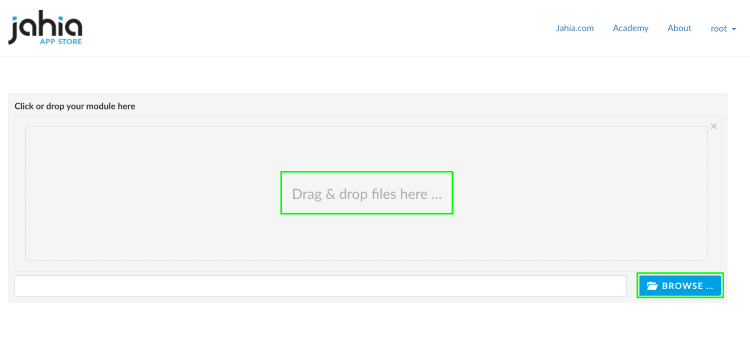
The module can be uploaded in two ways :
- by clicking on the upload button then select the jar file on your disk
- by simply drag and dropping the jar file on the button
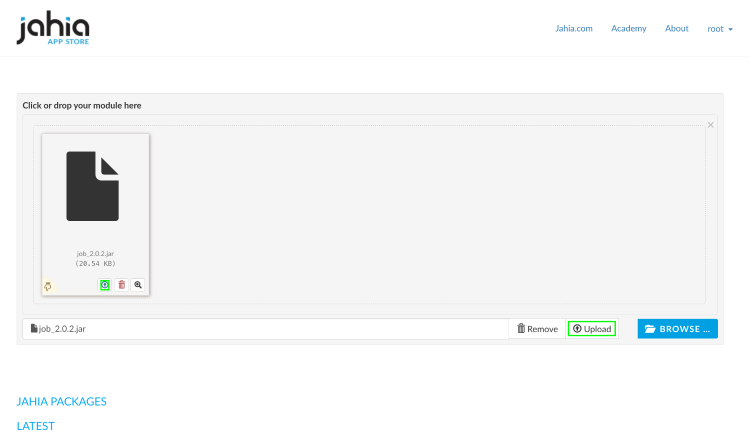
Once the module has been selected, click on the "upload" button.
This operation creates a new store entry.
4.1.2 Edit module details
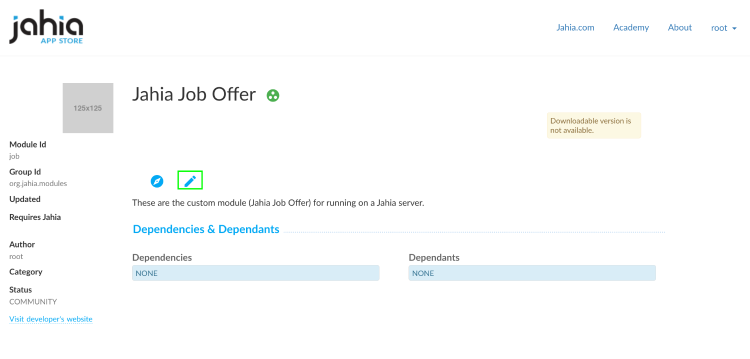
First, go back to the "my modules" page. The uploaded module will be displayed here. Click on its title to access its page and update its data.
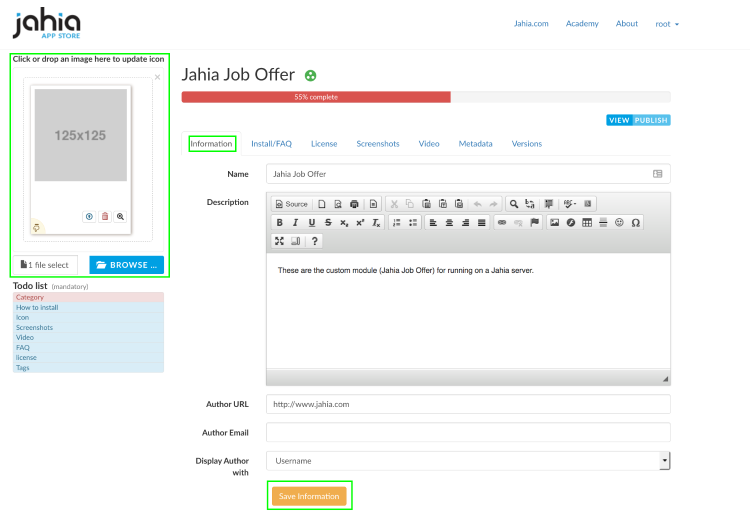
On this page, click on the pen icon to access the module's data and update it.
Several tabs are displayed. Each gives access to a specific data type that can be updated. Don't forget to upload a logo to the module.
Do not forget to click on the "save" button at the bottom of each page before going to the next tab.
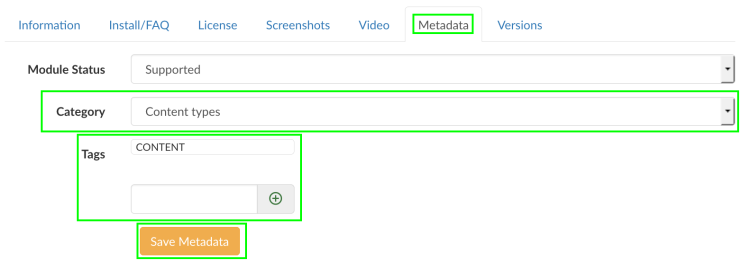
The "metadata" tab is a mandatory visit. The module's category is updated as well as its tags.
You can add information on your module, clicking on the specific tab. We encourage you to populate it as much as possible.
4.1.3 Publishing the module
When all mandatory fields are set, you can publish your module by clicking on the publish button on the developer panel. By publishing the module the first time, you allow to download the latest version of the module if none is already published.
Note that until the module itself is published, it will not be available to download even if a version is published.
Once published, you can click on unpublish to remove the module to visitors, completely or a specific version.
4.1.4 Upload a new version
From the version panel of a module you can upload a new version of the module, the module artifact ID and group ID must match, if not, the operation will create a new module.
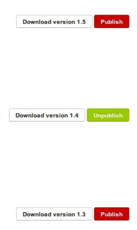
Once a new version is uploaded, you can make it available by clicking on the publish button
If the version 1.4 is the one currently published, this version will be available for download
Only one version can be published at a time.
3.1.2 As a site administrator
You can define the settings of the store.
You can do all the same operations as an owner of a module on all modules of the store.
For each module, you have the possibility to flag them as reviewed or supported.
- Reviewed usually means that the module has been tested successfully
- Supported means that some kind of guarantee / maintenance is available
If your organization does not use those concepts, just don’t use those fields.
Enabled, this will display icons on modules list 
4.2 Jahia DX Studio
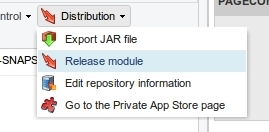
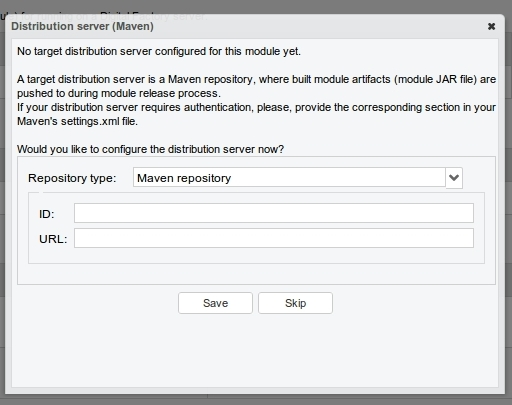
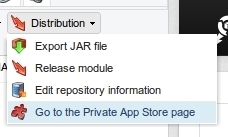
The Digital factory studio integrates a release process based on maven to ease the releasing of modules. This allows releasing and deploying on a maven repository and/or on app store. On the first release you have to choose your release process, this can be changed later by clicking on Edit repository information in the same menu.
4.2.1 Select your repository type
4.2.1.1 Releasing on a maven repository
According to your maven settings, you have to define the maven repository ID and its URL before clicking on save.
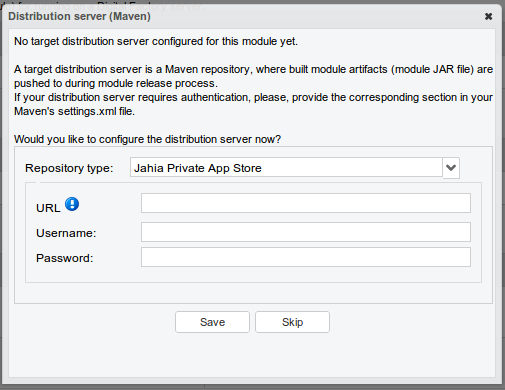
4.2.1.2 Releasing on a Jahia Private App Store
Selecting Jahia Private App Store let you define the store url that you can find on the homepage of the store you’ve previously installed.
You have to use credentials with developer permissions, then click on save.
If you skip this step, the jar will be released but store locally.
4.2.2 Releasing the module
Once the repository type is chosen, you can release the module, depending of your configuration you will be able to send it to a store or deploy it on a maven repository.
You can select a major or minor release type, then click on release to perform the release
Note: if you have a scm set on your module, the maven plugin used to do the release will tag your module.
4.2.3 Finalize the release
4.2.3.1 Without a Private App Store
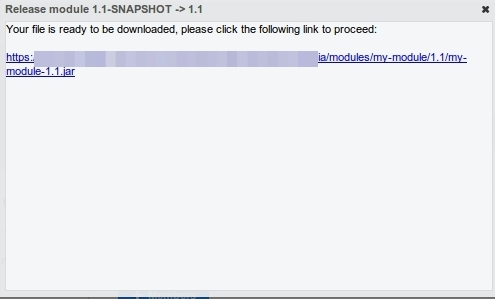
After releasing, if you didn't set store information, you will be able to download a copy of the released jar of the module.
4.2.3.2 With a Private App Store
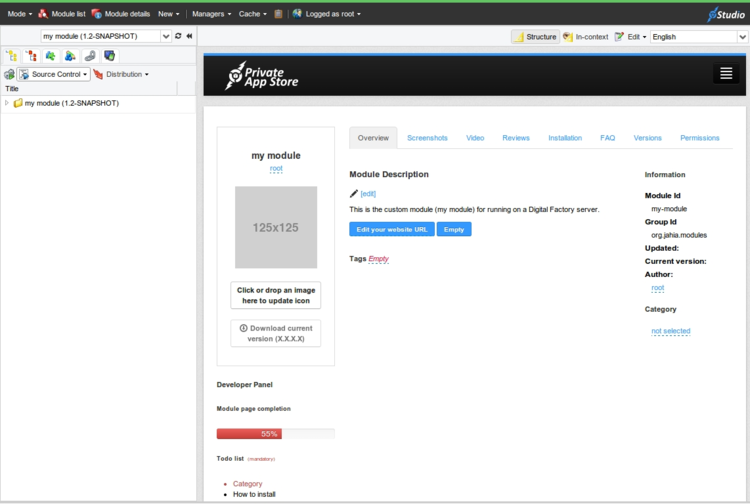
You can edit within the digital factory studio, the store information of the module as if you were on the App Store web site.
Once a module is pushed to a store, you can access to its store page by clicking on Go to the private App Store page
