Creating a custom theme
This topic will walk you through the basic steps of creating a theme for Forms. The example uses the nocss theme which does not use bootstrap or any other css to display forms.
Create a module
The first thing you want to do is create a module. In your module add a dependency on Forms and set module priority higher than that of Forms ( > 2). Here’s what your pom.xml should look like:
..
<dependencies>
   <dependency>
       <groupId>org.jahia.modules</groupId>
       <artifactId>form-factory-core</artifactId>
       <version>2.1.0</version>
       <scope>provided</scope>
   </dependency>
</dependencies>
<build>
   <plugins>
       <plugin>
           <groupId>org.apache.felix</groupId>
           <artifactId>maven-bundle-plugin</artifactId>
           <extensions>true</extensions>
           <configuration>
               <instructions>
                   <Jahia-Depends>default,form-factory-core</Jahia-Depends>
                   <!--Higher priority than form-factory-core (2)-->
                   <Jahia-Module-Priority>4</Jahia-Module-Priority>
               </instructions>
           </configuration>
       </plugin>
   </plugins>
</build>
...
Don’t forget to add this module to the site.
Create form view
After creating your module you should create a form view.
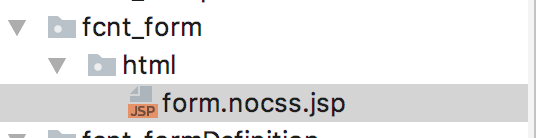
Add appropriate view suffix depending on the name of your theme.
This file can be used to import resources that your theme requires. In the case with nocss theme we import css and js and register a directive which helps us provide a nice display for datepicker input without bootstrap css. I will not show the file here for the sake of keeping this document brief but feel free to explore it here
Create formDefinition view
The next step is to create form definition view.
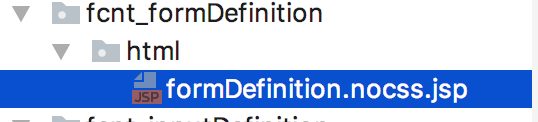
The view will be used to override the one provided by Forms by default and can be customized as you see fit. There are a few things you should keep in mind when working working with this view.
- DO NOT change the functional part of components. Keep the progress bar, captcha and the callback directives the way they are and keep the ng-* statements intact otherwise they may not function correctly. Work with the view by adding css classes, wrapper elements etc.
- Try to avoid adding additional Javascript functionality via inclusion of scripts unless it is absolutely necessary or you know what you are doing.
Here’s what’s inside that file:
<ff-progress-bar view-type="nocss" ng-if="!_.isUndefined(vm.currentForm.progressBar) && (vm.currentForm.progressBar.position === 'top' || vm.currentForm.progressBar.position === 'both') && !vm.getFormController().$submitted"
                form="vm.currentForm" current-step="vm.currentStep"></ff-progress-bar>
<div>
   <form novalidate name="{{vm.formName}}"
         ng-model-options="{updateOn:'default blur', debounce: { default: 0, blur: 0 } }"
         ng-submit="vm.preventSubmit($event)"
         class="{{vm.cssClassName}}">
       <fieldset>
           <legend ng-if="vm.showFormTitle">{{vm.currentForm.displayableName}}</legend>
           <div ng-if="vm.getFormController().$submitted">
               <ff-callback ng-if="vm.runCallbacks"
                            action-data="vm.actionData"
                            result-data="vm.resultData"
                            callback-directives="vm.currentForm.callbacks.callbacks"
                            all-completed-flag="vm.displaySubmissionText"
                            display-templates="vm.currentForm.callbacks.displayTemplates">
               </ff-callback>

               <div ng-if="vm.displaySubmissionText">
                   <div>
                       <strong ng-bind-html="vm.currentForm.afterSubmissionText"></strong>
                   </div>
               </div>
           </div>

           <div ng-repeat="input in vm.inputs">
               <ff-input
                       input="input"
                       resolve-logic="vm.resolveLogic(input, vm.getFormController())"
                       resolve-placeholder="vm.resolvePlaceholder(input)"
                       resolve-inputsize="vm.resolveInputsize(input)"
                       resolve-name="vm.resolveName(input)"
                       resolve-label="vm.resolveLabel(input)">
               </ff-input>
           </div>
           <div ng-if="vm.getCaptchaKey() !== null && vm.currentForm.steps.length-1 === vm.currentStep && vm.currentForm.displayCaptcha">
               <div vc-recaptcha theme="'light'"
                    key="vm.getCaptchaKey()"
                    on-create="vm.notifyOfCaptchaLoad()">
               </div>
           </div>
           <div>
               <button type="button"
                       ng-click="vm.update(false)"
                       ng-disabled="vm.getFormController().$submitted"
                       ng-show="vm.currentStep>0&&!vm.isSubmitted()"
                       message-key="angular.ffController.button.previousStep">
               </button>
               <button type="button"
                       ng-click="vm.update(true)"
                       ng-disabled="vm.getFormController().$invalid
                               || vm.getFormController().$submitted
                               || vm.isPreviewMode
                               || (vm.getCaptchaKey() !== null && !vm.captchaLoaded)
                               || vm.currentStep<vm.currentForm.steps.length-1"
                       ng-show="vm.currentStep==vm.currentForm.steps.length-1&&!vm.isSubmitted()"
                       message-key="angular.ffController.button.submit">
               </button>
               <button type="button"
                       ng-click="vm.update(true)"
                       ng-disabled="vm.getFormController().$invalid || vm.getFormController().$submitted"
                       ng-show="vm.currentStep<vm.currentForm.steps.length-1&&!vm.isSubmitted()"
                       message-key="angular.ffController.button.nextStep">
               </button>
               <button type="button" ng-click="vm.reset()"
                       ng-disabled="vm.getFormController().$submitted || vm.currentForm.steps[vm.currentStep].resetDisabled"
                       ng-show="!vm.isSubmitted()"
                       message-key="angular.ffController.button.reset">
               </button>
           </div>
       </fieldset>
   </form>
</div>

<ff-progress-bar view-type="nocss" ng-if="!_.isUndefined(vm.currentForm.progressBar) && (vm.currentForm.progressBar.position === 'top' || vm.currentForm.progressBar.position === 'both') && !vm.getFormController().$submitted"
                form="vm.currentForm" current-step="vm.currentStep"></ff-progress-bar>
As you can see the file contains mainly html elements and angular directives. I will give more details about each directive below.
- ff-progress-bar displays a progress bar, you should not modify its declaration but you can put it in a different place inside your view file or remove it completely if you don’t want progress bars with your theme.
- ff-callback is responsible for handling Forms callbacks and should not be modified, it should always be wrapped by a container whose visibility is determined by the $submitted variable (avoid using ng-show here) of the angular’s form controller.
- ff-input is responsible for compiling your inputs and it should not be modified.
- vc-recapture is responsible for google captcha functionality.
The key thing to remember is that you don’t want to change behaviour of these components but only how they look by embellishing them with css classes or wrapping components.
Navigation of the form is provided via the vm.update() function. If the parameter passed is true then the form will either go to next step of be submitted (if there is no next step), if the parameter is false the from will try to go to the previous step.
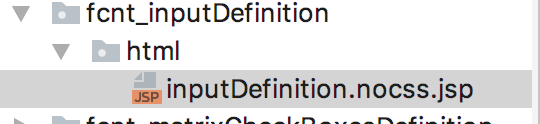
Create input views
The next thing to do is to create views for each type of input with whatever styles you want. For the sake of brevity I will look only at simple text input. You can find the list on inputs to modify on our nocss theme for Forms. Usually modification should be easy and straightforward as in most case it involves adding css classes.
For each input you will want to create a structure like this:
Here’s what’s inside the file:
<!-- Text input-->
<div ng-class="{'ff-has-error': form[input.name].$invalid && form[input.name].$dirty}"
ng-show="resolveLogic()">
<label >
{{input.label}}
<span ng-if="isRequired()"
ng-show="asteriskResolver()">
<sup> *</sup>
</span>
</label>
<input type="text"
ng-model-options="{allowInvalid:true}"
placeholder="{{input.placeholder}}"
name="{{input.name}}"
ng-model="input.value"
ng-required="isRequired()"
ng-readonly="readOnly"
ff-validations
ff-logic
ff-focus-tracker="{{input.name}}"/>
<p>
<span ng-show="input.helptext != undefined">
{{input.helptext}}
</span>
<span ng-repeat="(validationName, validation) in input.validations"
ng-show="form[input.name].$error[(validationName | normalize)]&&form[input.name].$dirty">
{{validation.message}}
</span>
</p>
</div>
As with the form view it is not recommended that you modify functional parts of the file but you can add any css classes you want to any html element in the file.
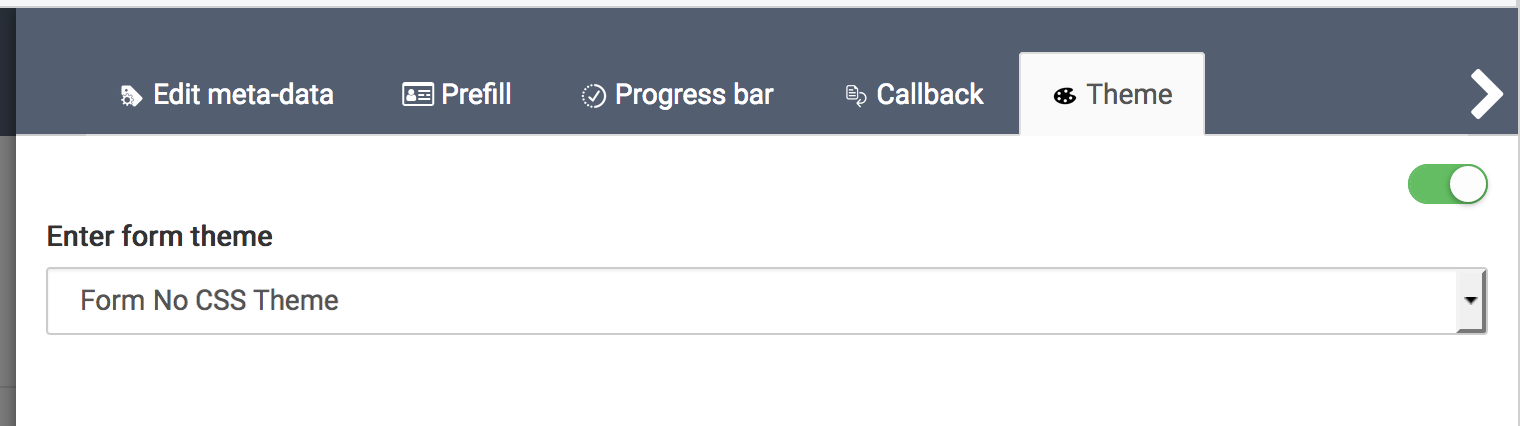
Add theme name
To make your theme user friendly you need to add a key to your resource bundle with the theme’s name like so:
label.themes.nocss.display.name=Forms No CSS Theme
Then in your metadata editor you will see that name.
Deploy your module and add it to your website.
You should now be able to use your theme.