Creating and managing forms
December 21, 2021
You can create a new form in the Forms Library.
To create a new form:
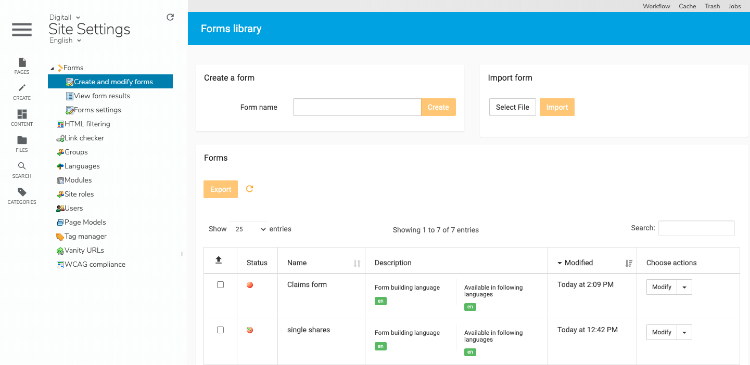
- Navigate to Site Settings>Forms>Create and modify forms to open the Forms library.

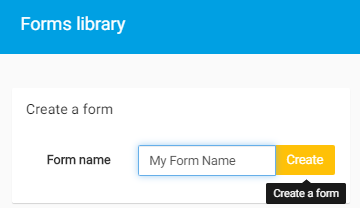
- In Create a form, enter a form name and click Create.

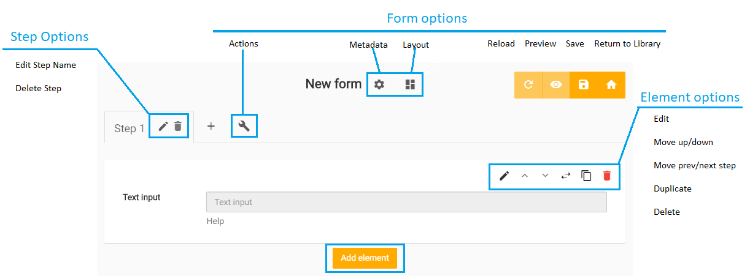
The Forms Builder opens. - In the Forms Builder, you can begin defining the structure of your form. By default you will see an input field created for you, you can edit or remove this field if desired.

- Click Add element to create a new element. For example, to create a field that users can add text to:
- In the Form Builder, click the Edit input button beside the new Text input. A new pane displays.

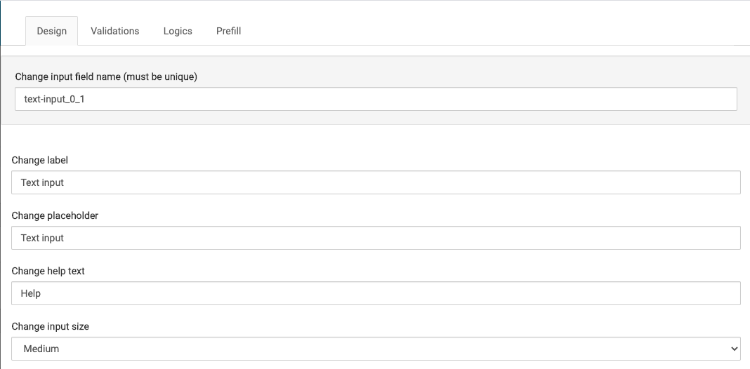
- In the Design tab, specify text that displays to form users, including the input label, placeholder text that displays in the input field, and help text that displays below the input. You can also specify the size of the input text, small, medium, or large.
- In the Validation tab, you can create a validation rule for the input, for example, the minimum or maximum number of character. For more information, see Creating a validation rule for a form field.
- In the Logic tab, you can show or hide the field depending on what you know of the visitor from their jExperience profile. For more information, see Bridge in Logics tab.
- In the Prefill tab, you can temporarily store values that users provide as they navigate between pages in the form. For more information, see Remembering field values for users and Specifying jExperience prefill options.
- Click Close.
- Click Create Form to save your form.
The form is now available for preview in the list of forms in the Forms Library.
