Marketo Connector
Prerequisites and limitations
- Though the Jahia Marketo Connector can be downloaded and installed on any Jahia website, you need to have a Marketo account to actually use its features.
- The Jahia Marketo connector is designed to work with DX 7.1.2 and newer versions
Installing
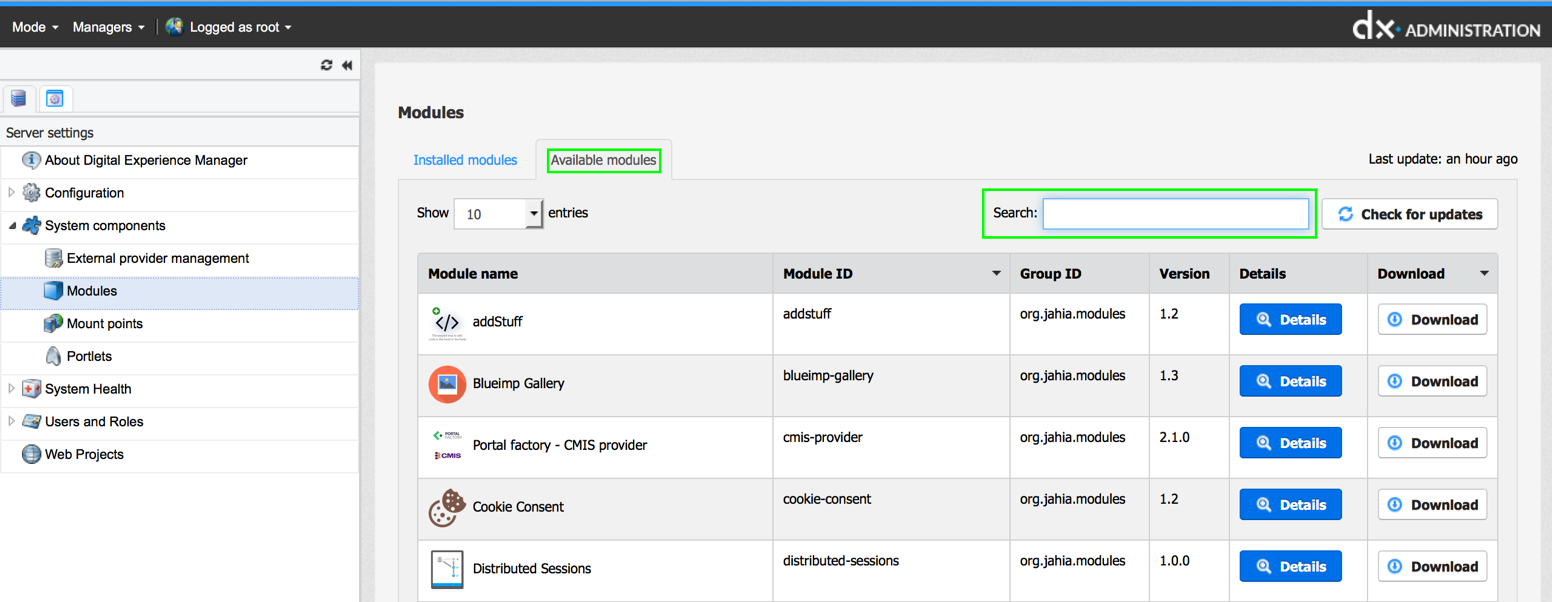
Install and configure the Jahia Marketo Connector in Jahia. If the JAR file is not already available, you can find the module on the Jahia AppStore or in Jahia in Administration>System components>Modules.
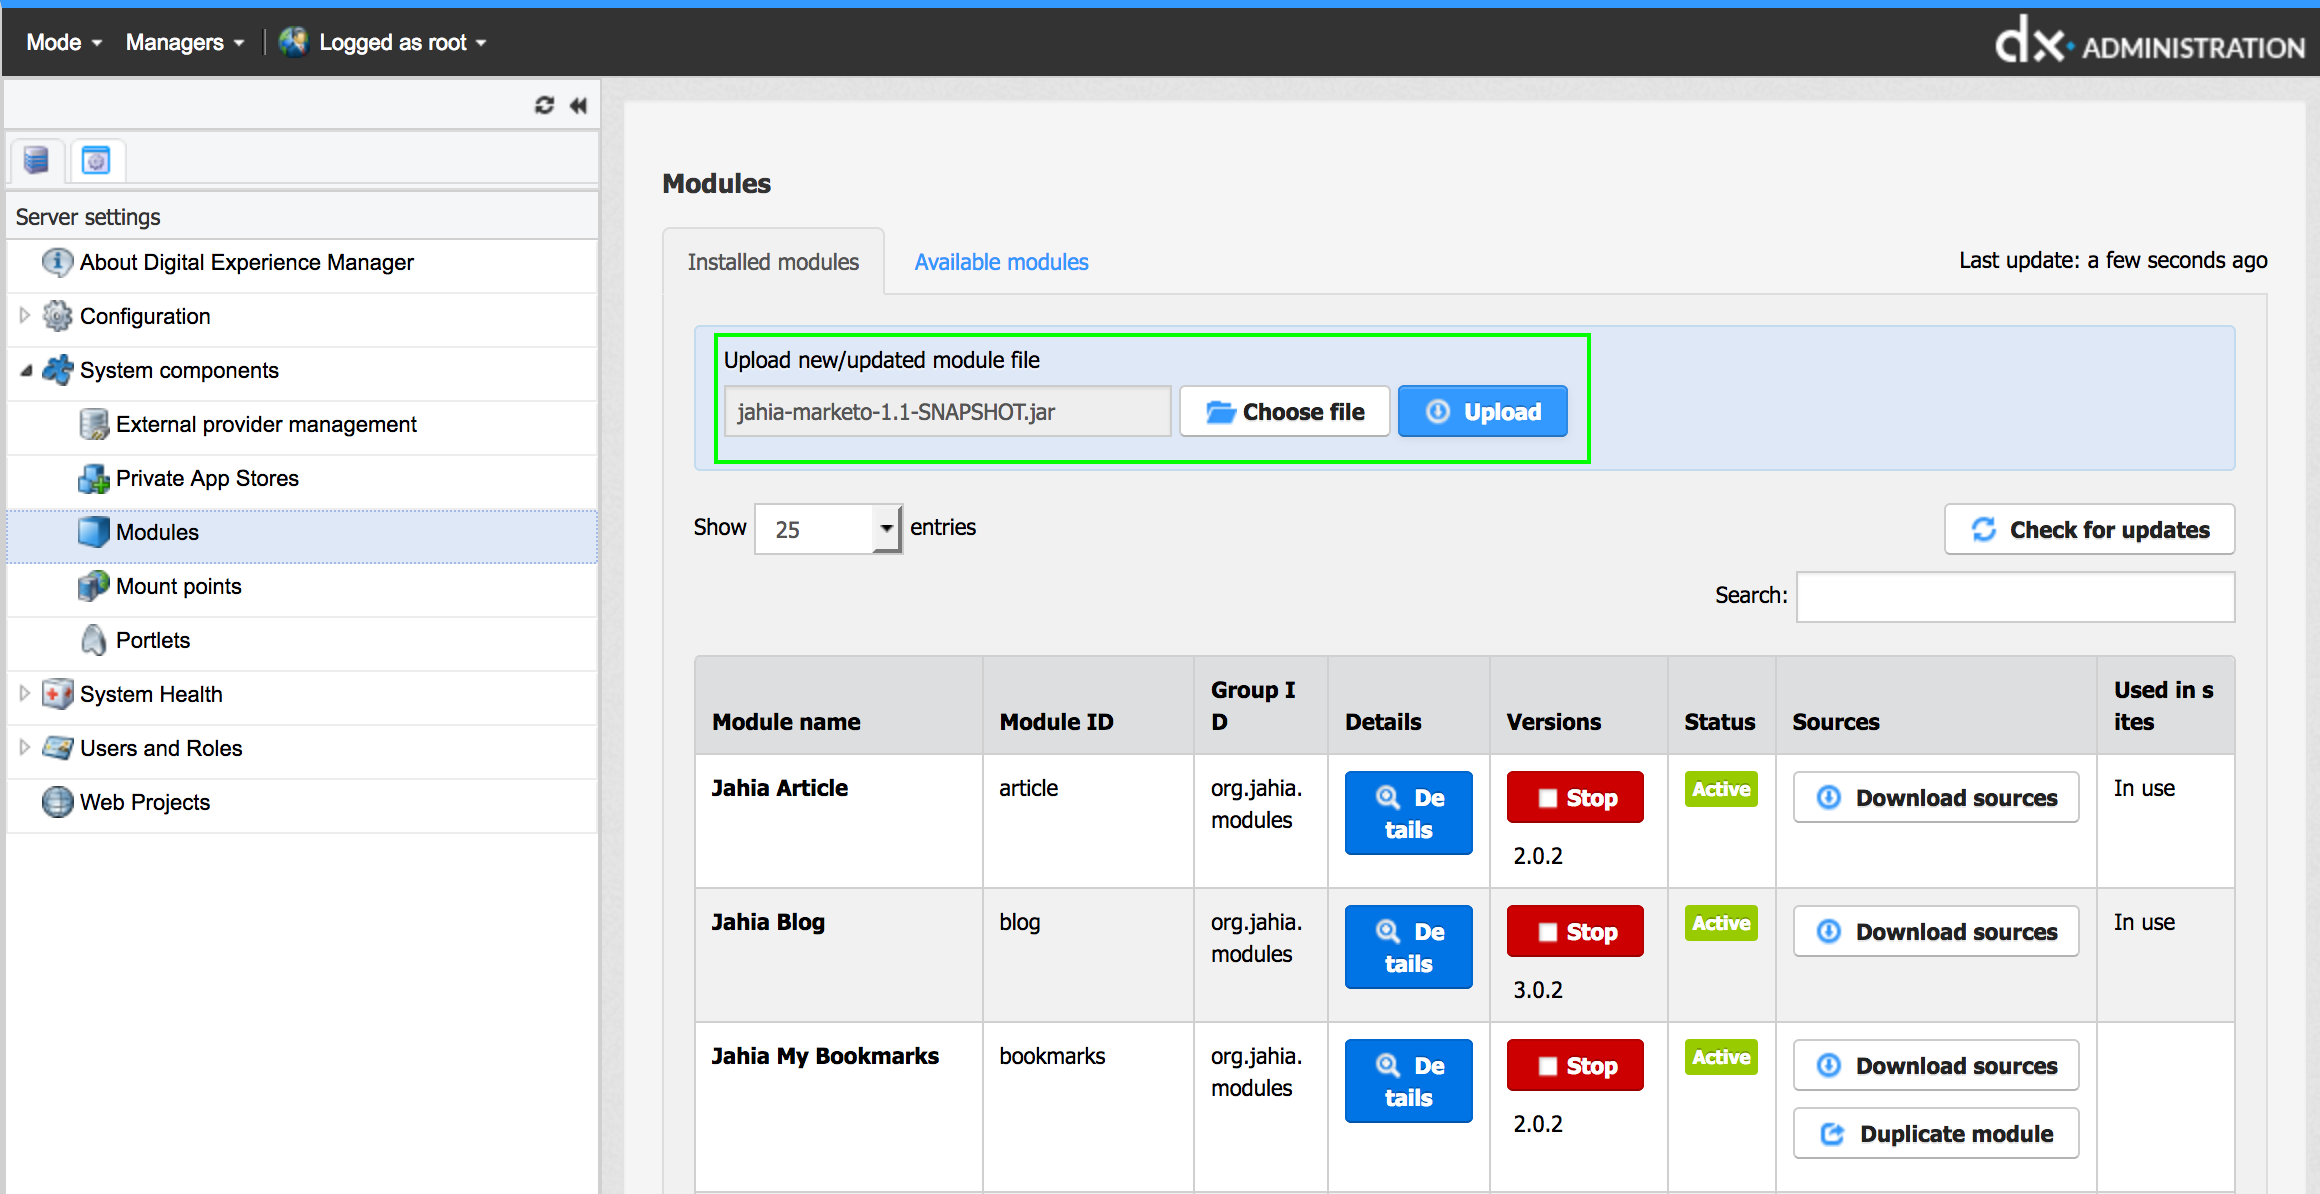
Deploy the module through the Module Administration user interface, or copy the jar file in the digital-factory-data/modules folder.
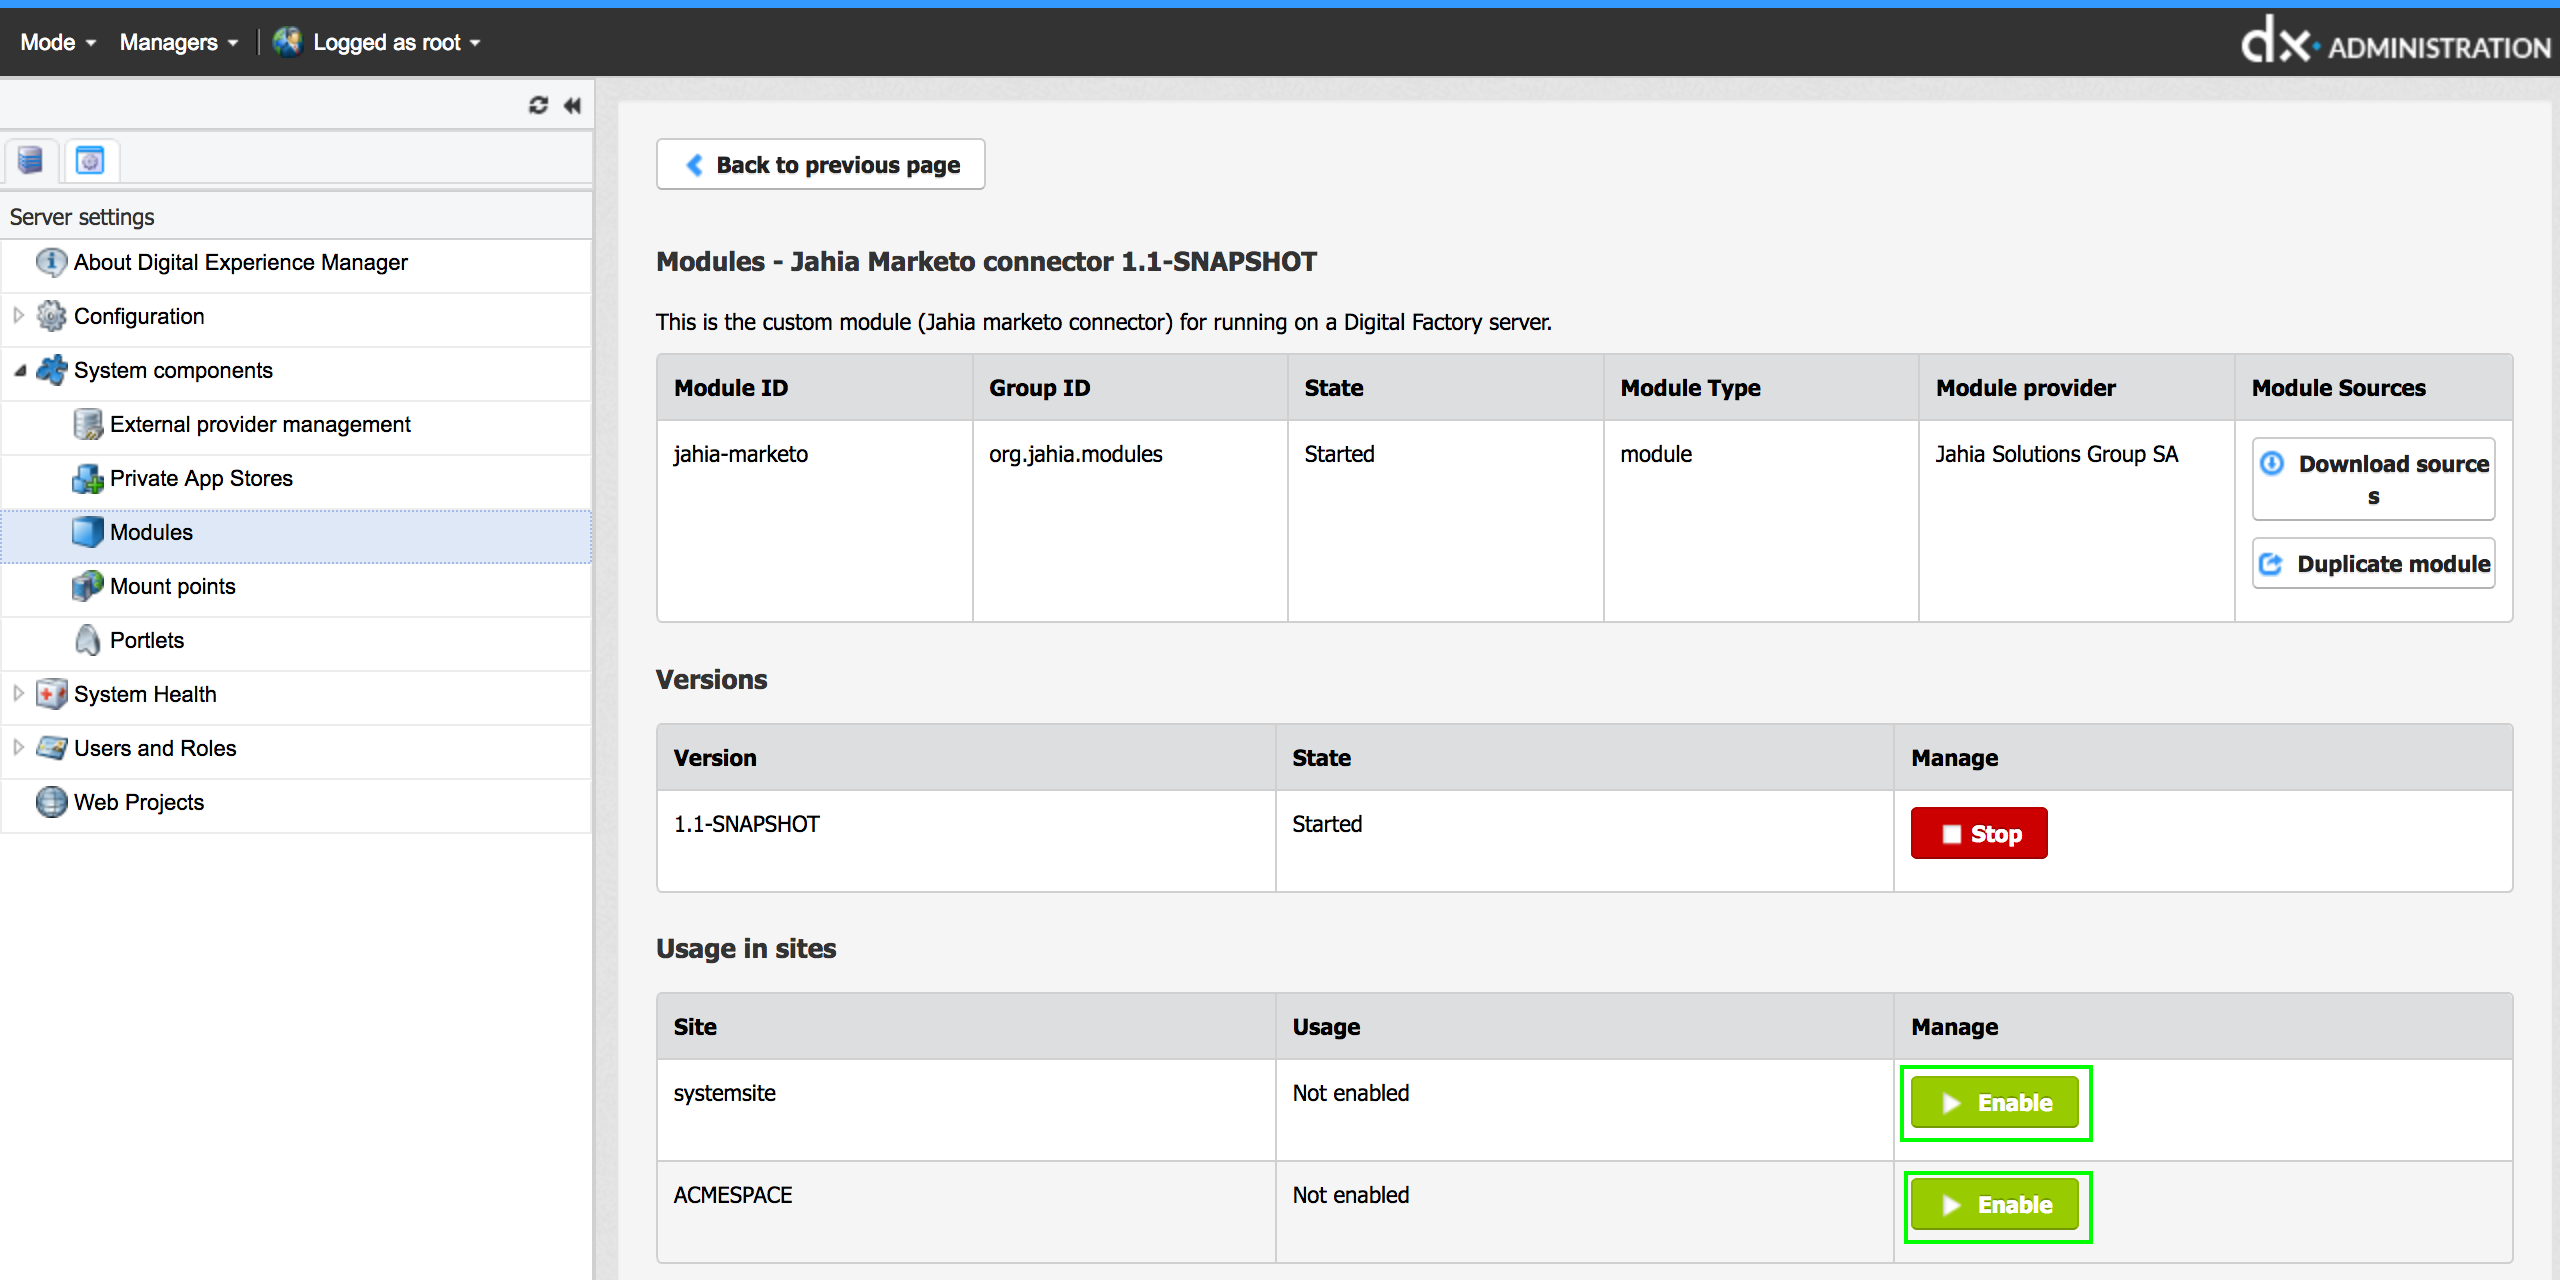
Once deployed, the Jahia Marketo connector needs to be enabled for one or more websites created and managed with Jahia. Click on the “Detail” button to access the configuration panel of the module.

Then enable the module for the website(s) you want it to function with.
Connection setup
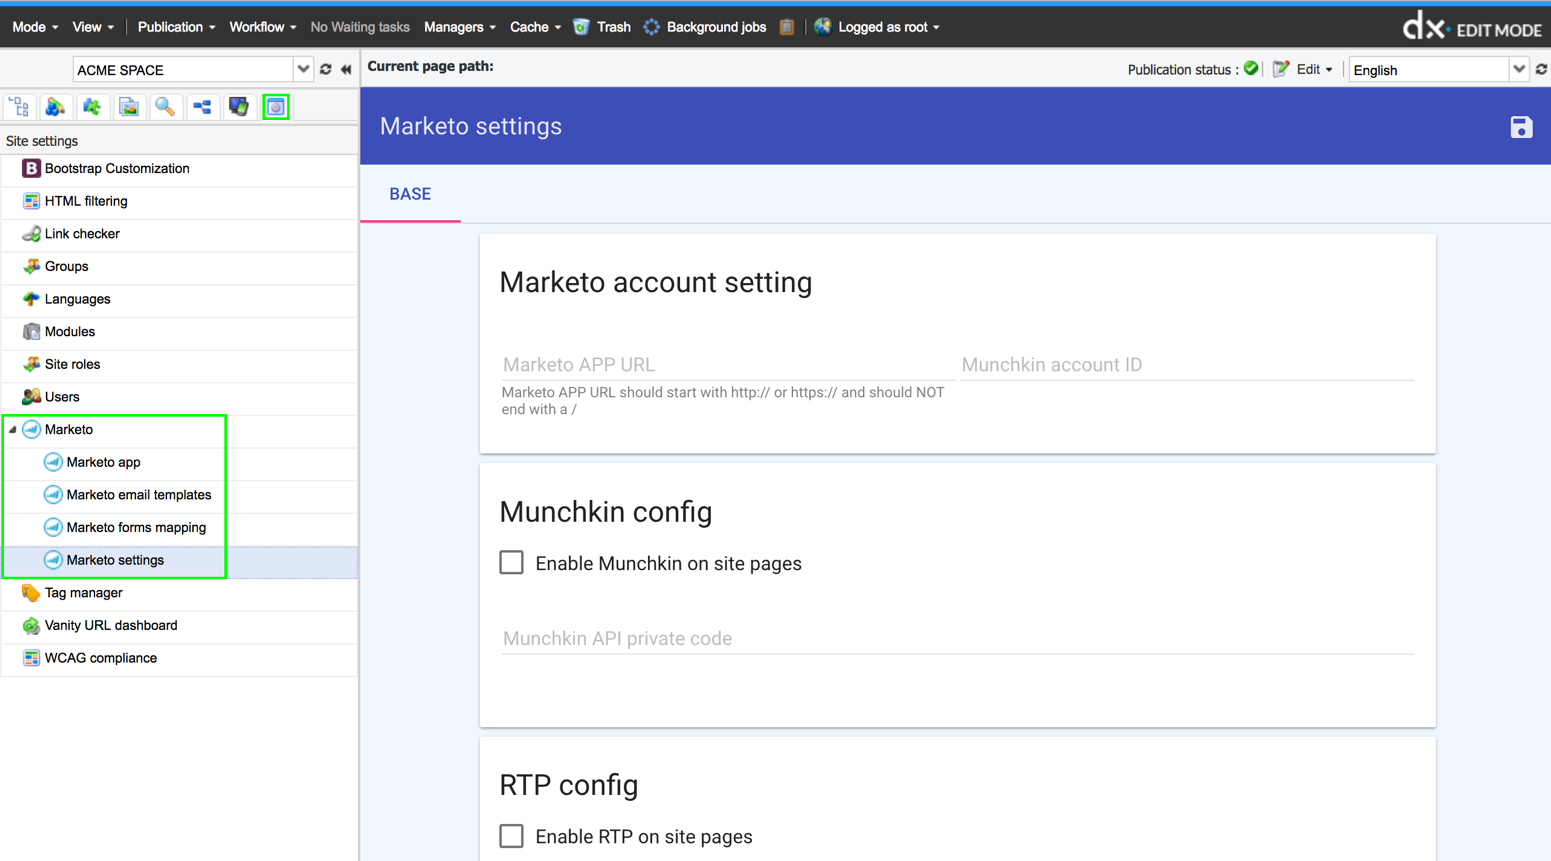
The Jahia Marketo Connector needs to be set for each website that will use it before it gets activated. Go to Edit Mode and click on the “Site settings” tab. If the connector has been properly enabled for the website, a Marketo features is present. Click on “Marketo settings”.
Marketo Basic settings
Before being able to use any services provided by Marketo, basic information needs to be inserted and stored.
Marketo account settings
This feature links the Jahia Marketo connector to the specific Marketo account that manages all Marketo services attached to your website. Insert here the proper Marketo App URL (your private URL to your Marketo account) and Munchkin account ID, that have been provided by Marketo.
Munchkin config
The Munchkin private API code or key has been created using your account on Marketo platform. If this has not been already done, go to the “admin” module and click on “Munchkin”. Then click on the Edit button regarding the API configuration and set the private key.
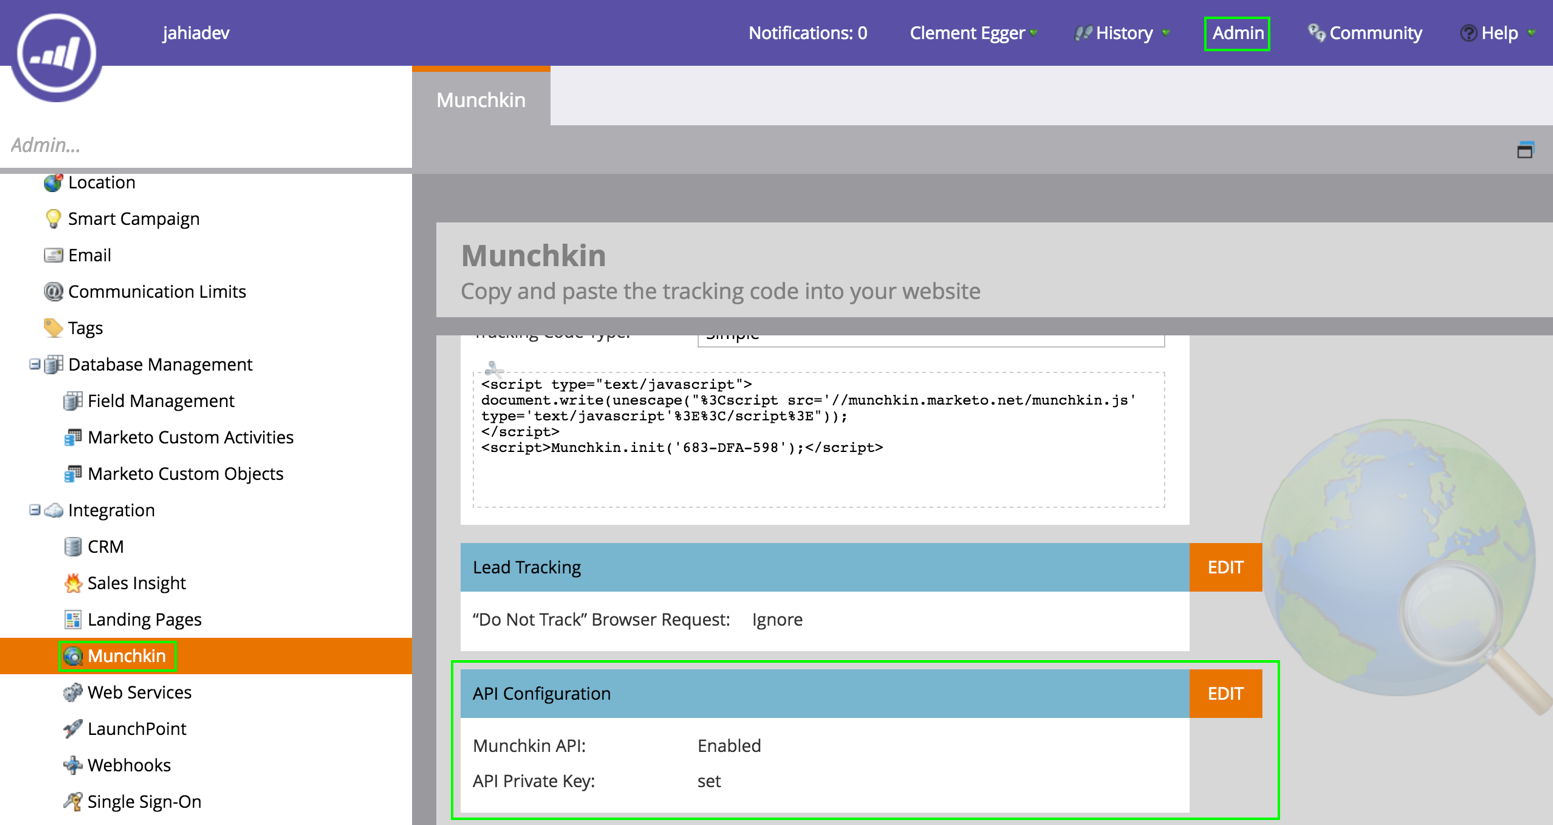
Once the API private key is set, report it on the Jahia Marketo connector setting panel. Then click on the button to enable Munchkin on all your website’s pages.

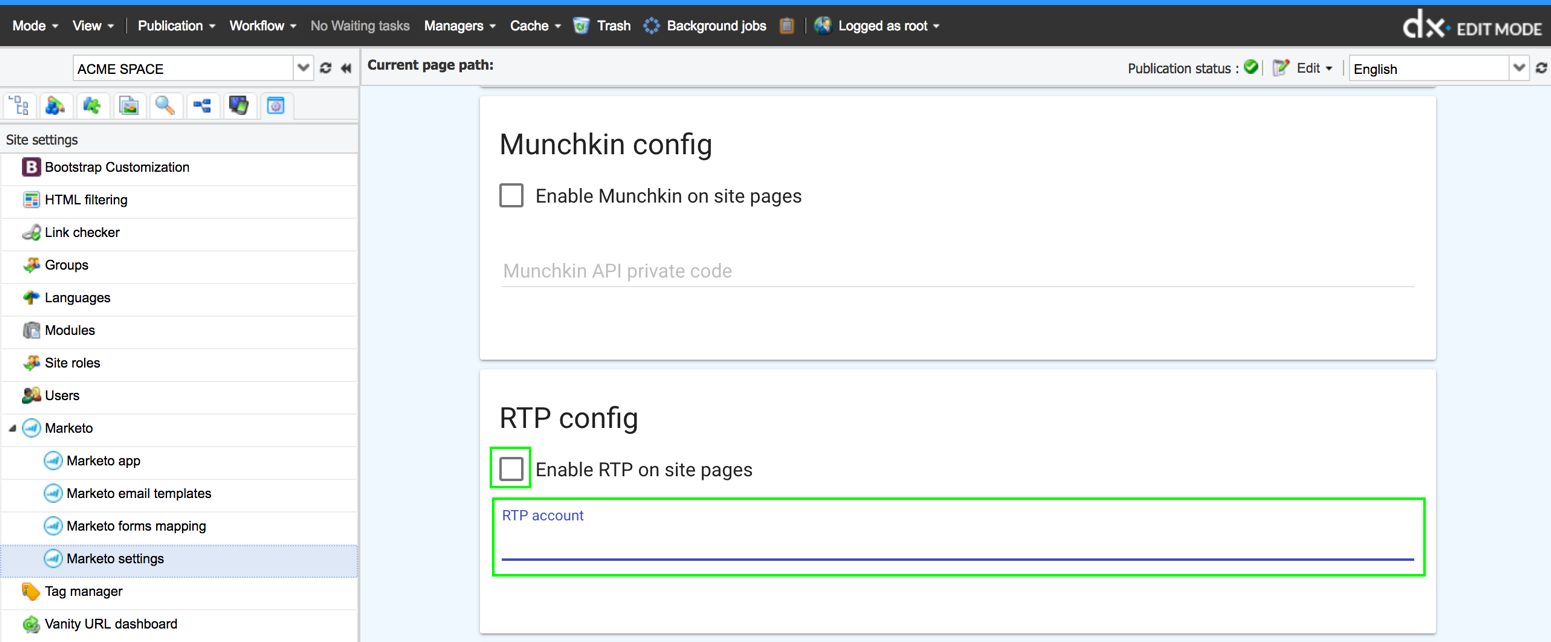
RTP Config
In order to enable the Real Time Personalization or RTP provided by Marketo, simply enter the RTP account ID that is attached to the Marketo account and enable the feature to all website’s pages by clicking on the button.
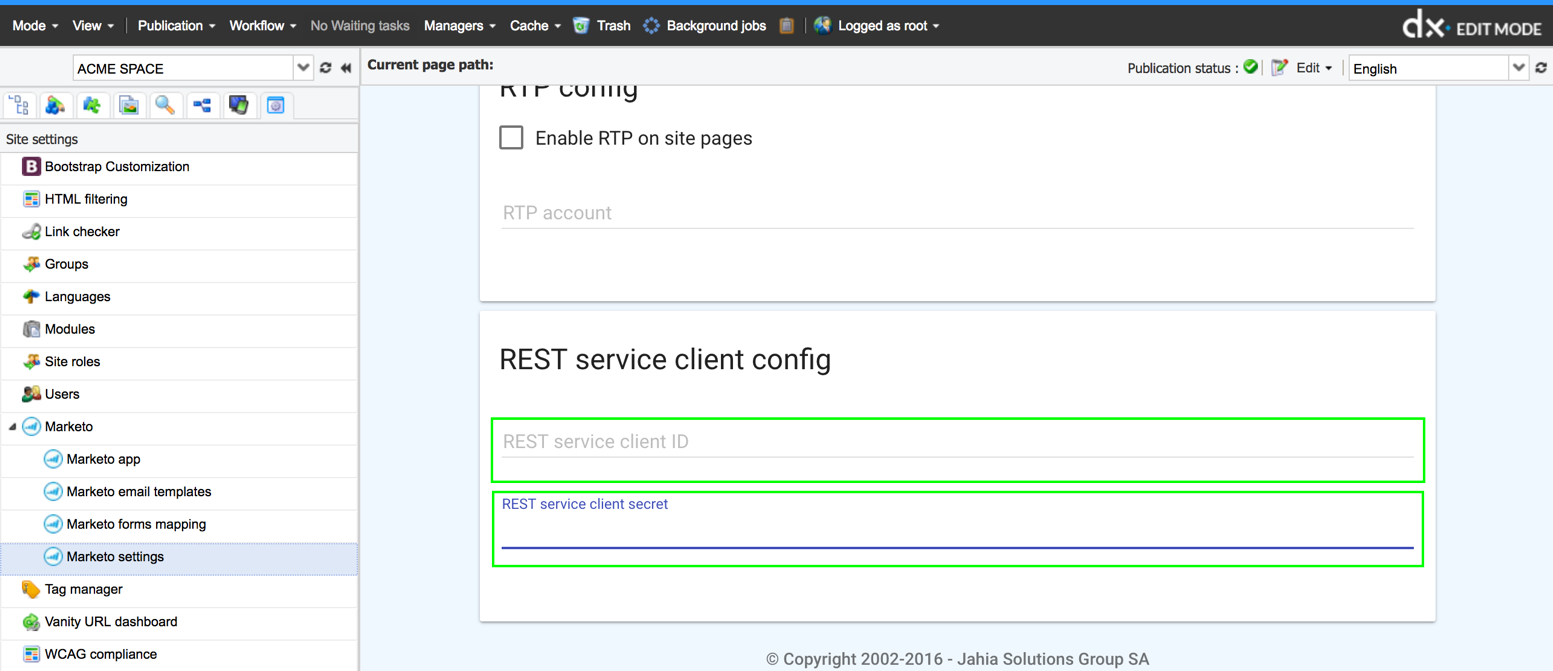
REST service client config
If you need to enable a Marketo REST API service, insert here the REST service client ID and secret code that has been provided to you by the Marketo platform. Full explanation are provided by Marketohere.
Save
Before leaving the Marketo settings, don’t forget to click on the floppy disk icon to save all provided data.

Advanced settings
Now that the Jahia Marketo connector has been set with basic information, two main services are available.
File Sync
The Jahia Marketo connector enables the possibility to synchronize Jahia and a specific Marketo environment.

Insert the Marketo target folder ID and click on the Enable file sync button.
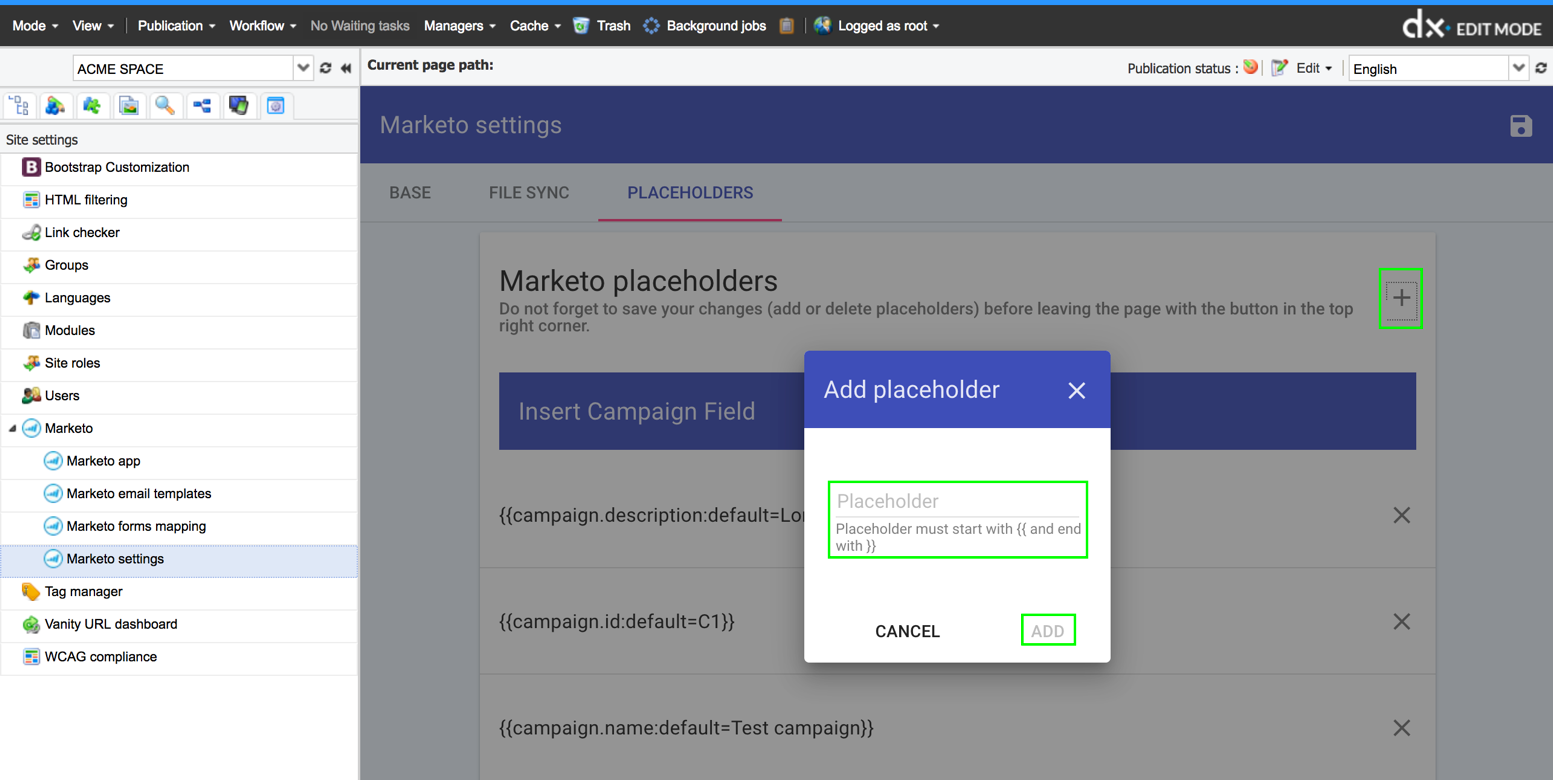
Placeholders
The Jahia Marketo connector enables the creation and management of Marketo Placeholders. In order to create one, click on the “+” icon. Then insert the placeholder code within the pop-up and click on “add” to create it.
Features
The Marketo connector enables the integration of Marketo technology into a Jahia managed website.
Marketo app
This features gives access to your private account on the Marketo platform using the Marketo App URL provided in the Marketo settings.
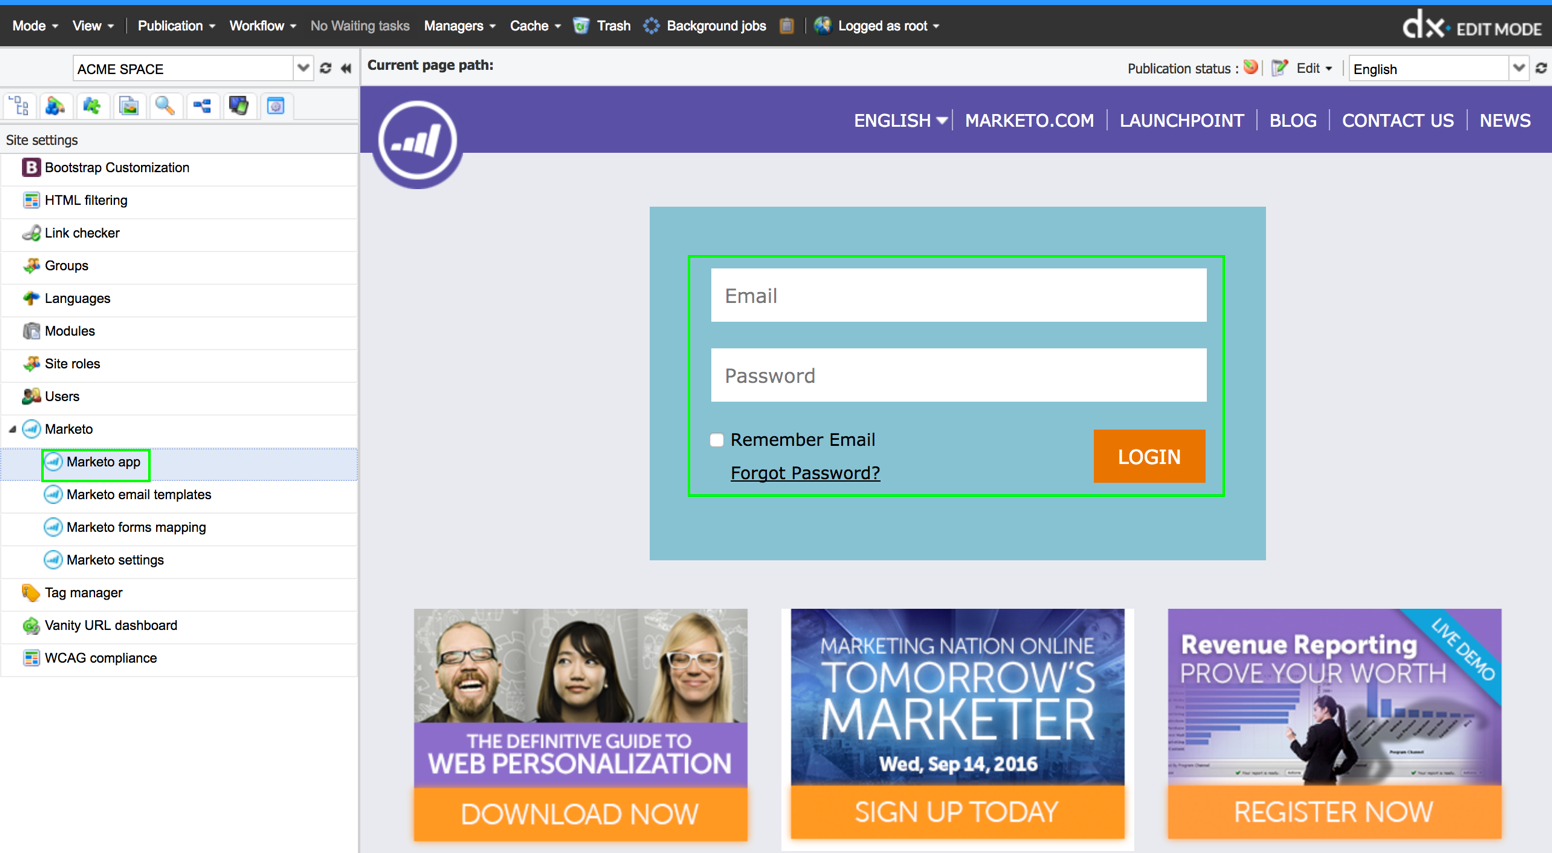
Insert your email and password to gain access to your Marketo account without leaving the Jahia environment.
Marketo email templates
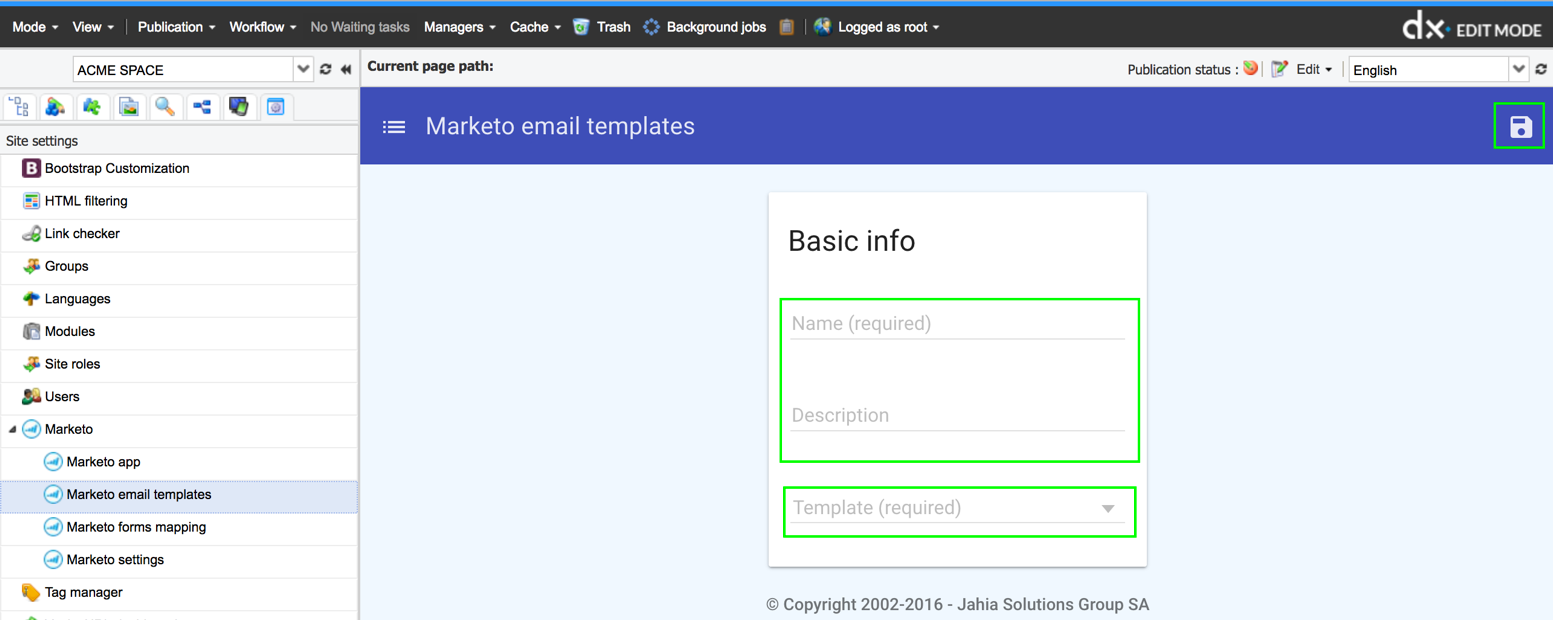
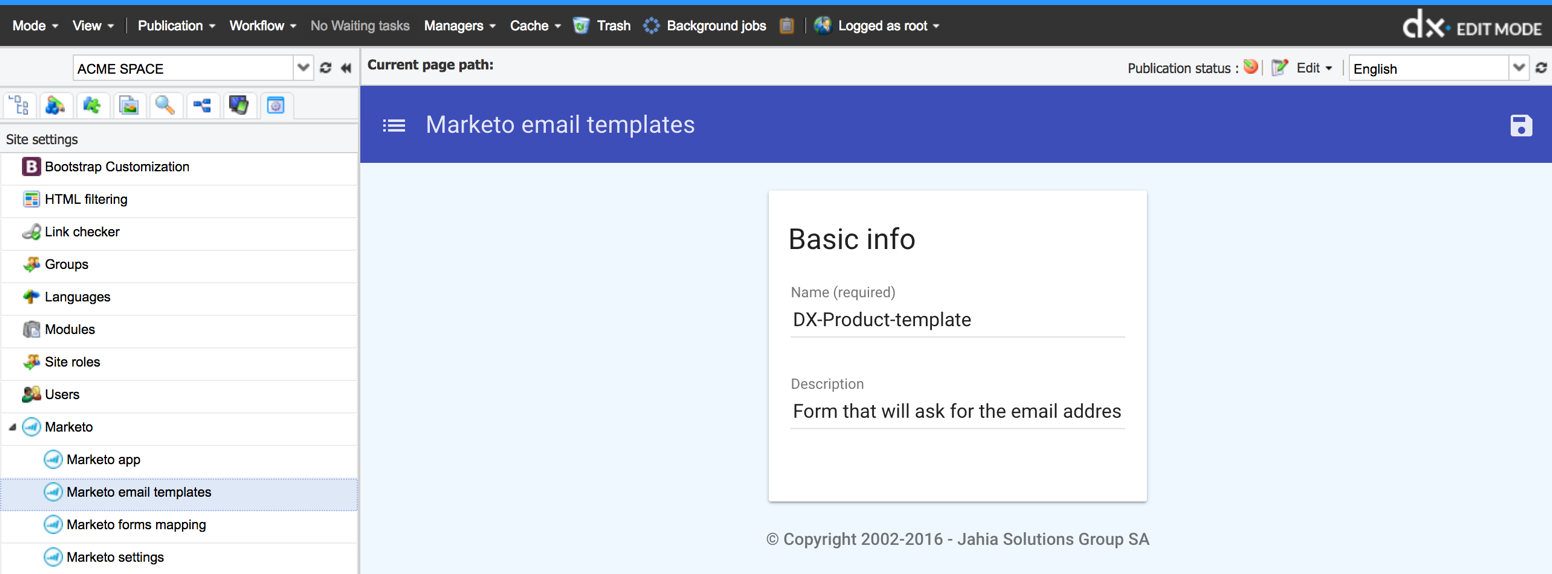
This feature from the Jahia Marketo connector enables you to quickly and simply create an email template for an email campaign without the need of any coding skills. First, click on the “+” icon to create a new template.

Give a name to the template. Ideally, the name should be unique and easily explain the purpose of the form. For a better understanding, a description may be added. Finally, choose the template that will be used to the email display.
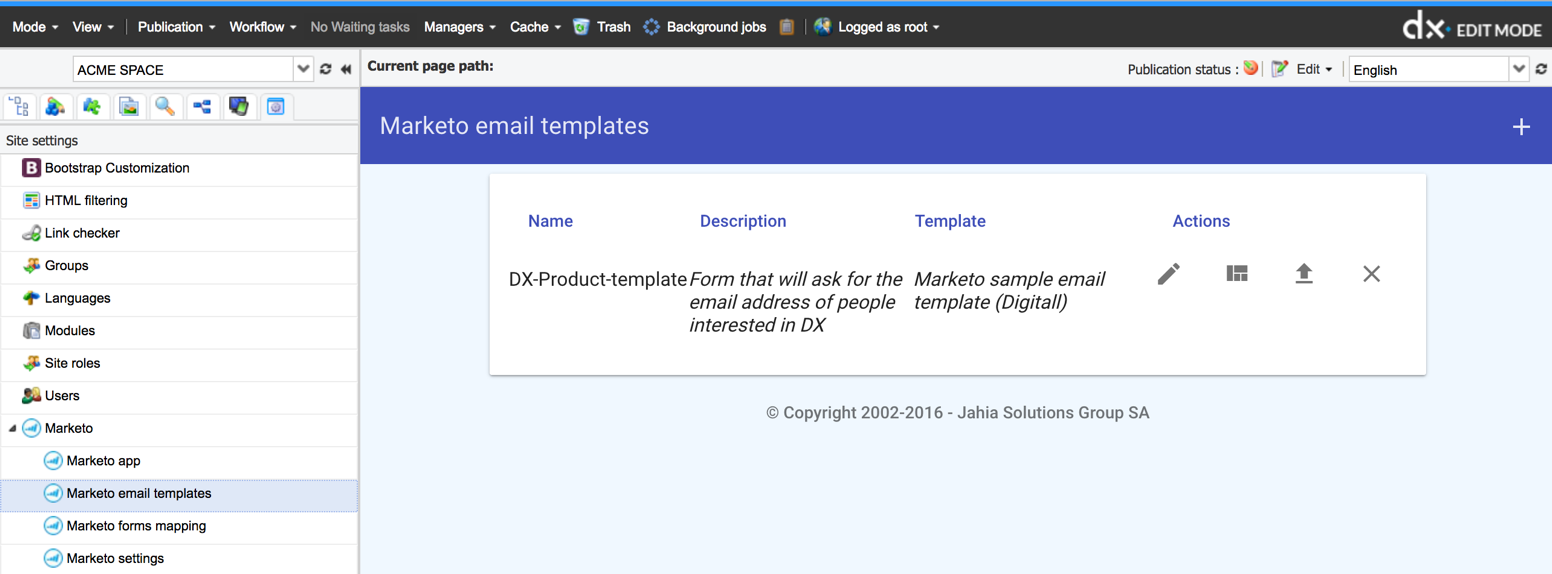
Once saved, the template is available here.
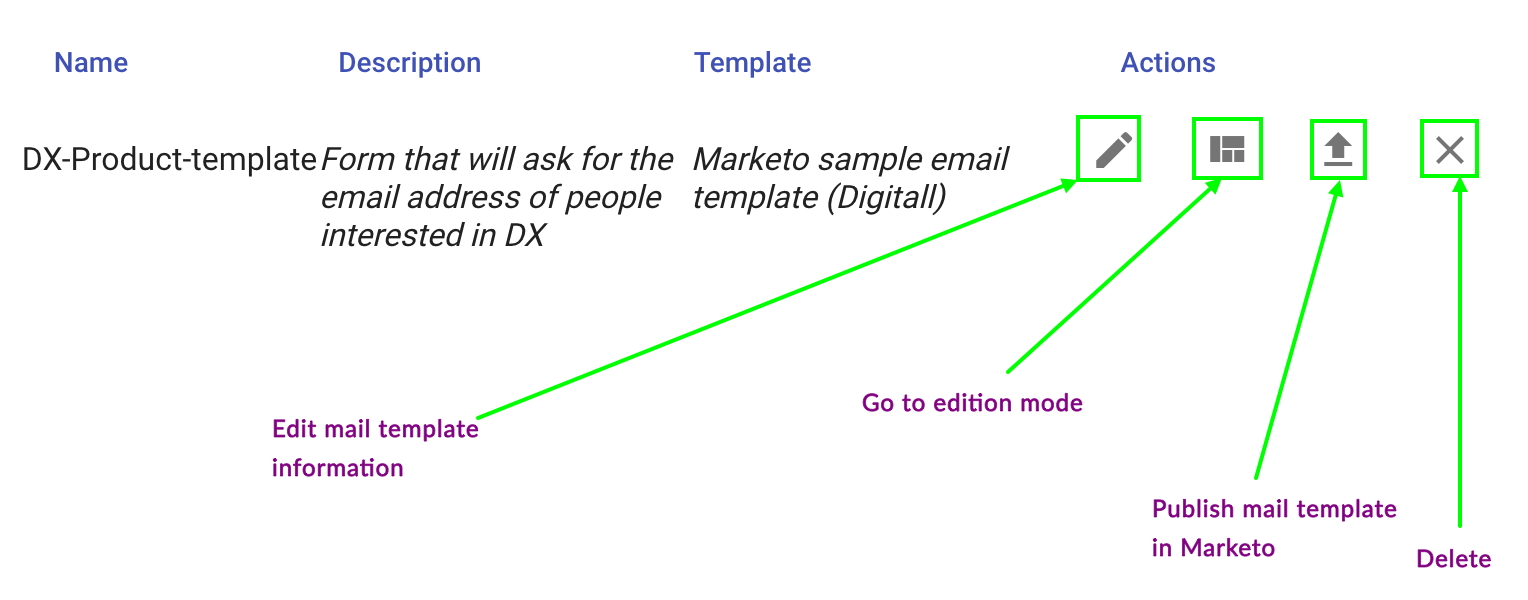
The Edit mail template information gives access to the basic information pop-up for update purposes. But The display template cannot be changed. If the chosen template is not the right one, a new email template must be created.
The Go to edition mode enables to create a specific email content using the newly created email template.
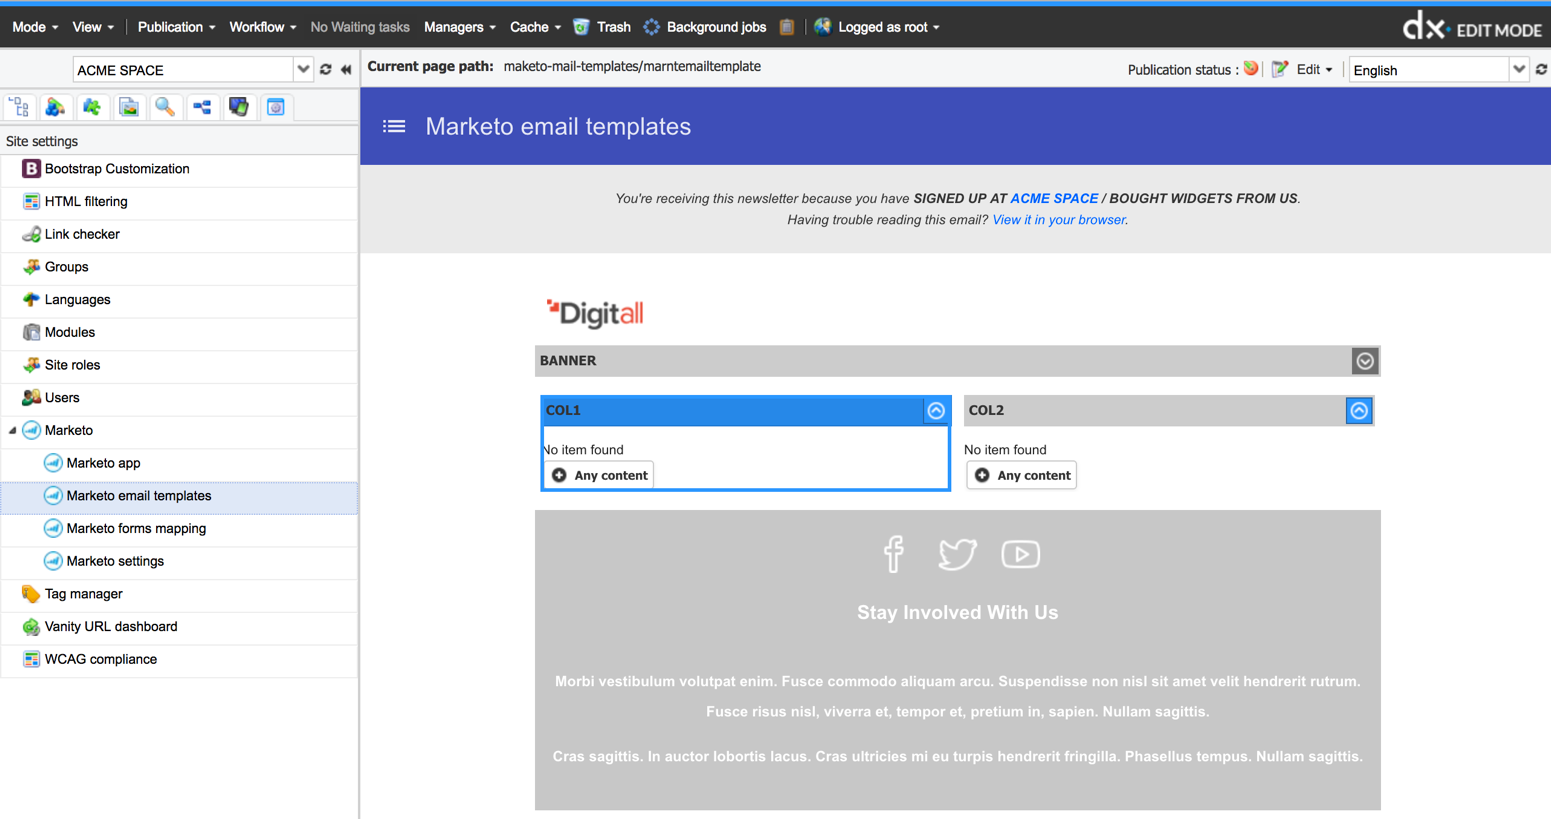
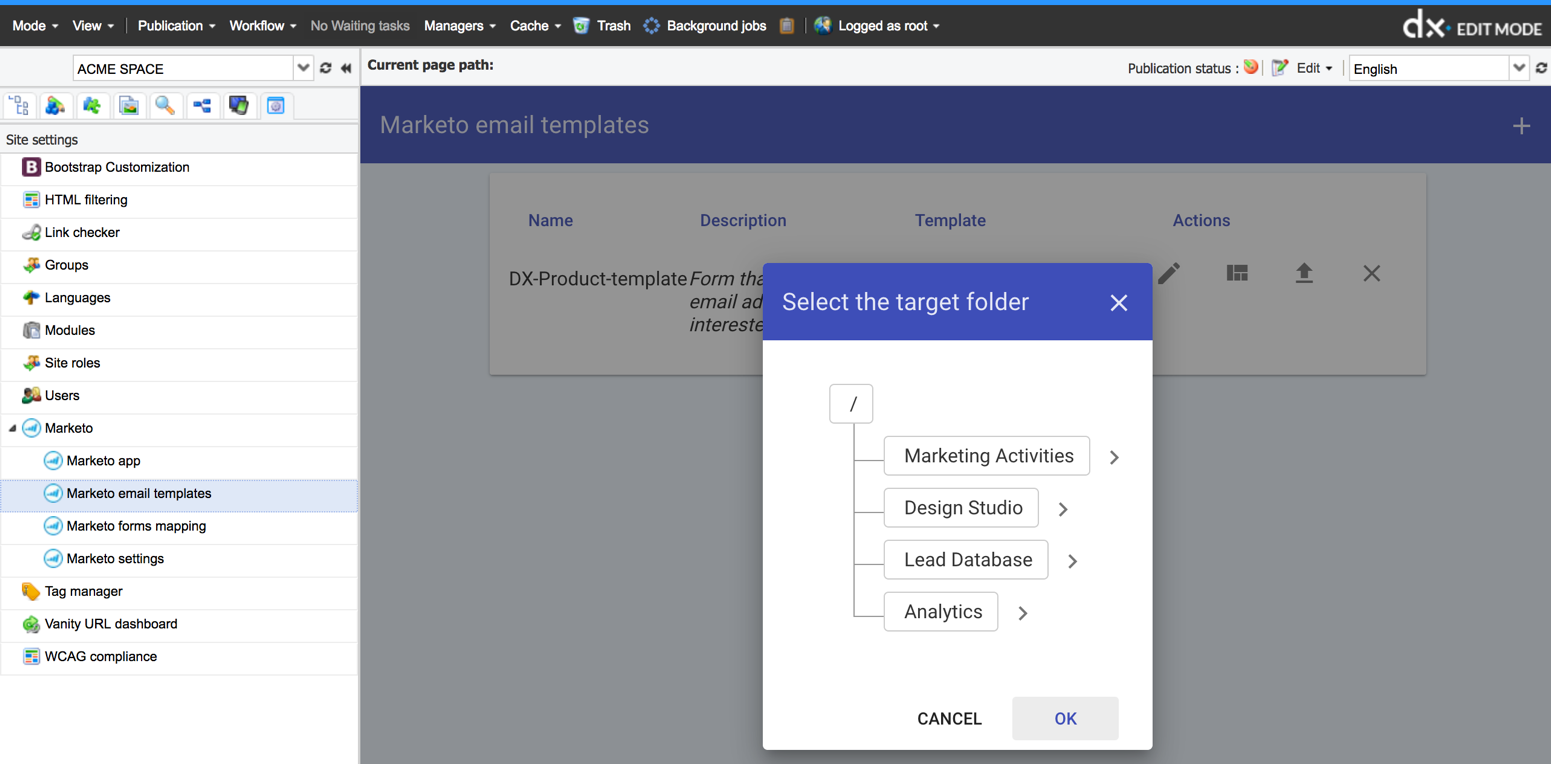
Create and save the needed content the same way this task is done using Jahia user interface. Once created, the specific email may be sent into your Marketo Platform. Choose the targeted folder using the pop-up that appears.
Finally, when the email template is no longer needed, it can be deleted.
Marketo forms mapping
A form map is defined by a name, the path to the page, which contains the form, the form identifier (name or ID), and instructions on how to treat each field of the form, when the form is submitted.
Form mapping overview
Form mapping is a process by which a marketer defines that some fields in a form should be captured by Marketo and inserted into the visitor profile. Of course, the visitor is the one who submits the said form. Form mapping has been developed to work with most forms as soon as they are included in a Jahia page, whether this is a html static form, a form built with Forms, and even if the form has been developed on the Marketo platform.
Creating a form mapping
The creation of the form mapping is a multi-step process that starts by identifying the form that must be mapped, then by declaring the mapping between the form fields and the profile fields. To avoid mistakes, and because each operation is based on previously provided information, each step appears in the page once the previous step is completed.
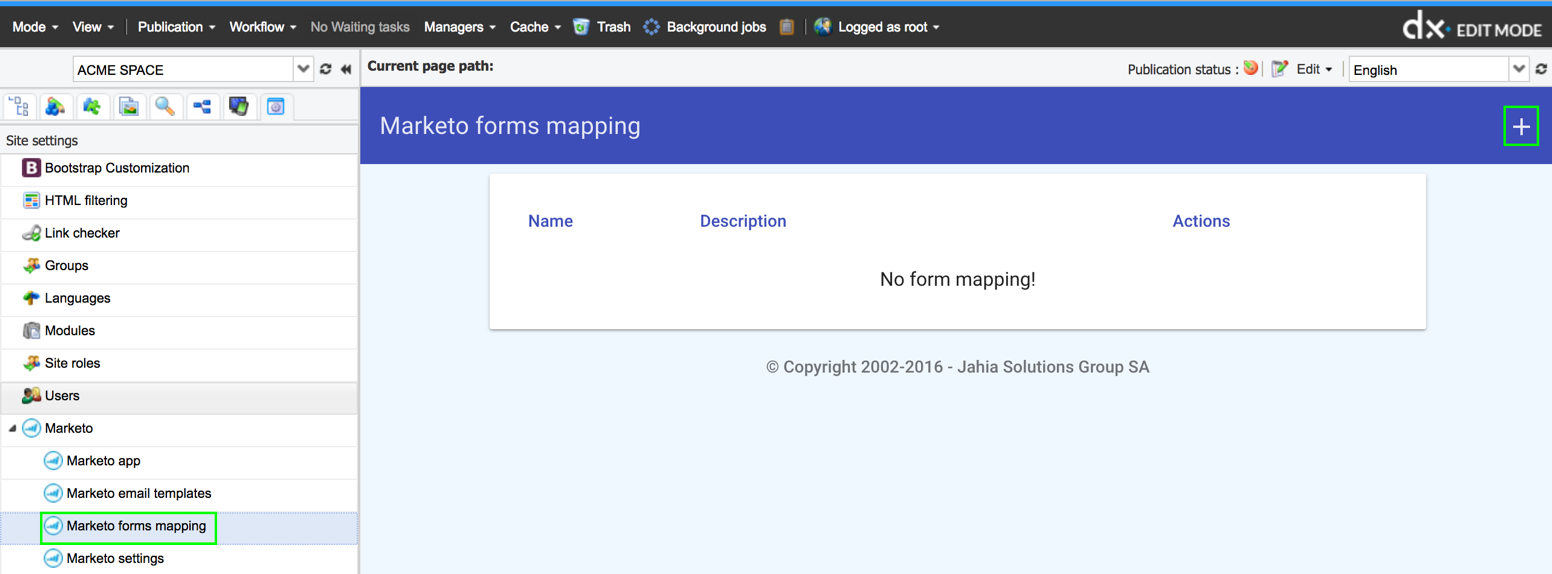
Click on the Marketo Form mappings entry, then click on the “+” icon. A form appears. Give your mapping a meaningful name and description (optional).

Copy and paste the URL of the page that contains the form or click on Show the page picker link. This will pop-up an overlay with your site map. Open the tree with the arrows until you find the desired page (the one that contains your form), then click on the page name. Once you have clicked on the page name, the overlay presenting the sitemap disappears and the field “Base page path” is filled with the correct URL. Now use the form picker to select the targeted form within the page and fill the target form name field.
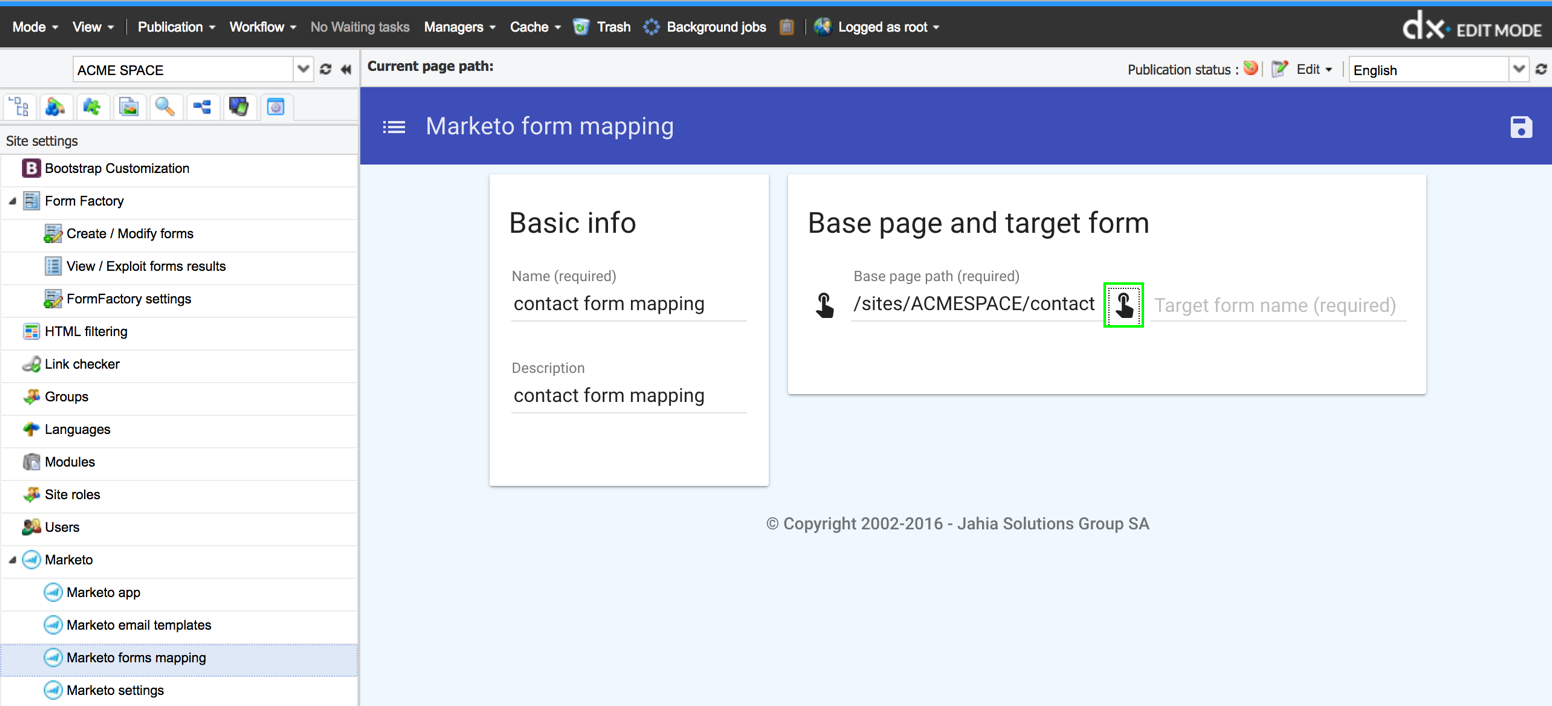
This opens the target page in an overlay. Scroll in the page to find where the form is, then click in any field to select the form.

Once the target form has been identified, the Jahia Marketo connector enables the possibility to link one, several or all form fields to a relevant Marketo category.
First, click on “add a new mapping” to select the relevant form field.
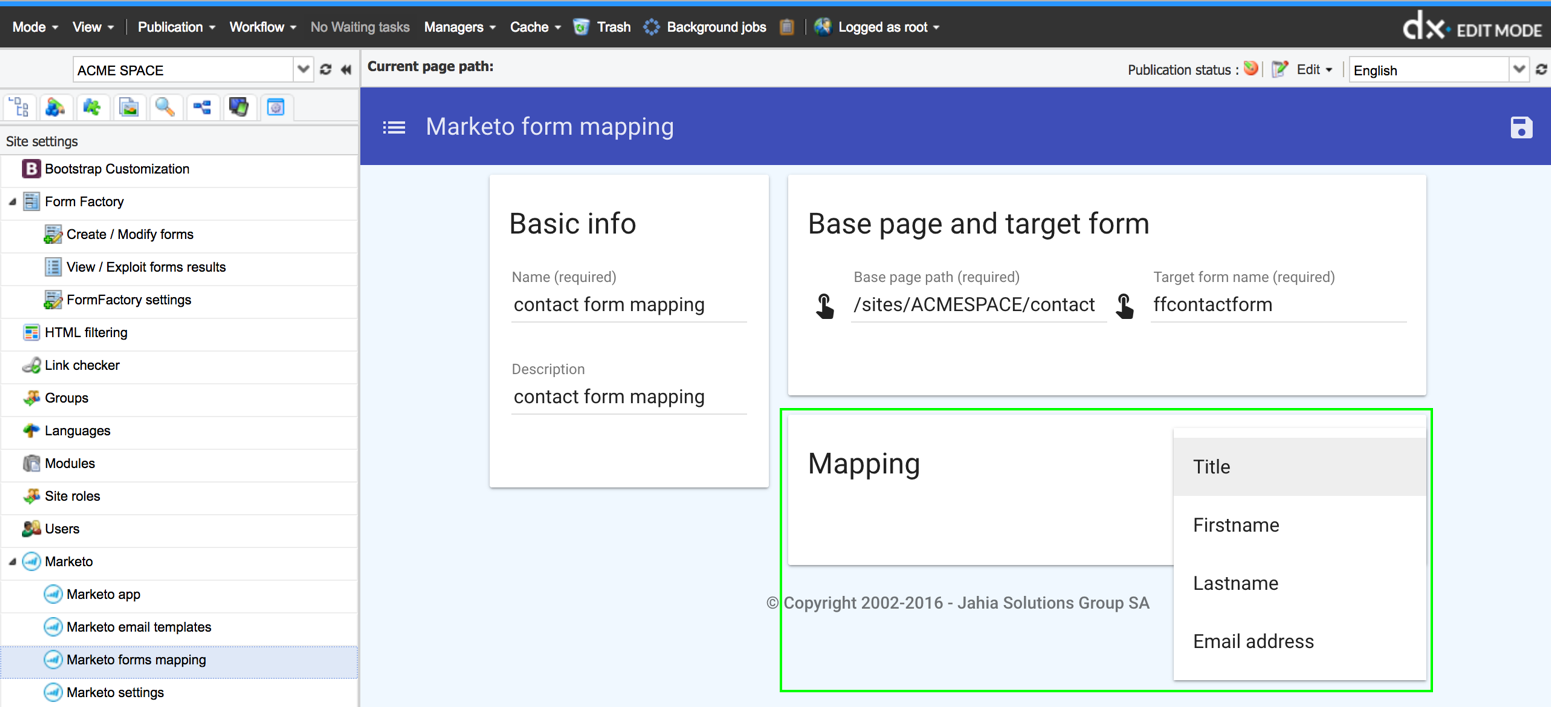
Then click on the “Map to” list to connect the selected field to the chosen Marketo category.

Repeat the operation as many time as needed.
This feature allows you to monitor the form activity directly within your Marketo dashboard.