First steps with Jahia
This tutorial shows you how to get started from scratch with a local installation of Jahia that runs in a Docker image.
At the end of this tutorial, you will have all you need to continue your learning experience, depending on what you want to learn next. You can follow links to further tutorials.
Installing Docker and running a Jahia Docker image
To make the installation as simple as possible, you use Docker to deploy Jahia and its dependencies. If you don’t have Docker installed on your system, you can get it here: https://www.docker.com/get-started
To run a Jahia Docker image:
After installing Docker, open a Terminal window on Mac or a Command Prompt on Windows (cmd.exe) and type the following commands:
docker pull jahia/jahia-dev:latest
docker run -p 8080:8080 jahia/jahia-dev:latest
The initial startup of Jahia takes a few minutes. When Jahia finishes starting, you should see a message that looks like this:
--------------------------------------------------------------------------------------------------
 D E V E L O P M E N T   M O D E A C T I V E

 In development mode, Jahia will allow JSPs to be modified, modules to be
 re-deployed and other modifications to happen immediately, but these DO have a performance impact.
 It is strongly recommended to switch to production mode when running performance tests or going live.
 The setting to change modes is called operatingMode in the jahia.properties configuration file.
--------------------------------------------------------------------------------------------------
 Modules:
     Started: 65
--------------------------------------------------------------------------------------------------
 DX 7.3.3.0 [Hit-Girl] - Enterprise Distribution - Build 59490.4480 is now ready. Initialization completed in 268 seconds
--------------------------------------------------------------------------------------------------
Logging into Jahia
You are now ready to connect to Jahia. Simply open a supported browser (see the Supported stack for a list of supported browsers) and enter the following URL:
http://localhost:8080
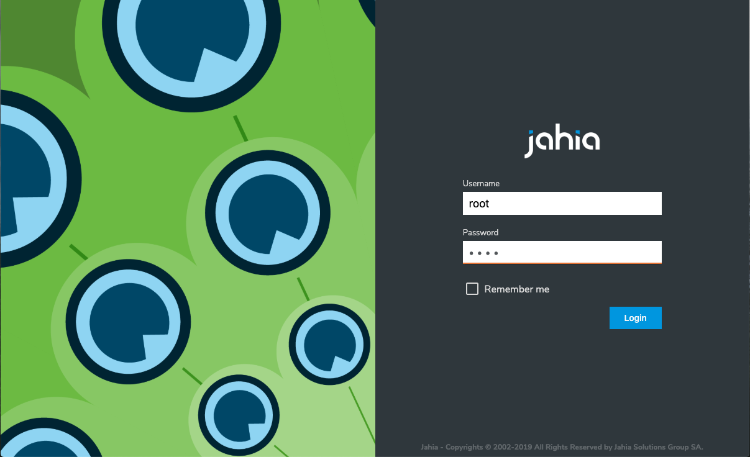
The login page displays:
Login using the following default credentials:
Username: root
Password: root
Creating a web project
After successful login, the web project screen displays. The way you create a web project depends on what you want to achieve in these first steps.
Where to go from here
You have different options from this point on. You can try any of these topics and tutorials:
- Discovering Jahia
Create a demo website that is prepopulated with content to discover and learn Jahia web content editing basics - Headless React and GraphQL app tutorial
Create an empty web project and use Jahia as a headless CMS to build a single page application, a progressive web application or even a native mobile application that will use Jahia’s GraphQL API to access headless content - Creating website templates in Jahia tutorial
Create an empty website to learn how to integrate an existing website design and learn the basics of using and building Jahia modules - Content definition and view tutorial
Define content definitions and views and build your own custom components - Creating modules in Jahia Studio
Learn how to use Jahia’s development tool, the Studio, to kickstart your module development
