Using file upload inputs
Upload Files
Forms provides an input type for file uploads. Using this built in type, it is possible to configure single or multiple file uploads and to restrict the total file size and accepted file types.
Add File Input
Begin by clicking the “Add element” button and selecting “File upload”.
Customize Design
Once you have created a File upload input on your form, you can click edit to access the Design tab which allows you to customize the way it looks and modify the help text to give your users specific guidance.
Set constraints with Validations
From the Validations tab you have the opportunity to set specific limitations to control the size and type of files permitted as well as the number of files that may be uploaded to this form.
*Note: This functionality was introduced in Jahia versions 3.3 and 2.7.
By default uploaded files will be stored in the JCR, check the Actions option at the Form level to confirm
Viewing uploaded files.
Uploaded files will appear in Forms results and (when default action is used) in the JCR under the input name as expected.
You can view results by selecting “View Results” in site settings under Forms.
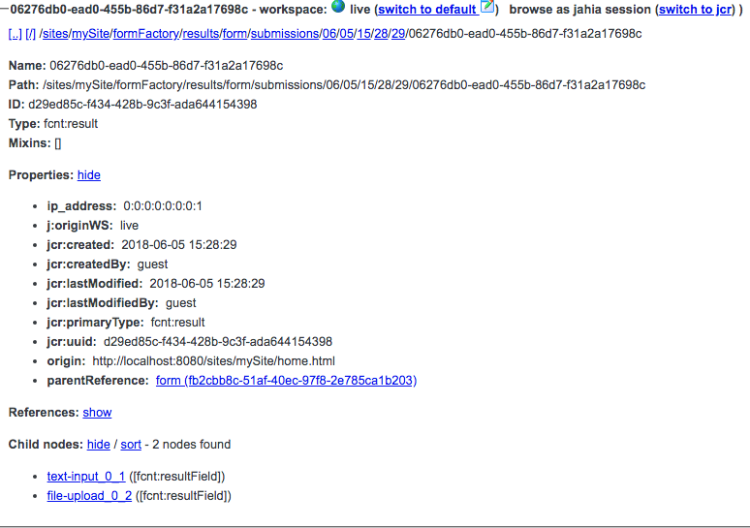
To see files in the JCR you need to navigate to tools. Go to tools and make sure to switch to “live” mode and you will be able to explore your submitted files under results of formFactory node on your site. Note that all of your actions that follow Save To JCR action will have access to this file via JCR path:
“/sites/mySite/formFactory/results/form/submissions/06/05/15/28/29/06276db0-ead0-455b-86d7-f31a2a17698c/file-upload_0_2”

