Installing Cloudinary
This tutorial shows you how to install and configure Cloudinary in Jahia. Cloudinary provides cloud-based image management which is fast and easy to setup.
Installing and configuring Cloudinary
This tutorial shows you how to install and configure Cloudinary on the prepackaged Digitall website. If you need help installing the website, see Creating a web project in Jahia in the Headless React and GraphQL app with Jahia tutorial.
Install and deploy the Cloudinary Integration module from the Jahia AppStore. If you are not familiar with this process, see Installing a module for more information.
To install and configure Cloudinary:
- After enabling the module, in Edit mode go to Site Settings>Cloudinary. The following page displays:
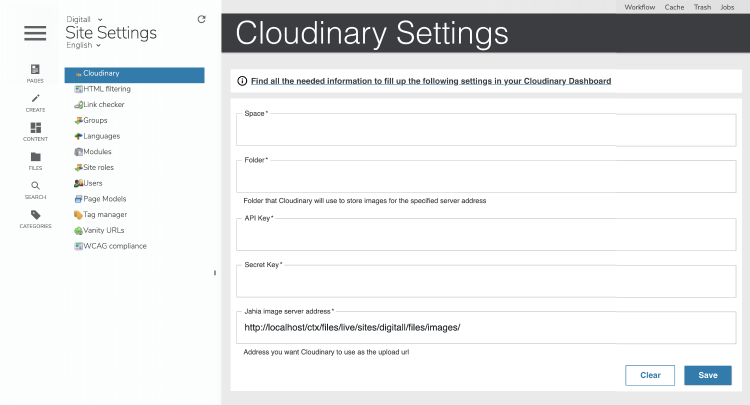
- Provide the following Cloudinary settings using information found in the Cloudinary Dashboard.
- Space
The Cloudinary cloud name - Folder
The custom folder where your images are stored on Cloudinary. The folder must be unique for every mapping. - API key
Your Cloudinary account API key - Secret key
Your Cloudinary account secret key - Jahia image server address
The URL that Cloudinary uses to upload images. Make sure that this URL is publically accessible.
- Space
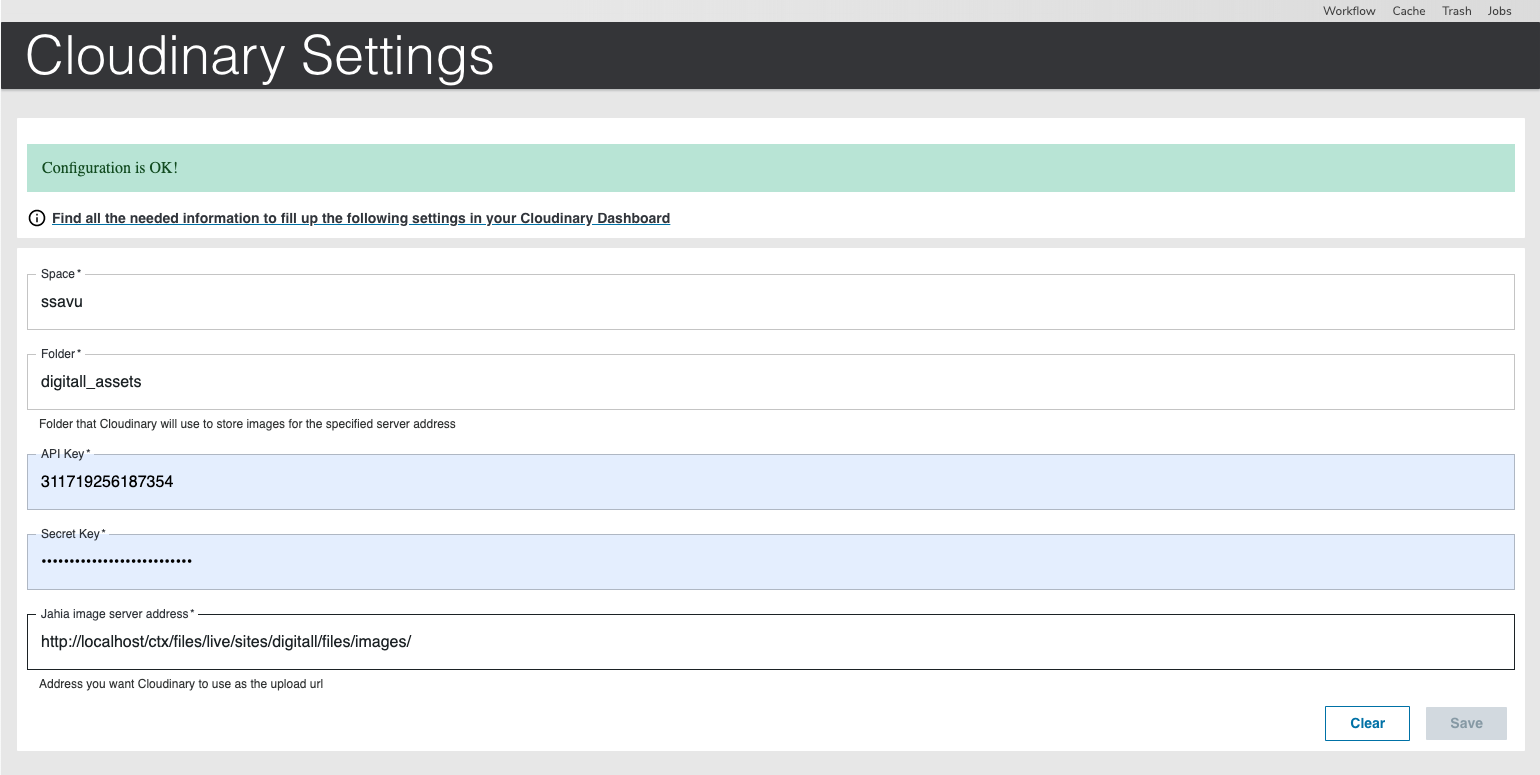
- Click Save. A message displays confirming that Cloudinary has been configured on Jahia.


You are now ready to use Cloudinary for hosting your images. You can choose to use tag library or GraphQL API to retrieve images (see below for more details).
Where to go from here
Next, you can try any of these topics and tutorials.
- Jahia Scenario: Overriding views
Learn how to use the Cloudinary tag library provided by Jahia while overriding views - Headless Scenario: SDL
Learn how to use Cloudinary Asset in an SDL example