Headless Scenario: SDL
Using Cloudinary Asset in SDL
This topic shows you how to use Cloudinary React SDK in your mobile and desktop applications by querying the provided Cloudinary extension to Jahia's GraphQL API Image object.
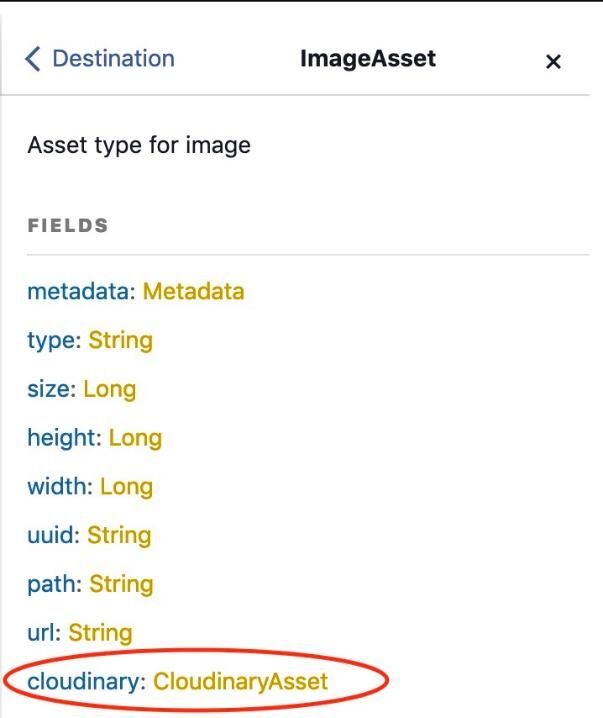
After installing and setting up Cloudinary on your Jahia platform, you will have access to new fields in your GraphQL API.
The CloudinaryAsset object provides all you need to use Cloudinary SDK.
Installing the React SDK
Add Cloudinary SDK to your project. For more information refer to Cloudinary SDK documentation. In your project folder and at the root level, type the following command:
yarn add cloudinary-reactModifying the GraphQL query
Modify your GraphQL query to request Cloudinary information in the ComponentList.container.jsx file.
const COMPANIES_QUERY = gql`
    query CompaniesListQuery($language: String) {
        allCompany(language: $language) {
            uuid
            title
            description
            industry {
                title
            }
            image {
                cloudinary {
                    cloudspace
                    path
                }
            }
        }
    }
`;
Then modify the code this way, to pass Cloudinary information to the Company component. In the following example, the image field is modified from a string (URL) to an object (Cloudinary data from GraphQL).
//Build the company data as expected by the Company component
                    data.allCompanies.forEach(company => {
                        companies.push({
                            id: company.uuid,
                            title: company.title,
                            description: company.description,
                            image: company.image.cloudinary,
                            industry: company.industry.title
                        })
                    });
In this version we deleted the function generate URL and pass Cloudinary data in the company object as image key.
data.allCompanies.forEach(company => {
    companies.push({
        id: company.uuid,
        title: company.title,
        description: company.description,
        image: company.image.cloudinary,
        industry: company.industry.title
    })
});
Using the Cloudinary Image React component
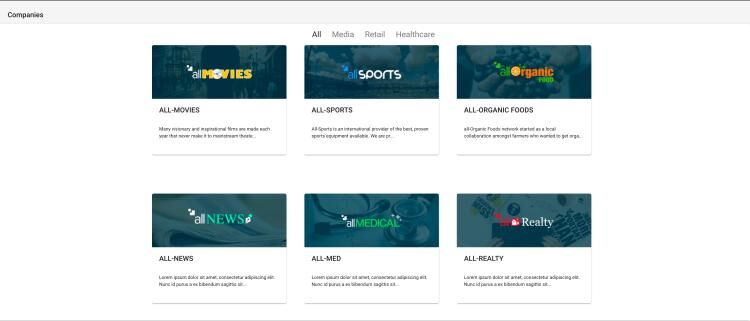
Next, use the Cloudinary SDK to render images in the card for each company with the most optimized image. Here's how the application looks after the first tutorial.
To render images using Cloudinary SDK, you need to modify the Company.jsx file and import the Image and Transformation components from cloudinary-react.
Then modify CardMedia to render a custom image component.
import React from 'react';
import {withStyles} from '@material-ui/core';
import CardMedia from '@material-ui/core/CardMedia';
import CardContent from '@material-ui/core/CardContent';
import Card from '@material-ui/core/Card';
import Typography from '@material-ui/core/Typography';
import {Image,Transformation} from 'cloudinary-react';

const styles = {
    card: {
        maxWidth: 300,
        maxHeight: 350
    },
    media: {
        height: '120px'
    }
};

const cloudinaryImageTransformation = (image,classes) => {
    return (
        <Image cloudName={image.cloudspace} publicId={image.path} dpr="auto" responsive className={classes.media}>
            <Transformation height="120" width="300" crop="fill" fetchFormat="auto"/>
        </Image>
    );
};

const Company = ({classes, title, description, image}) => {
    return (
        <Card className={classes.card}>
            <CardMedia
                className={classes.media}
                component={() => cloudinaryImageTransformation(image,classes)}
                image={image.path}
                title="Company"
            />
            <CardContent>
                <Typography variant="title">
                    {title}
                </Typography>
                <br/>
                <Typography component="div">
                    <p dangerouslySetInnerHTML={{__html: description.length > 150 ? `${description.substr(0, 100)}...` : description}}/>
                </Typography>
            </CardContent>
        </Card>
    );
};

export default withStyles(styles)(Company);
The following line shows how to use the Cloudinary SDK to ask the service to deliver an image of 300 by 120 in the most suitable format for the client.
<Transformation height="120" width="300" crop="fill" fetchFormat="auto"/>
Summary
In this tutorial, you learned how to use information provided by Jahia Cloudinary Integration in your headless apps by using Cloudinary React SDK.
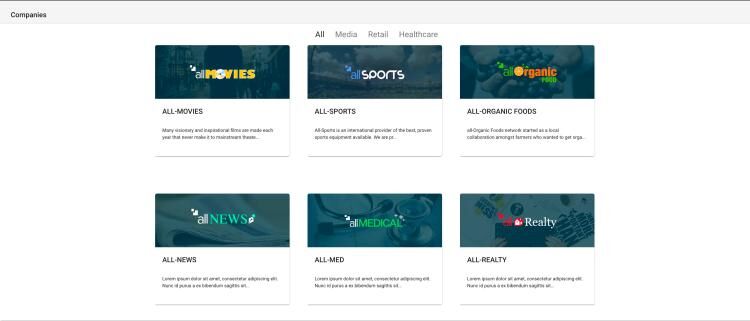
Cloudinary delivers images optimized for your application. Instead of images delivered by Jahia:
Images delivered by Cloudinary average under 10kb:


