CKEditor 5
This page provides information on how to configure, integrate and extend CKEditor 5 in Jahia. It explains how to work with the configuration file, how to create custom toolbars, how to apply custom toolbars to specific sites, permissions or content types.
Installation
CK5 is available as a module. You can download it from the Jahia Store.
Please note that CKEditor 5 will completely replace CKEditor 4 in a later version of Jahia, but for the time being both CK4 and CK5 can run at the same time on a Jahia environment. We've maintained this possibility to ease our customers' transition and training process of their users.
CK4 is not supported anymore by its vendor, hence no bug fixes will be provided on this version, except for the parts that are specific to Jahia, if they are security related.
Initialization Behavior
By default, CK4 will be used, if available, to ensure the best backward compatibility.
To enable for all sites, flip enabledByDefault to true in the configuration file.
To enable for specific sites, add their keys to the includeSites list in the configuration file and keep enabledByDefault as false.
To disable for specific sites, add their keys to the excludeSites list in the configuration file and keep enabledByDefault as true.
If the CK4 module (ckeditor) is not installed at all, CK5 is used unconditionally for every site, regardless of enabledByDefault, includeSites or excludeSites — there is no CK4 fallback to honor.
Configuration
A configuration is the name given to a specific CK5 toolbar and its underlying plugins.
Jahia provides four configurations (minimal, light, advanced and complete) aiming to satisfy most editorial teams. To ease maintenance and governance, those configurations should not be modified. You can create and deploy your own configurations to match your needs.
Here are screenshots of the four default configurations:
-
Complete: interface visible by default to editors with the
view-full-wysiwyg-editorpermission (can be overridden withrichtext[ckeditor.customConfig='complete']in CND)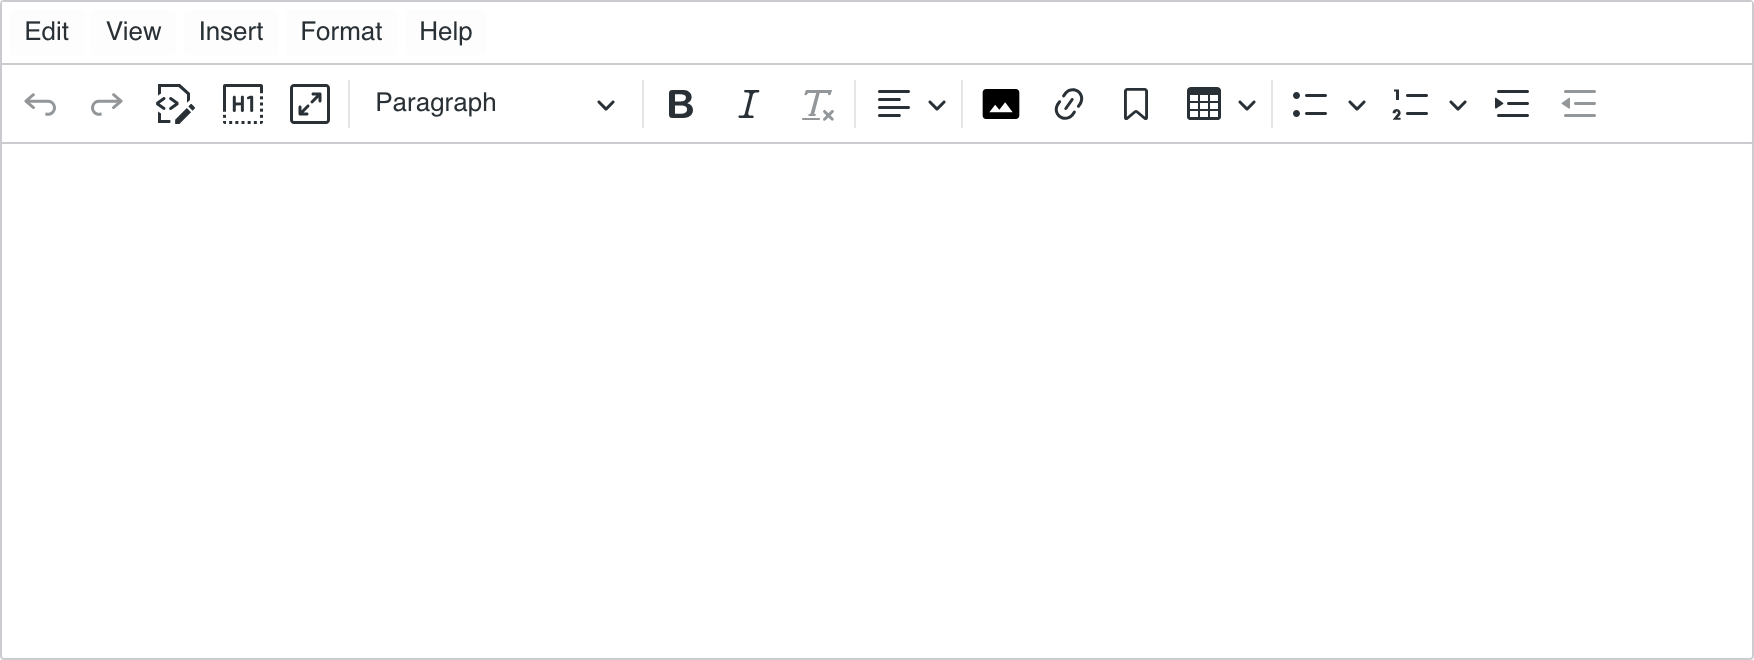
-
Advanced: interface visible by default to editors with the
view-basic-wysiwyg-editorpermission (can be overridden withrichtext[ckeditor.customConfig='advanced']in CND)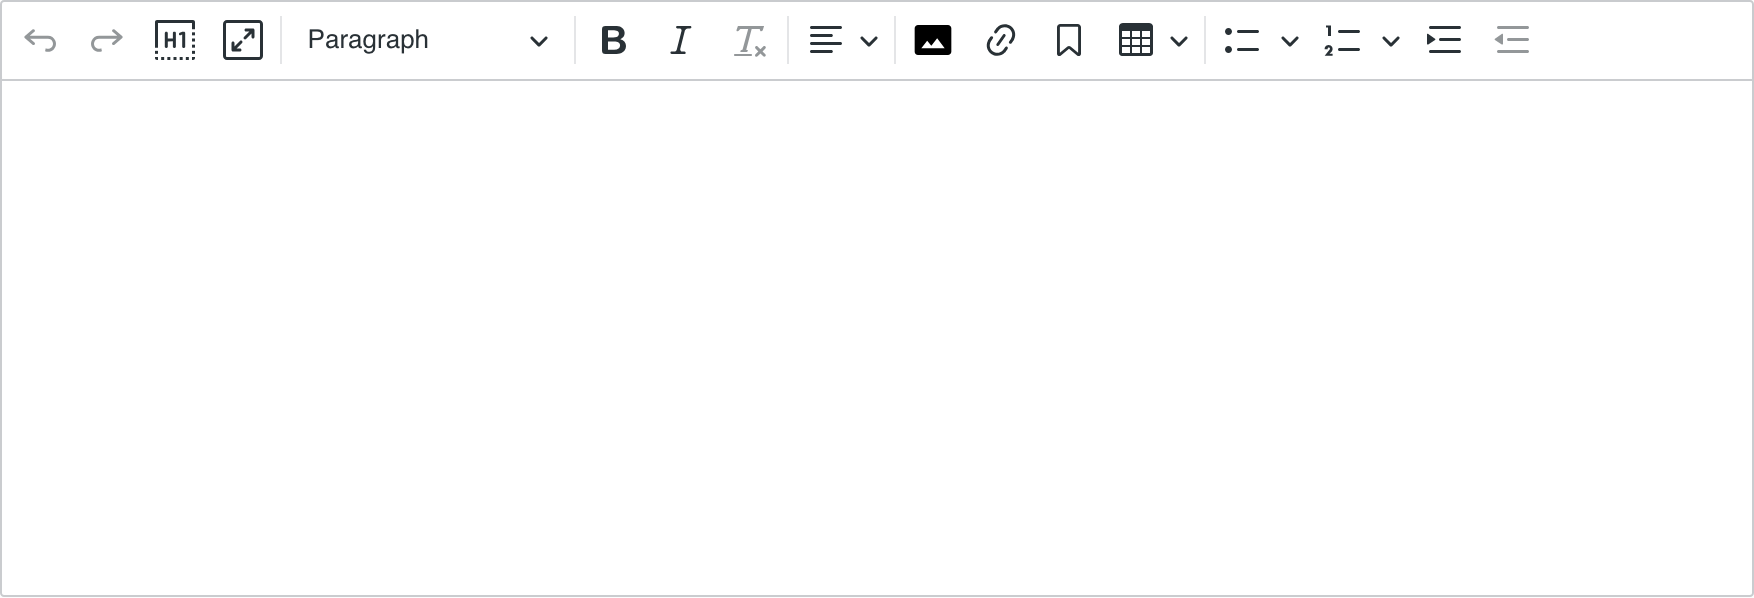
-
Light: interface visible by default to editors with the
view-light-wysiwyg-editorpermission (can be overridden withrichtext[ckeditor.customConfig='light']in CND)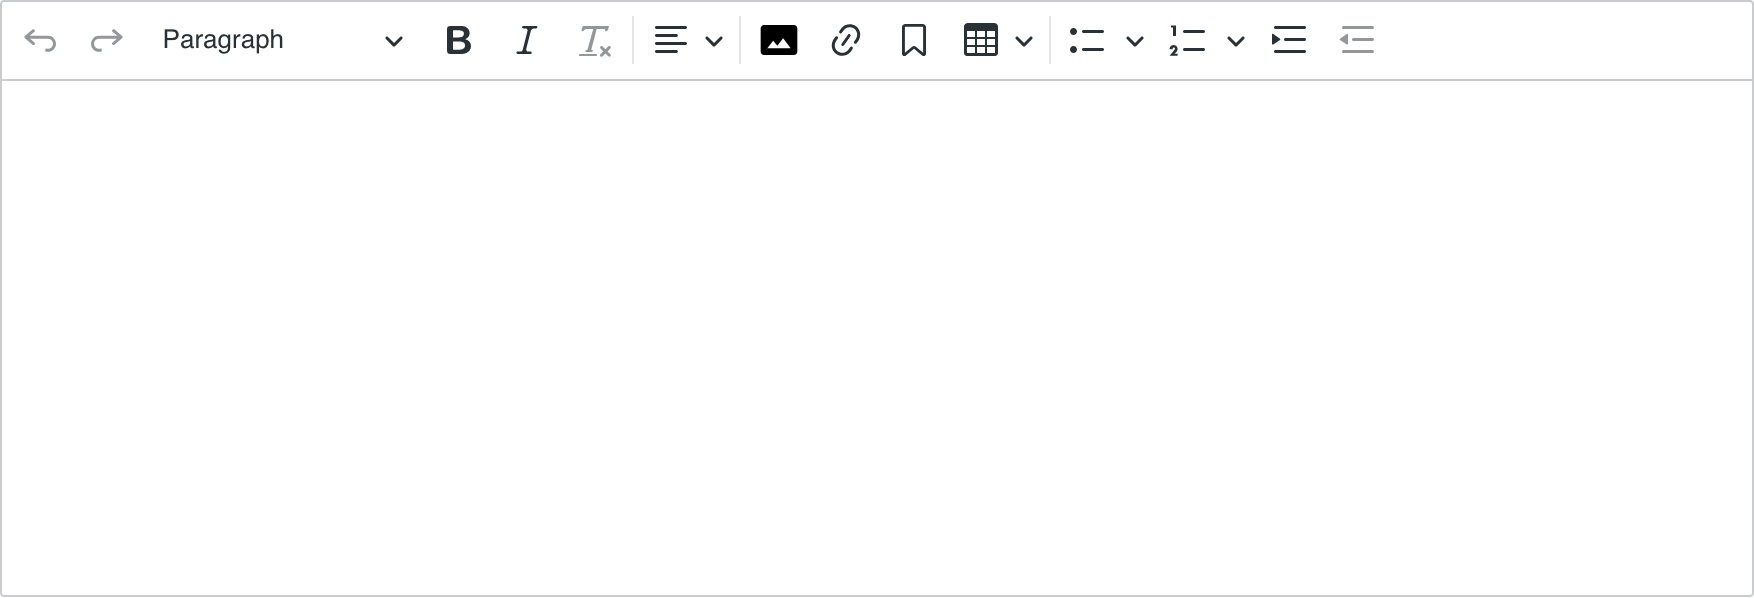
-
Minimal: interface visible by default to all other contributors (can be overridden with
richtext[ckeditor.customConfig='minimal']in CND)
Configuration Registration
The goal of this section is to give a good understanding of how configurations are registered and where they are kept in order to make them editable.
If you are working on a module using the Jahia UI extensions tech stack, you can import and use registry from the @jahia/ui-extender package instead of accessing it from window. Get started with UI extensions.
If you intend to import the ckeditor5 package from npm within your module, you'll need to declare it as a remote module in your webpack.config.js file: remote: { ckeditor5: 'appShell.remotes.ckeditor5' }. This will ensure that your module uses the same instance of CKEditor 5 as all other modules.
All CKEditor 5 configurations live under the ckeditor5-config type in the registry. A configuration is an object containing the list of plugins, the toolbar buttons and optional plugin-specific configuration.
The initialization of the default toolbars happens on the jahiaApp-init:99 hook, use 99.5 to access the default toolbars when defining your own:
window.jahia.uiExtender.registry.add('callback', 'test-ckeditor5-configExample', {
  targets: ['jahiaApp-init:99.5'],
  callback: function () {
    // Register custom toolbars here
  },
});
Here's how you can quickly define a simple custom config by relying on existing registrations to avoid importing a lot of custom classes:
/** A custom configuration with only the bold button */
const boldOnly = {
// Inherit plugins and config from the minimal configuration
...window.jahia.uiExtender.registry.get('ckeditor5-config', 'minimal'),
// Override toolbar to have only the bold button
toolbar: {
items: ['bold'],
},
};
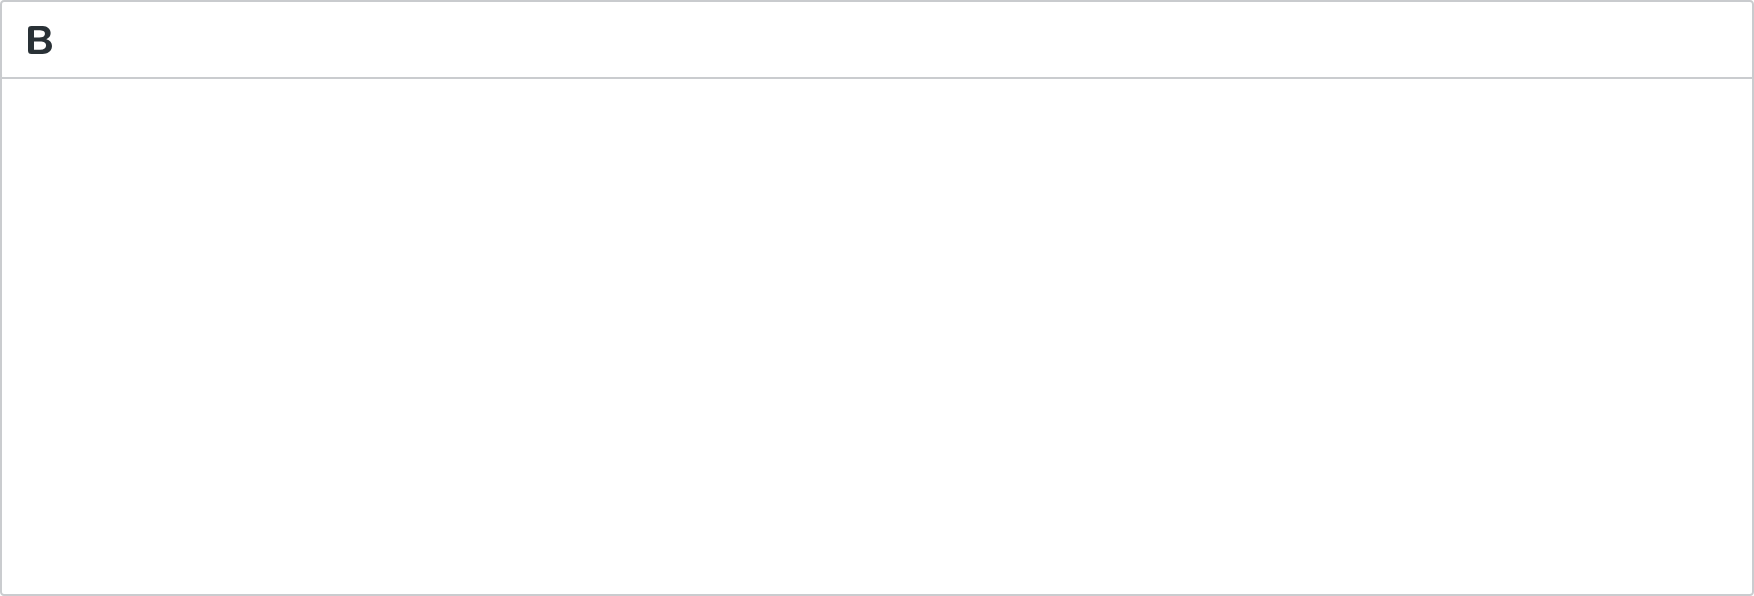
window.jahia.uiExtender.registry.add('ckeditor5-config', 'boldOnly', boldOnly);Your custom toolbar can now be applied using richtext[ckeditor.customConfig='boldOnly'] in your CND or via the configuration file as described below. The result is rather minimal:
The CKEditor website has an interactive tool to create custom configurations: CK5 builder tool.
Applying a Configuration
This section demonstrates the ways in which CK 5 configuration can be applied in Jahia.
Global Configuration File
The global configuration file allows you to have control over what toolbar is displayed on what site and under what conditions.
includeSites[0]=site1
includeSites[1]=site2

excludeSites[0]=site3
excludeSites[1]=site4
Ensure that the target site is not listed under excludeSites when modifying other sections of the configuration file.
There are several ways to apply specific configuration:
- Global: Configuration can be applied across all sites
- Site-specific: Configuration can be applied only to specific sites
- Permission-based: can be combined with 1 or 2 to determine if configuration can be applied
Global configuration can be applied simply by adding the name of the configuration in the configs list:
configs[0].name=yourConfigThis will apply a config named yourConfig to all sites. Note that you still need to follow the steps in the first section to define your configuration.
To apply configuration to specific sites, add an optional siteKeys list:
configs[0].siteKeys[0]=siteKey1
configs[0].siteKeys[1]=siteKey2
configs[0].name=yourConfig
If you want to check for permission add an optional permission parameter:
configs[0].siteKeys[0]=siteKey1
configs[0].siteKeys[1]=siteKey2
configs[0].name=yourConfig
configs[0].permission=myPermission
The configuration order is important:
- Configurations that have
siteKeyswill be processed first. - Configurations without
siteKeyswill be processed afterwards.
Apart from this site key ordering, the first configuration that satisfies all configuration requirements will be used.
Set the most powerful toolbars first, so that users with broader permissions do not get matched to configurations intended for more restricted roles.
Editor Max Height
By default, the editor content area grows to fit its content with no upper limit. You can cap this height by setting richtextMaxHeight in the global configuration file:
# Accepts a positive integer (pixels)
richtextMaxHeight=500
Once the content exceeds this height, the editor becomes scrollable.
CND configuration
Configuration can also be defined at the CND level. In this case, the configuration is applied directly to the specified field within the content definition, overriding any global or site-specific configuration.
[example:article]
 - body (string, richtext[ckeditor.customConfig='yourConfig'])
CND-level configuration does not support permissions or site keys. The specified configuration is always applied directly to the field.
JSON Overrides
Another way to apply configuration is by using a JSON override. JSON override can be deployed with a module, it could be your template-set for example.
To do so, you need to create a file under META-INF/jahia-content-editor-forms/fieldsets with the following content:
{
  "name": "example:article",
  "priority": 1.1,
  "fields": [
    {
      "name": "body",
      "selectorOptionsMap": {
        "ckeditor": {
          "customConfig": "yourConfig"
        }
      }
    }
  ]
}
This will apply yourConfig to the body field on the example:article definition.
Configurations defined in the configuration file will have lower priority than the ones defined at the CND level, and JSON overrides will have the ability to change configuration at the CND level.
Bundled Plugins and Features
The CK5 module packs many free and premium features of CKEditor 5, some of them are not visible in our default toolbars but still available for integration. For instance, because code blocks require specific scripting and styling in the integration, they have not been included in the default toolbars, but the button can still be added to a custom configuration:
// This custom toolbar inherits the `complete` configuration
const completeConfig = registry.get('ckeditor5-config', 'complete');

/** A complex toolbar for developer documentation */
const academyToolbar = {
  // Inherit plugins and config from the complete configuration
  ...completeConfig,
  toolbar: {
    items: completeConfig.toolbar.items.toSpliced(
      // Add the `codeBlock` button right after the `insertTable` button
      completeConfig.toolbar.items.indexOf('insertTable') + 1,
      0,
      'codeBlock'
    ),
    shouldNotGroupWhenFull: true,
  },
  codeBlock: {
    // List of languages visible in the code block dropdown
    languages: [
      { language: 'css', label: 'CSS' },
      { language: 'html', label: 'HTML' },
    ],
  },
};

window.jahia.uiExtender.registry.add('ckeditor5-config', 'academyToolbar', academyToolbar);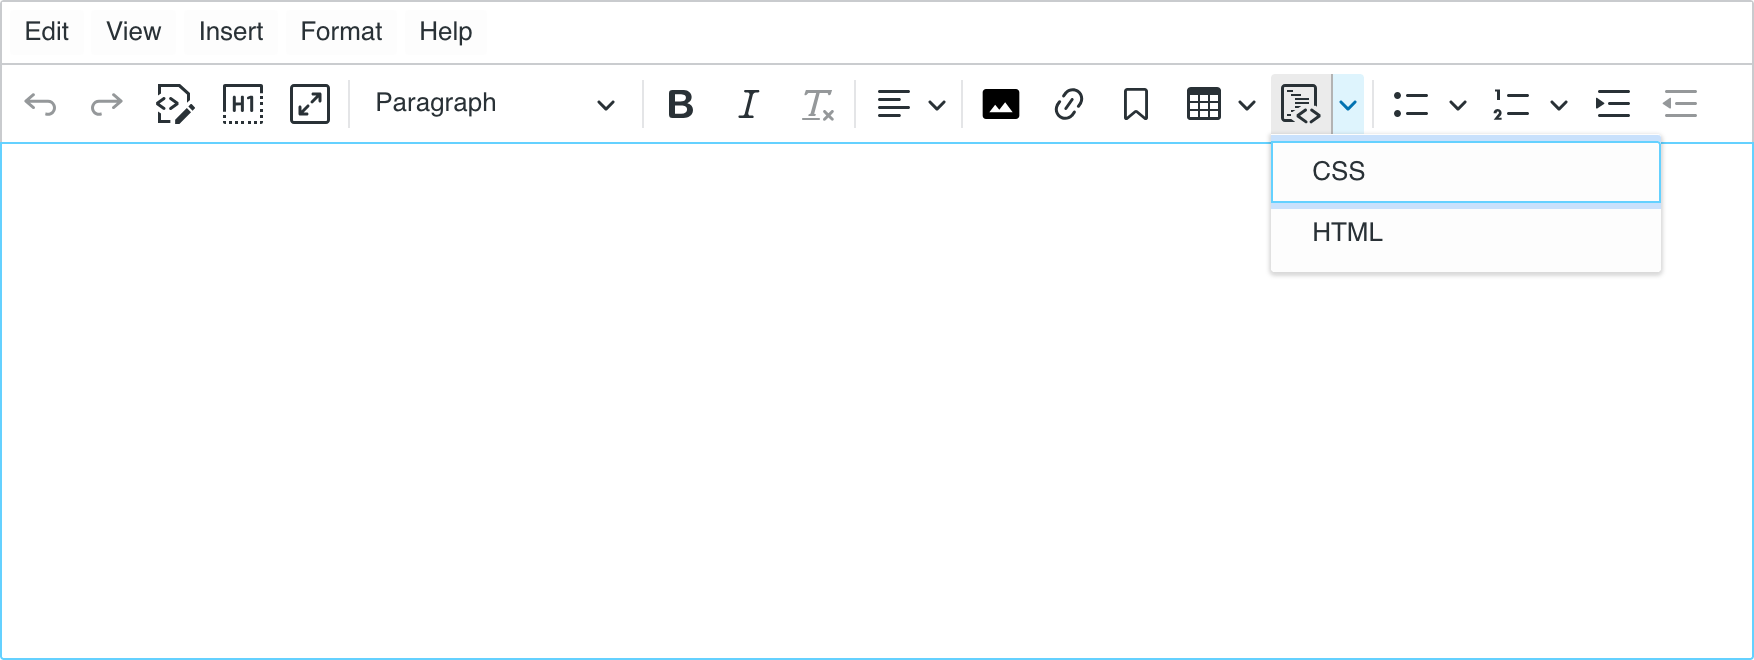
This toolbar can then be applied to the academy website using the configuration file:
configs[0].siteKeys[0]=academy
configs[0].name=academyToolbar
The complete list of plugins available in the CK5 Jahia module can be found on GitHub.
The configuration of the complete toolbar can also be found on GitHub.
Style Templates
Templates-set modules can ship a ckeditor_styles.json file that exposes a CSS-only "Styles" dropdown to contributors. See Style Templates for the JSON shape, the automatic CSS scoping, and the published-page rendering requirements.
Building a Custom Plugin
CKEditor 5 is highly modular and extensible. You can create your own plugins and integrate them into Jahia. The goal of this section is to give you a quick overview of how to create a custom plugin and integrate it into a custom configuration. Please refer to the CKEditor 5 documentation for more details on plugin creation.
When integrating custom plugins, we recommend including plugins only from trusted and verified sources. Custom plugins could potentially have access to editor content and user data. Ensure that all plugins are thoroughly reviewed and come from developers you trust and to review the plugin code or documentation before integration when possible.
This section assumes you already have a Jahia module set up with the Jahia UI extensions tech stack. If that's not the case, please refer to Get started with UI extensions..
-
Install
ckeditor5withyarn add -D ckeditor5in your module folder.This is library is only used during the development to provide autocompletion hints. The actual CKEditor 5 code used at runtime will be the one provided by the CK5 module.
-
Ensure
ckeditor5resolves to the remote module at runtime by adding it to theremotessection of yourwebpack.config.jsfile:new ModuleFederationPlugin( mergeWebpackConfig(commonConfig, { remotes: { '@jahia/jcontent': 'appShell.remotes.jcontent', 'ckeditor5': 'appShell.remotes.ckeditor5', // Add this line }, }) ),
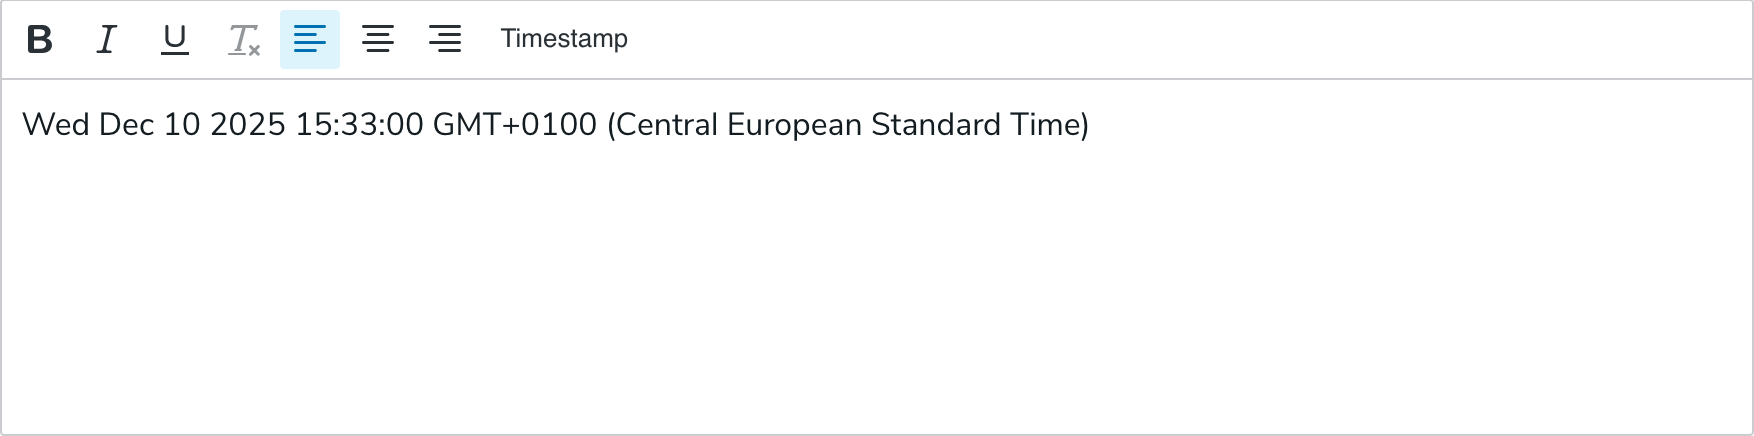
Once these steps are complete you can create your own plugin. Here's a simple example of a plugin that adds a button to insert the current date at the cursor position:
// File: src/javascript/init.js

import { registry } from '@jahia/ui-extender';
// This import will resolve to the remote ckeditor5 module at runtime
import { Plugin, ButtonView } from 'ckeditor5';

/**
 * Based on https://ckeditor.com/docs/ckeditor5/latest/framework/tutorials/creating-simple-plugin-timestamp.html
 */
class Timestamp extends Plugin {
  init() {
    const editor = this.editor;

    editor.ui.componentFactory.add('timestamp', () => {
      const button = new ButtonView();
      button.set({ label: 'Timestamp', withText: true });
      button.on('execute', () => {
        const now = new Date();
        editor.model.change((writer) => {
          editor.model.insertContent(writer.createText(now.toString()));
        });
      });
      return button;
    });
  }
}

export default function () {
  registry.add('callback', 'customConfig', {
    targets: ['jahiaApp-init:99.5'],
    callback() {
      // Our `customConfig` is based on the `minimal` configuration
      const minimalConfig = registry.get('ckeditor5-config', 'minimal');
      const customConfig = {
        ...minimalConfig,
        // Register the Timestamp plugin
        plugins: minimalConfig.plugins.concat([Timestamp]),
        toolbar: {
          // Add the timestamp button at the end of the toolbar
          items: minimalConfig.toolbar.items.concat(['timestamp']),
          shouldNotGroupWhenFull: true,
        },
      };
      registry.add('ckeditor5-config', 'customConfig', customConfig);
    },
  });
}
Premium License
The embedded version of CKEditor 5 includes a license that covers the Essential features, Productivity features and AI Assistant features. This license applies to all Jahia modules, which means an integration can use those features in custom configurations, without any additional cost.
Collaboration features are not covered by this license, neither File management (this is a feature of Jahia itself), nor Conversion and Embedding features.