Managing content in Page Composer
This topic shows you how manage content that you have created in Page Composer. You can select, edit, lock, and delete content. You can also save time by copying and reusing, and exporting and importing content.
Selecting content
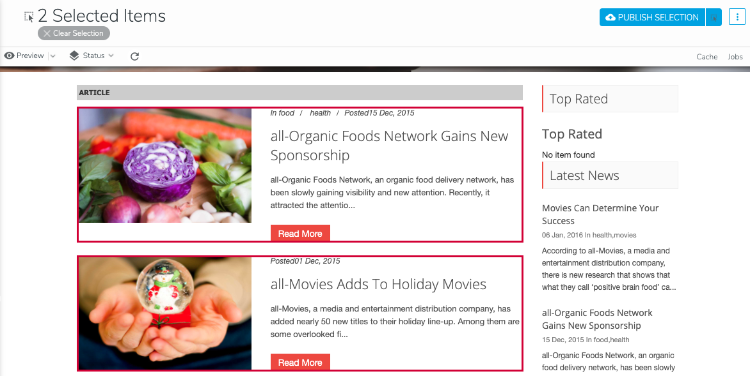
When you select content on a page, the content name displays at the top of the page.

If you select several content items, the number of selected items displays.

To clear the selection, click Clear Selection or click anywhere on the page.
Modifying content
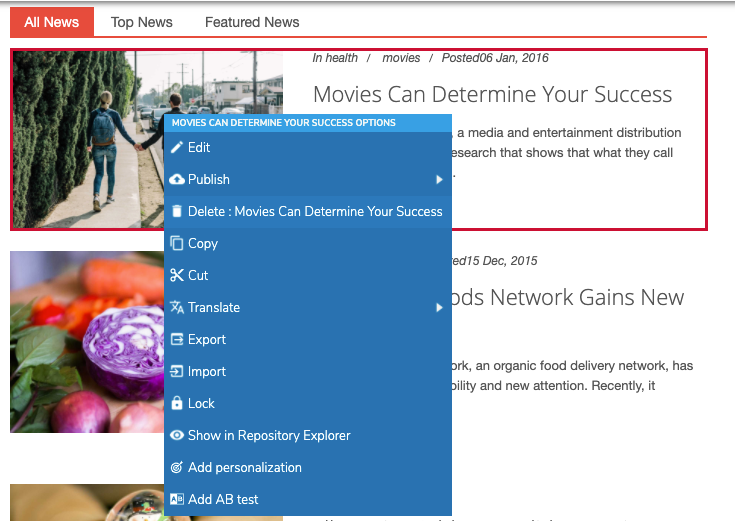
To modify content in Page Composer, simply double-click it or right-click on the content and select Edit. The content opens in Content Editor. For more information, see Using Content Editor.
Locking content
Locking content prevents other users from editing it. When you open the content for editing, it is locked for other users. Two users cannot edit the same content at the same time. The lock is removed as soon as you save or cancel your changes.
If you want to prevent others from editing content, you can lock it by right-clicking on it and selecting Lock. You can remove the lock in the same way.
Deleting content
The way that you delete content depends on whether content has already been published or not. In both cases it is a two-step process. First you mark content for deletion, and secondly you delete it.
When you delete content:
- If your content exists in multiple languages, deleting content also deletes the content all languages.
- Deleting content also deletes its child contents. This is also the case for pages. Deleting a page will also delete its subpages.
Remember, you can unpublish a page or content so that it is no longer visible online for a selected language.
Marking content for deletion
The first step is to mark content for deletion.
To mark content for deletion:
- Right-click on content and select Delete.

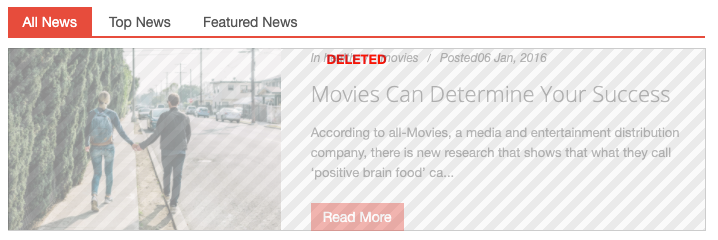
- In the confirmation window, click Yes. The Content is dimmed in Page Composer with Deleted text indicating that the content is ready to be deleted.

Content marked for deletion no longer displays in Preview mode, but still displays online if it was previously published. - To cancel the deletion, right-click on the content and select Undelete and click Yes.
Deleting content that has never been published
To delete content marked for deletion has never been published:
- Right-click and choose Delete (permanently).
- In the confirmation window, click Yes.
Deleting published content
Content marked for deletion is permanently deleted when you publish in its working and live versions. In other words, you must start the publication of content marked for deletion to permanently delete it online.
Copying content
You can copy content and paste it on a different page in your site or in a different site.
To copy and paste content to another page:
- Right-click on content and select Copy. You can select multiple content items by holding down the Ctrl key and copying them all at once.
- Navigate to the page where you want to copy the content. The Paste button displays in every area or content list where you can paste the content.
- Right-click and select Paste on the destination page.
Copying content as reference
Copy and pasting content creates a copy of the content. Modifications made on the source content have no impact on the new content. When using Paste as reference, you create a reference to the created content. For more information, see Adding references to content and files.
Moving content
You can move a content from an area to another, to another page, or to another site.
Cutting and pasting content
You can move a content from an area or content list to another area of the same page, to another page, or to another site by right-clicking on it and then selecting Cut. Then the Paste button displays in every area or content list where you can paste the content. The Paste button still displays when you navigate in your site, allowing you to paste the content in a different page.
Dragging and dropping content
You can move a content inside the same page using drag-and-drop. By default, the entire content is draggable, meaning that you can click anywhere on the content, then drag-and-drop elsewhere on the page. Your server administrator can configure drag-and-drop so that you have to click and hold the top left corner of content to be able to drag it. In this case, content can only be dragged by using the small icon in the top-left corner of content.
Once content is dragged, a preview displays and an icon ( or
) to indicate where content can be dropped. If you release the click where content cannot be dropped, then the drag-and-drop operation is cancelled.
Moving content in an area or content list
To move content within the same area or content list, then you need to open the area or content list for editing. Then manually reorder the contents of the list in the List ordering section.
Exporting content
You can export content to your local machine so that you can import it on a different site or server. Exporting content also exports all subcontent. For example, exporting a content-list will export all the contents created in the list.
For information on exporting pages, see Managing pages in Page Composer.
To export content:
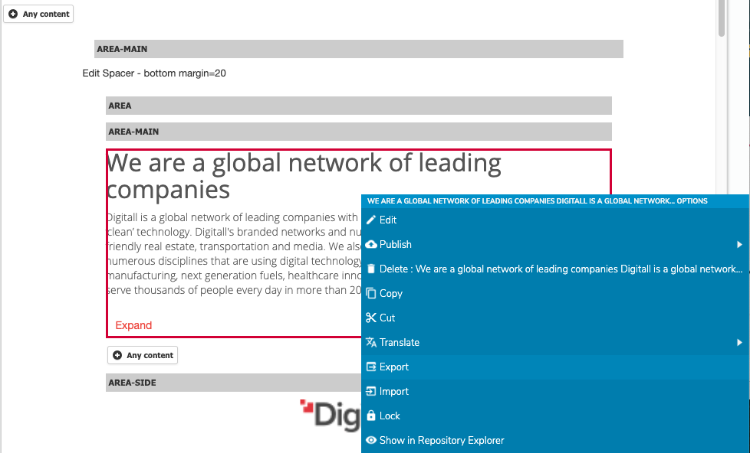
- Right-click on the content and select Export.

- In the Export dialog, choose from one of the following export options:
- Export XML
Export the content from the workspace in an XML file (this option is not available for pages) - Export Zip
Export the content from the workspace in a zip file - Export Zip with live content
Export in a zip file the content as it is in the workspace and the content as it is online (“live content”).
Importing content
Once you export content, you can reimport it. You typically import content when you want to export content or a list of content and import it in an area or another list of content.
For information on importing pages, see Managing pages in Page Composer.
To import content:
- Navigate to the location on a page where you want to import and click Import.
- Select the exported file (either zip or XML) and click OK. The import is performed in the background.
- Refresh the page in order to see the imported content.
Note that the import time depends on the size of the imported file.