Using Cloudinary Assets in Jahia
This guide explains how to select and display media assets from your Cloudinary Digital Asset Management (DAM) system within Jahia content.
What you'll learn:
- How to select Cloudinary assets in your content
- How to display Cloudinary assets on your website
- How to work with images and videos
- How to apply transformations
Prerequisites:
- The Cloudinary Content Picker module is installed and configured (see Administrator Guide)
- Basic knowledge of jContent
Version Requirements:
Before using Cloudinary assets, verify you have compatible versions:
- Jahia: 8.2.0.0+
- jContent: 3.4.1+
- CKEditor: CKEditor 4 only (CKE5 support coming in module v1.1.0)
- JavaScript Modules Library: 1.1.0+
- Cloudinary Module: 4.0.0+
See Known Limitations in the Administrator Guide for details.
Selecting Cloudinary Assets
Using the Cloudinary Picker in Content Forms
When creating or editing content that supports media references, you can select Cloudinary assets directly from your content form.
Note: The Cloudinary picker is only available for picker types configured in the applyOnPickers setting (default: image,file,video). If you don't see the Cloudinary option in a picker, verify that the picker type is enabled in the module configuration. See the Administrator Guide for configuration details.
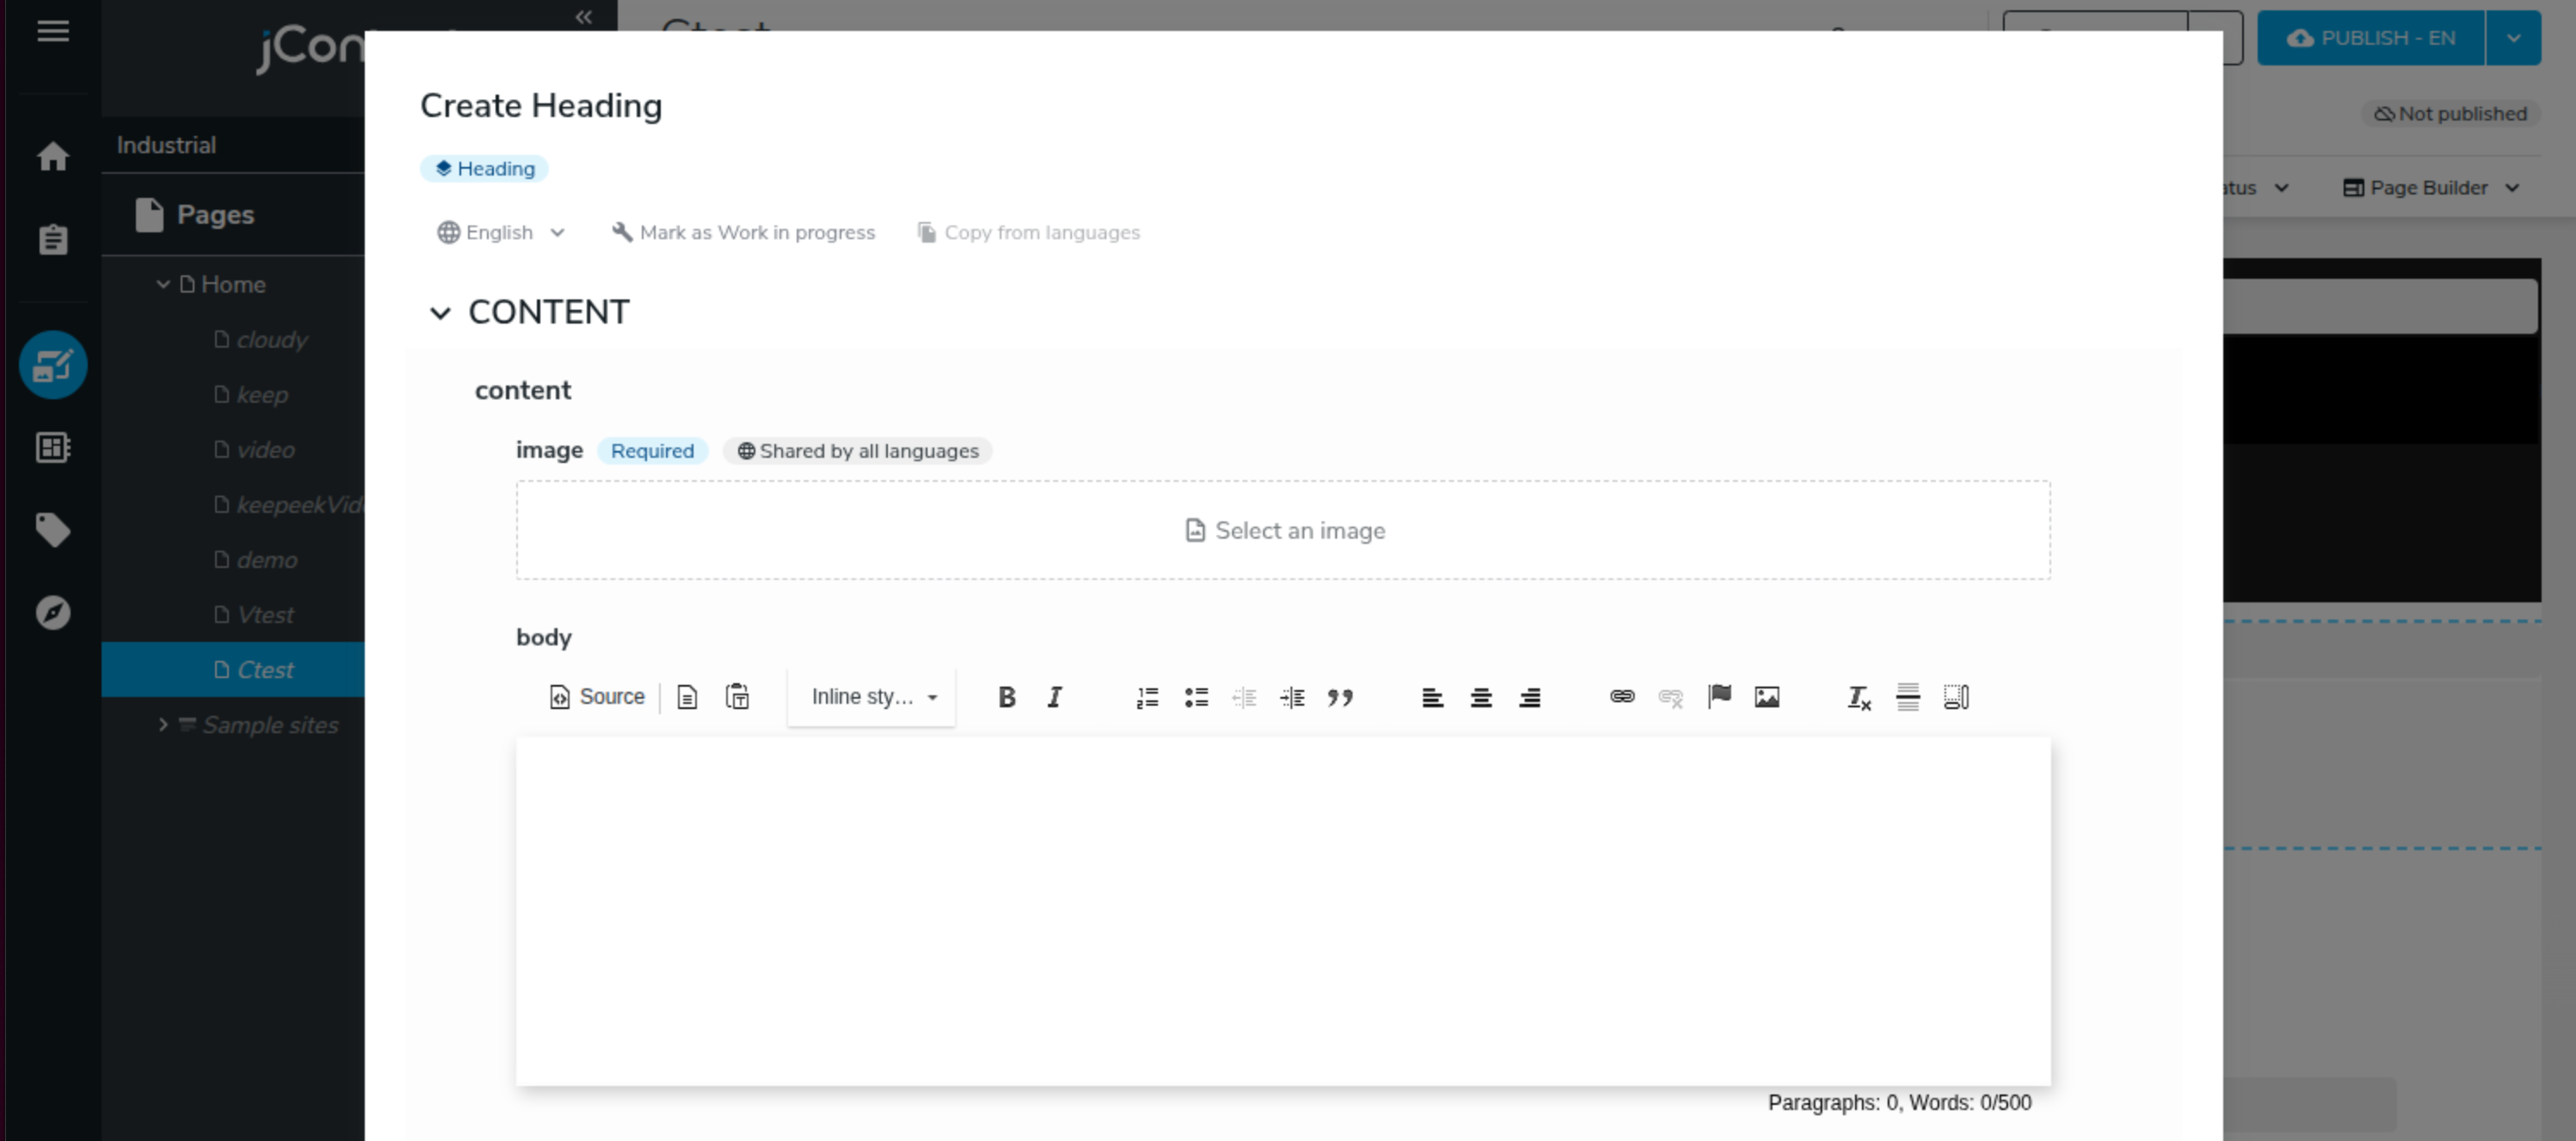
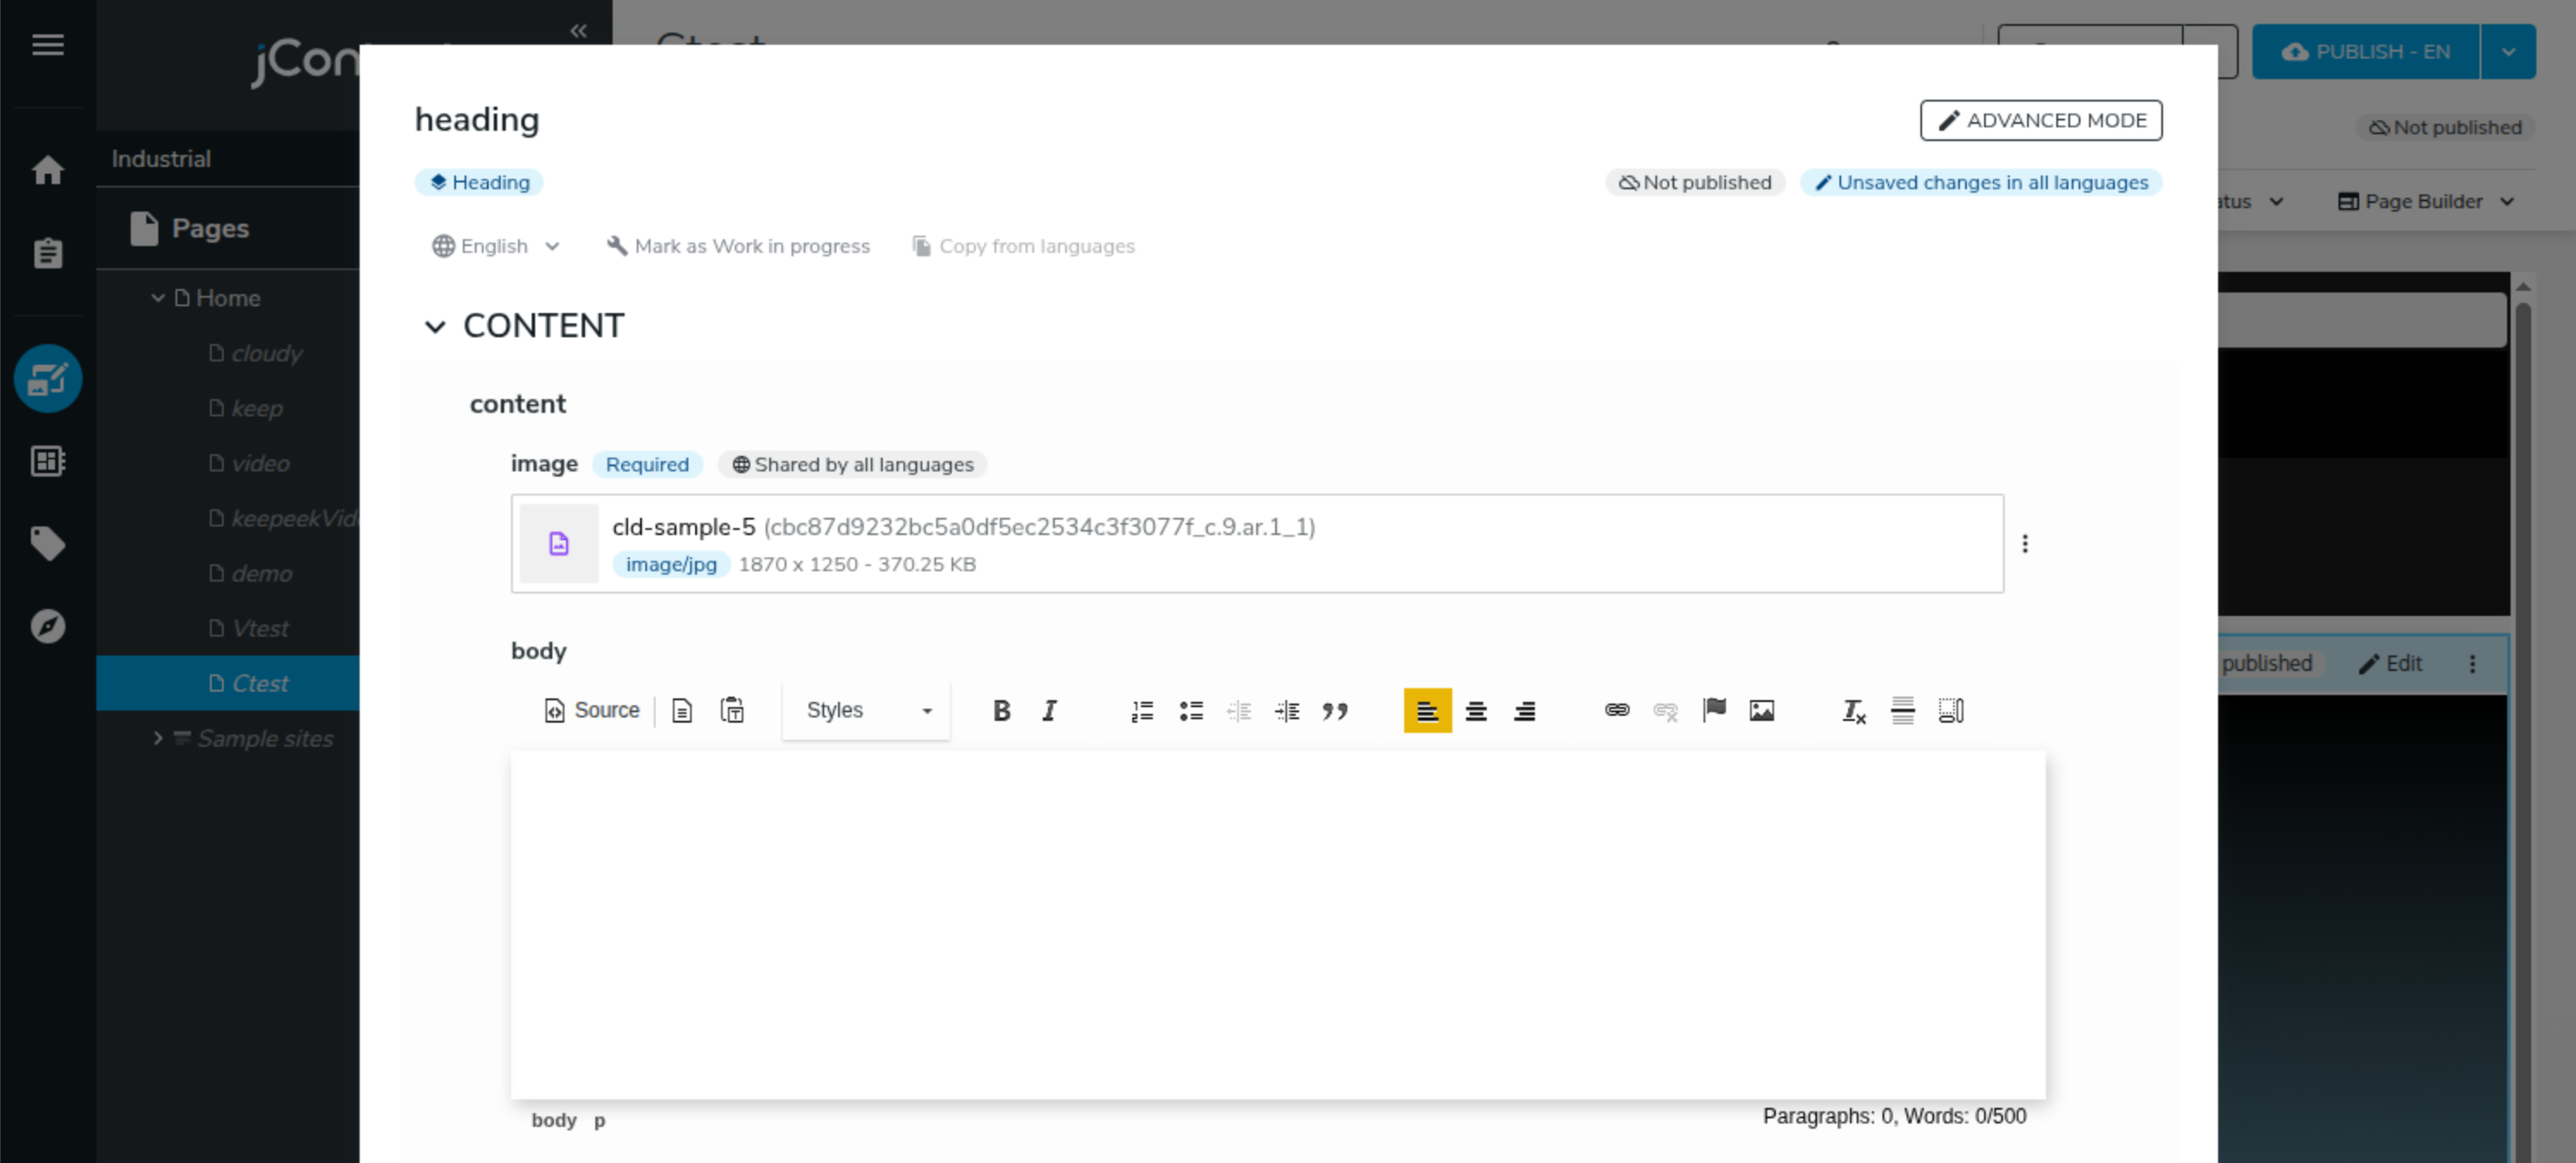
Adding a Hero Image
Let's add a hero image to a banner component:
- Open your content in jContent
- Create or edit a "Hero Banner" component
-
Click the image field (e.g., "Image")
-
Open the Cloudinary picker
- A modal appears showing Jahia assets
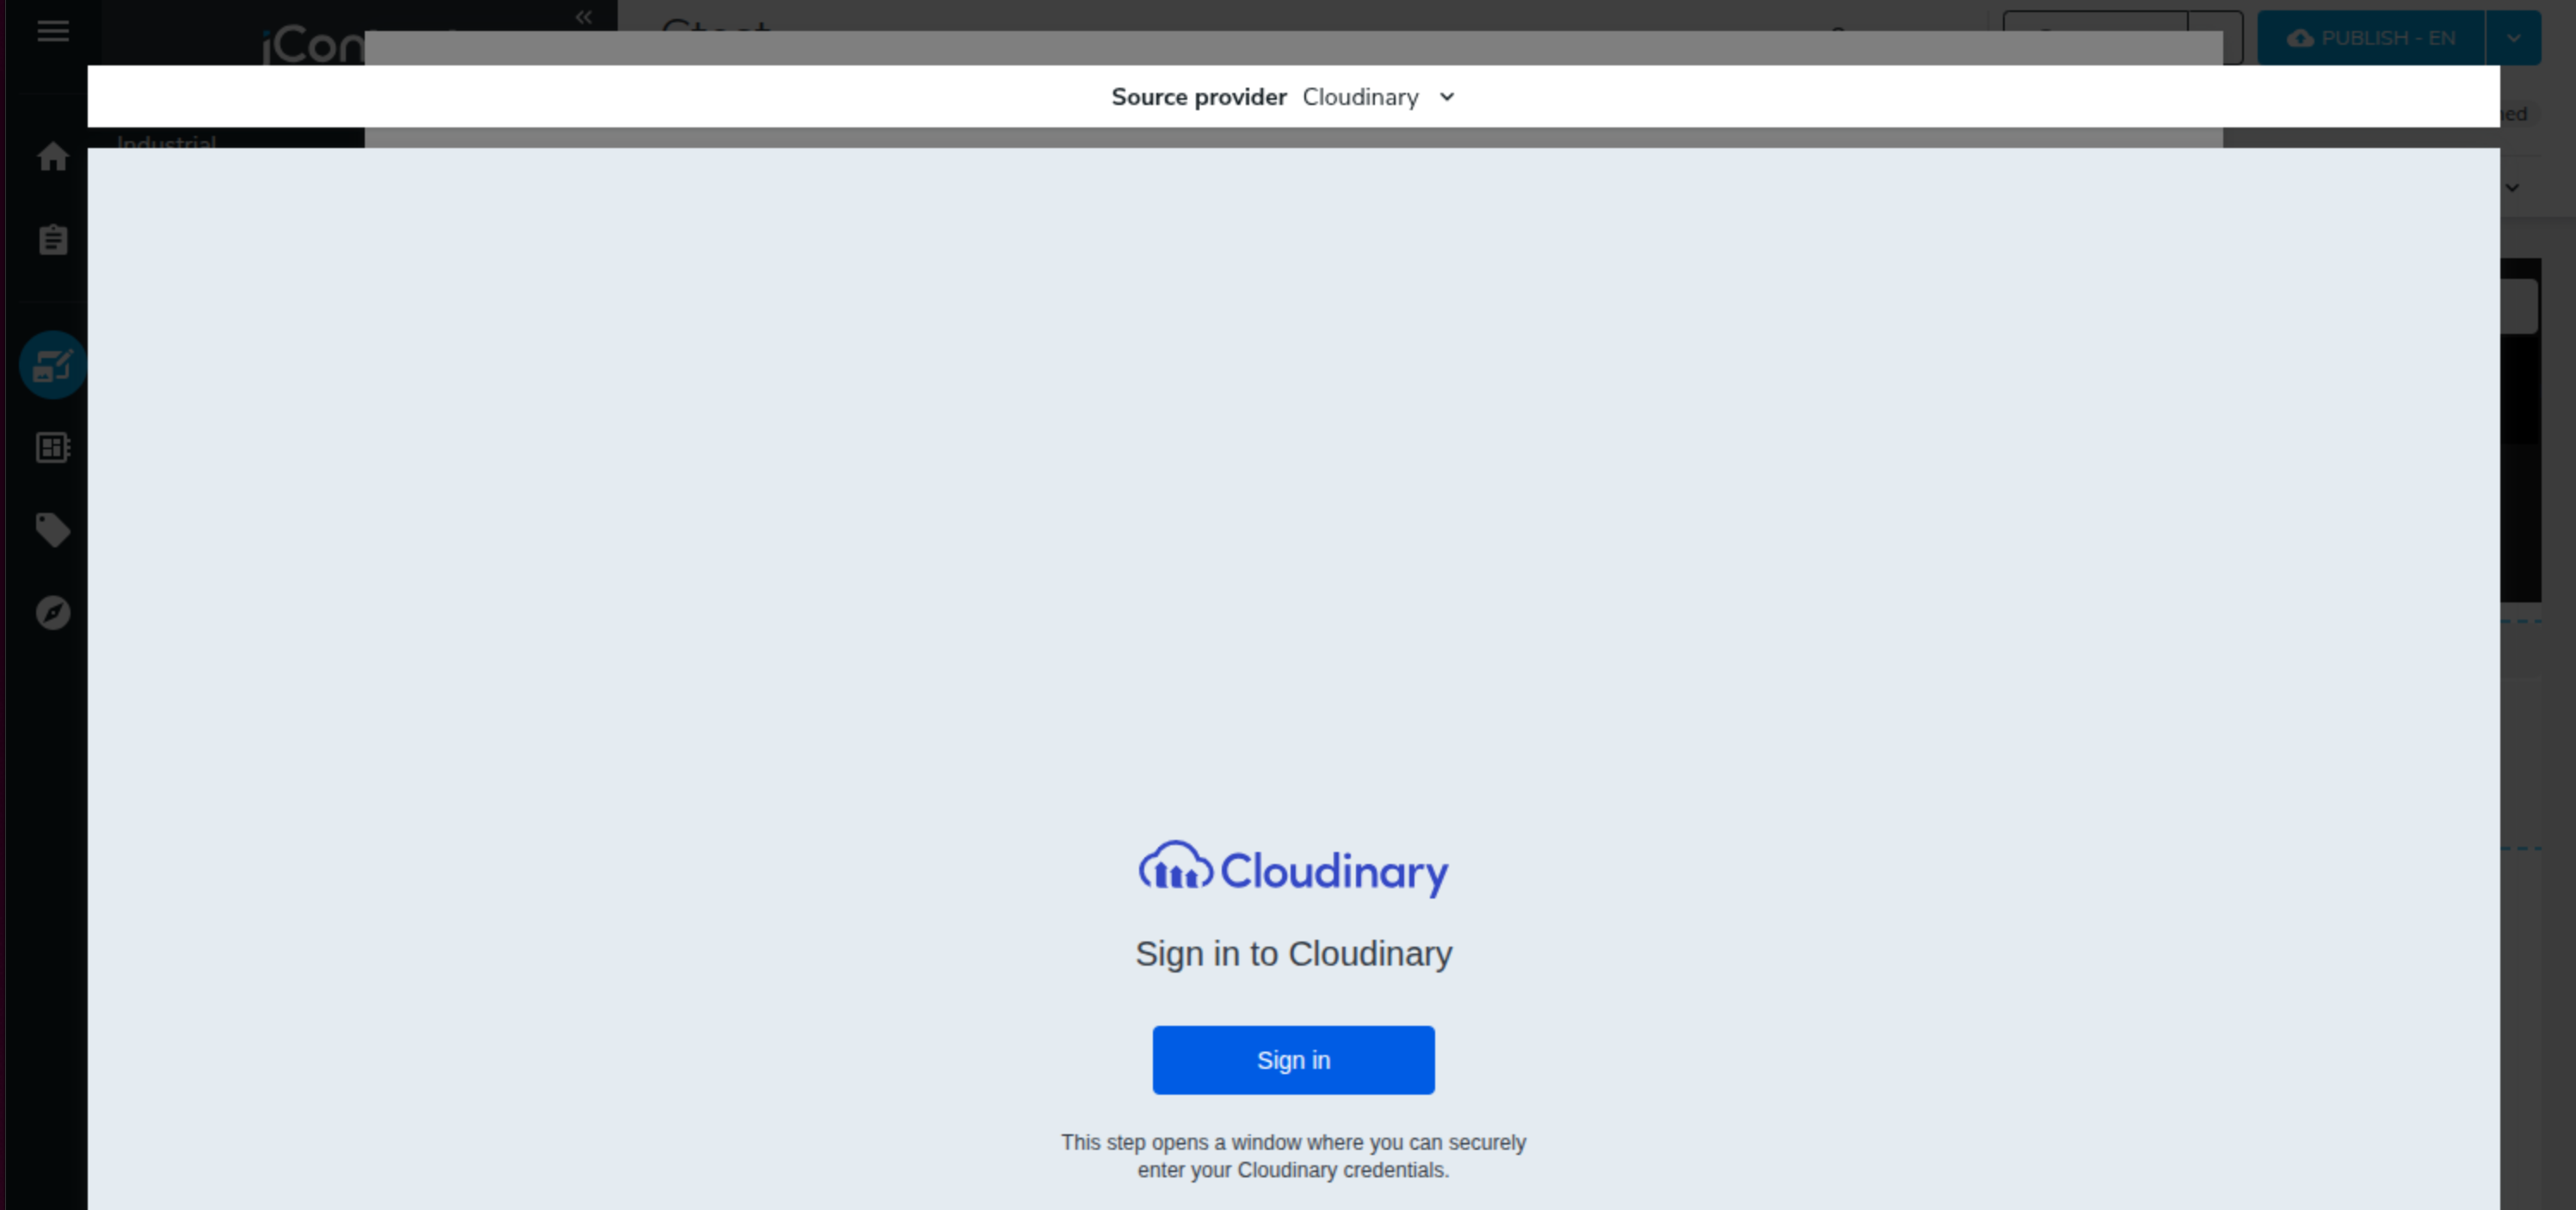
- Select "Cloudinary" from the Source provider dropdown to access your Cloudinary Media Library
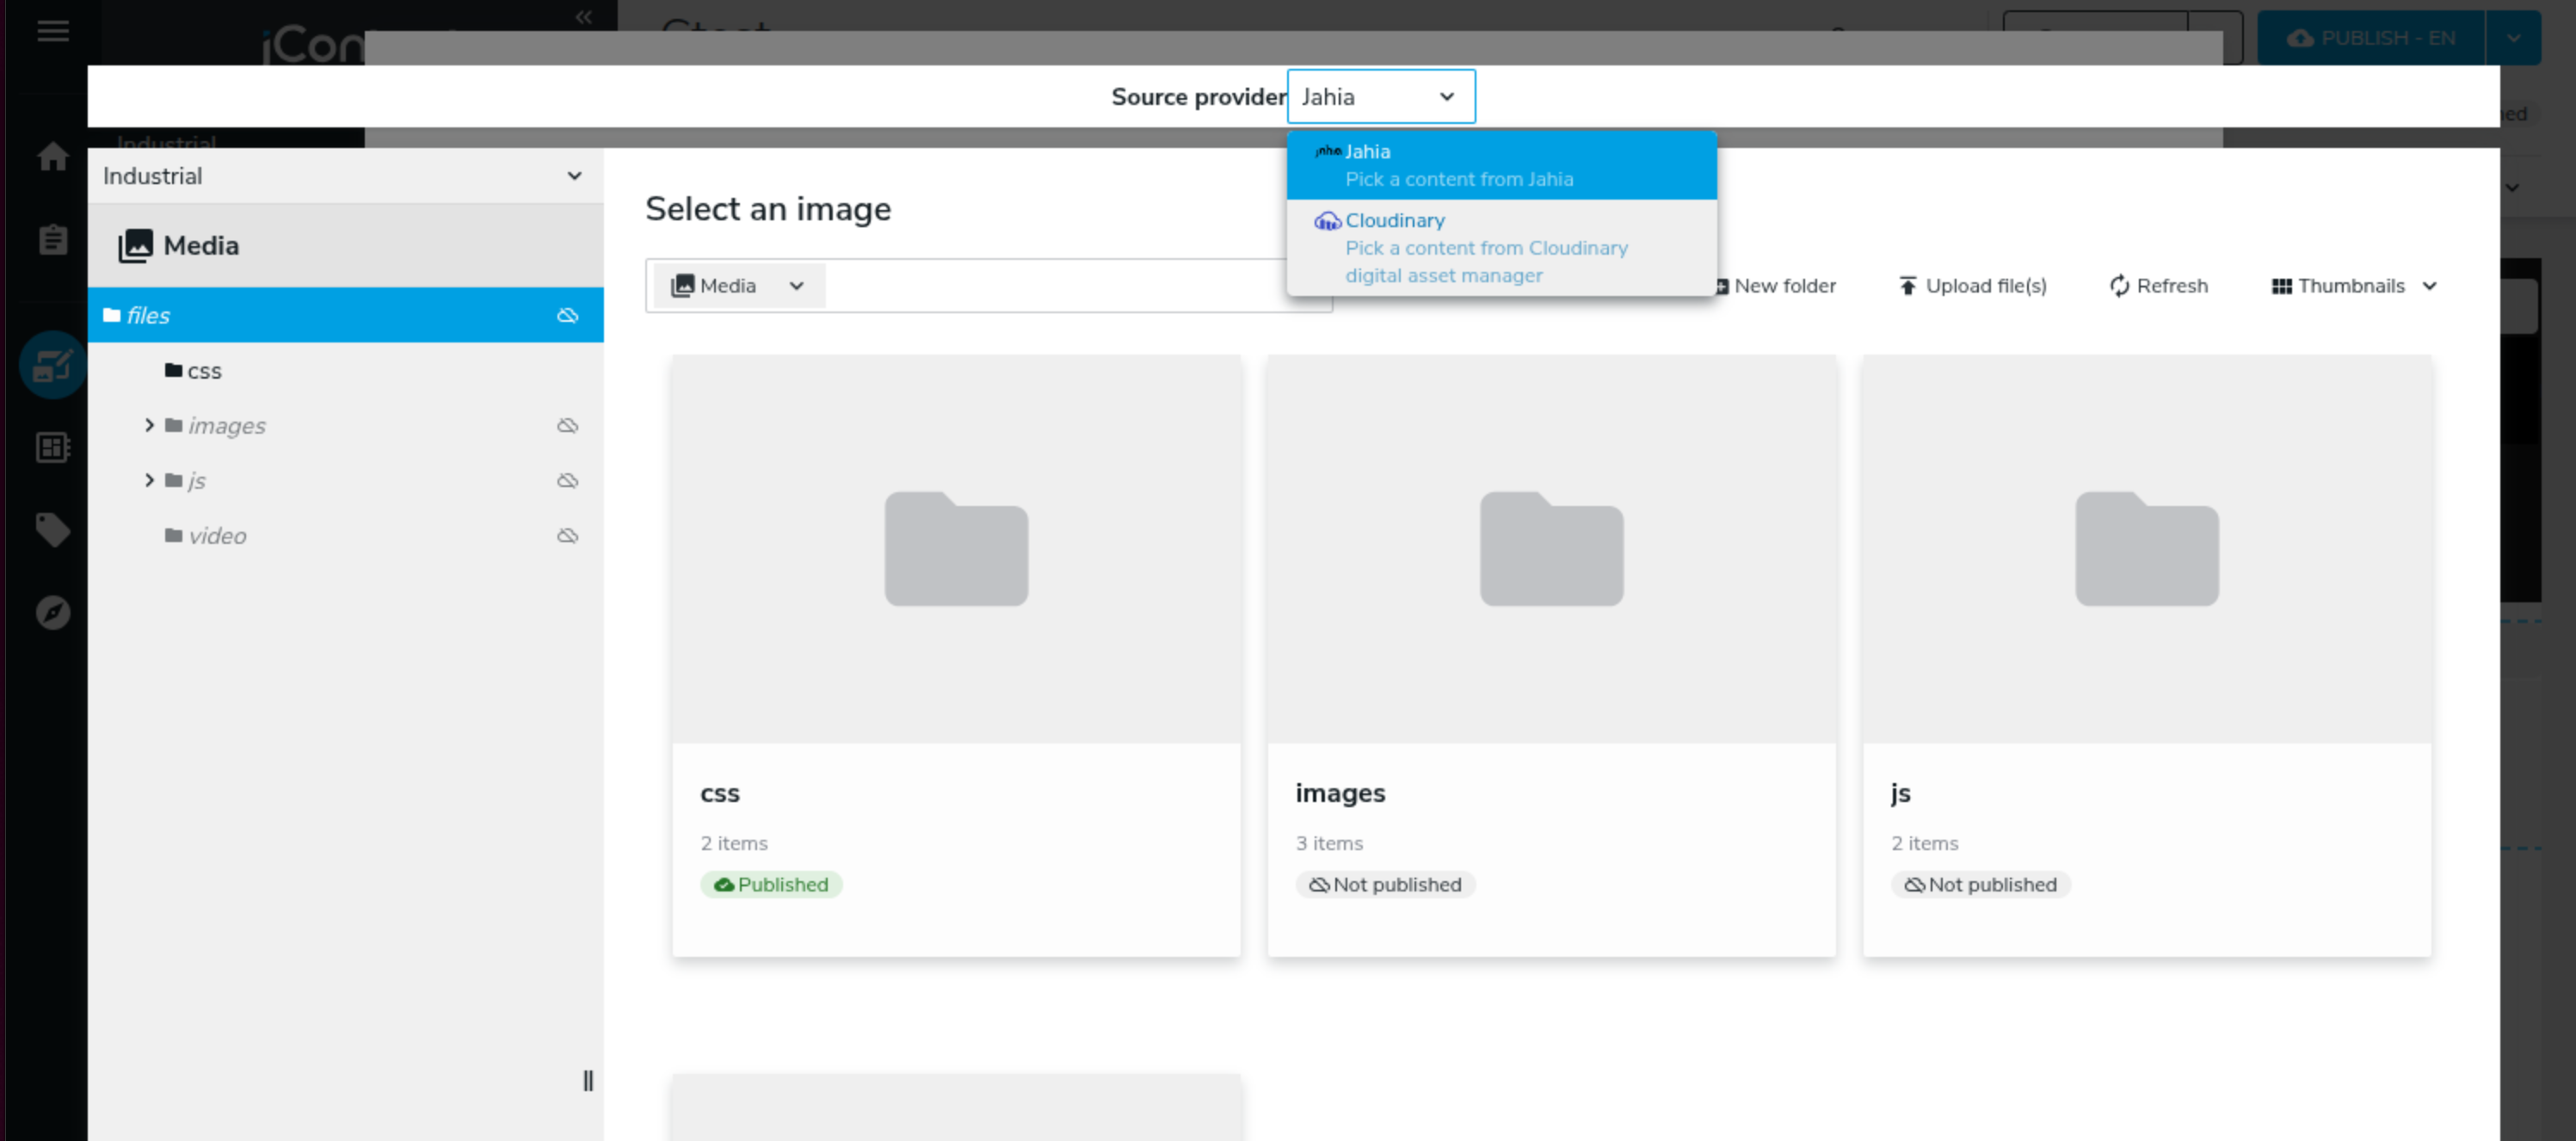
- Authenticate if needed
- Enter your Cloudinary credentials when prompted
- Select your asset
- Browse through folders in your Cloudinary Media Library
- Search for assets by name or tags
- Filter by type (images, videos)
- Click an image to select it

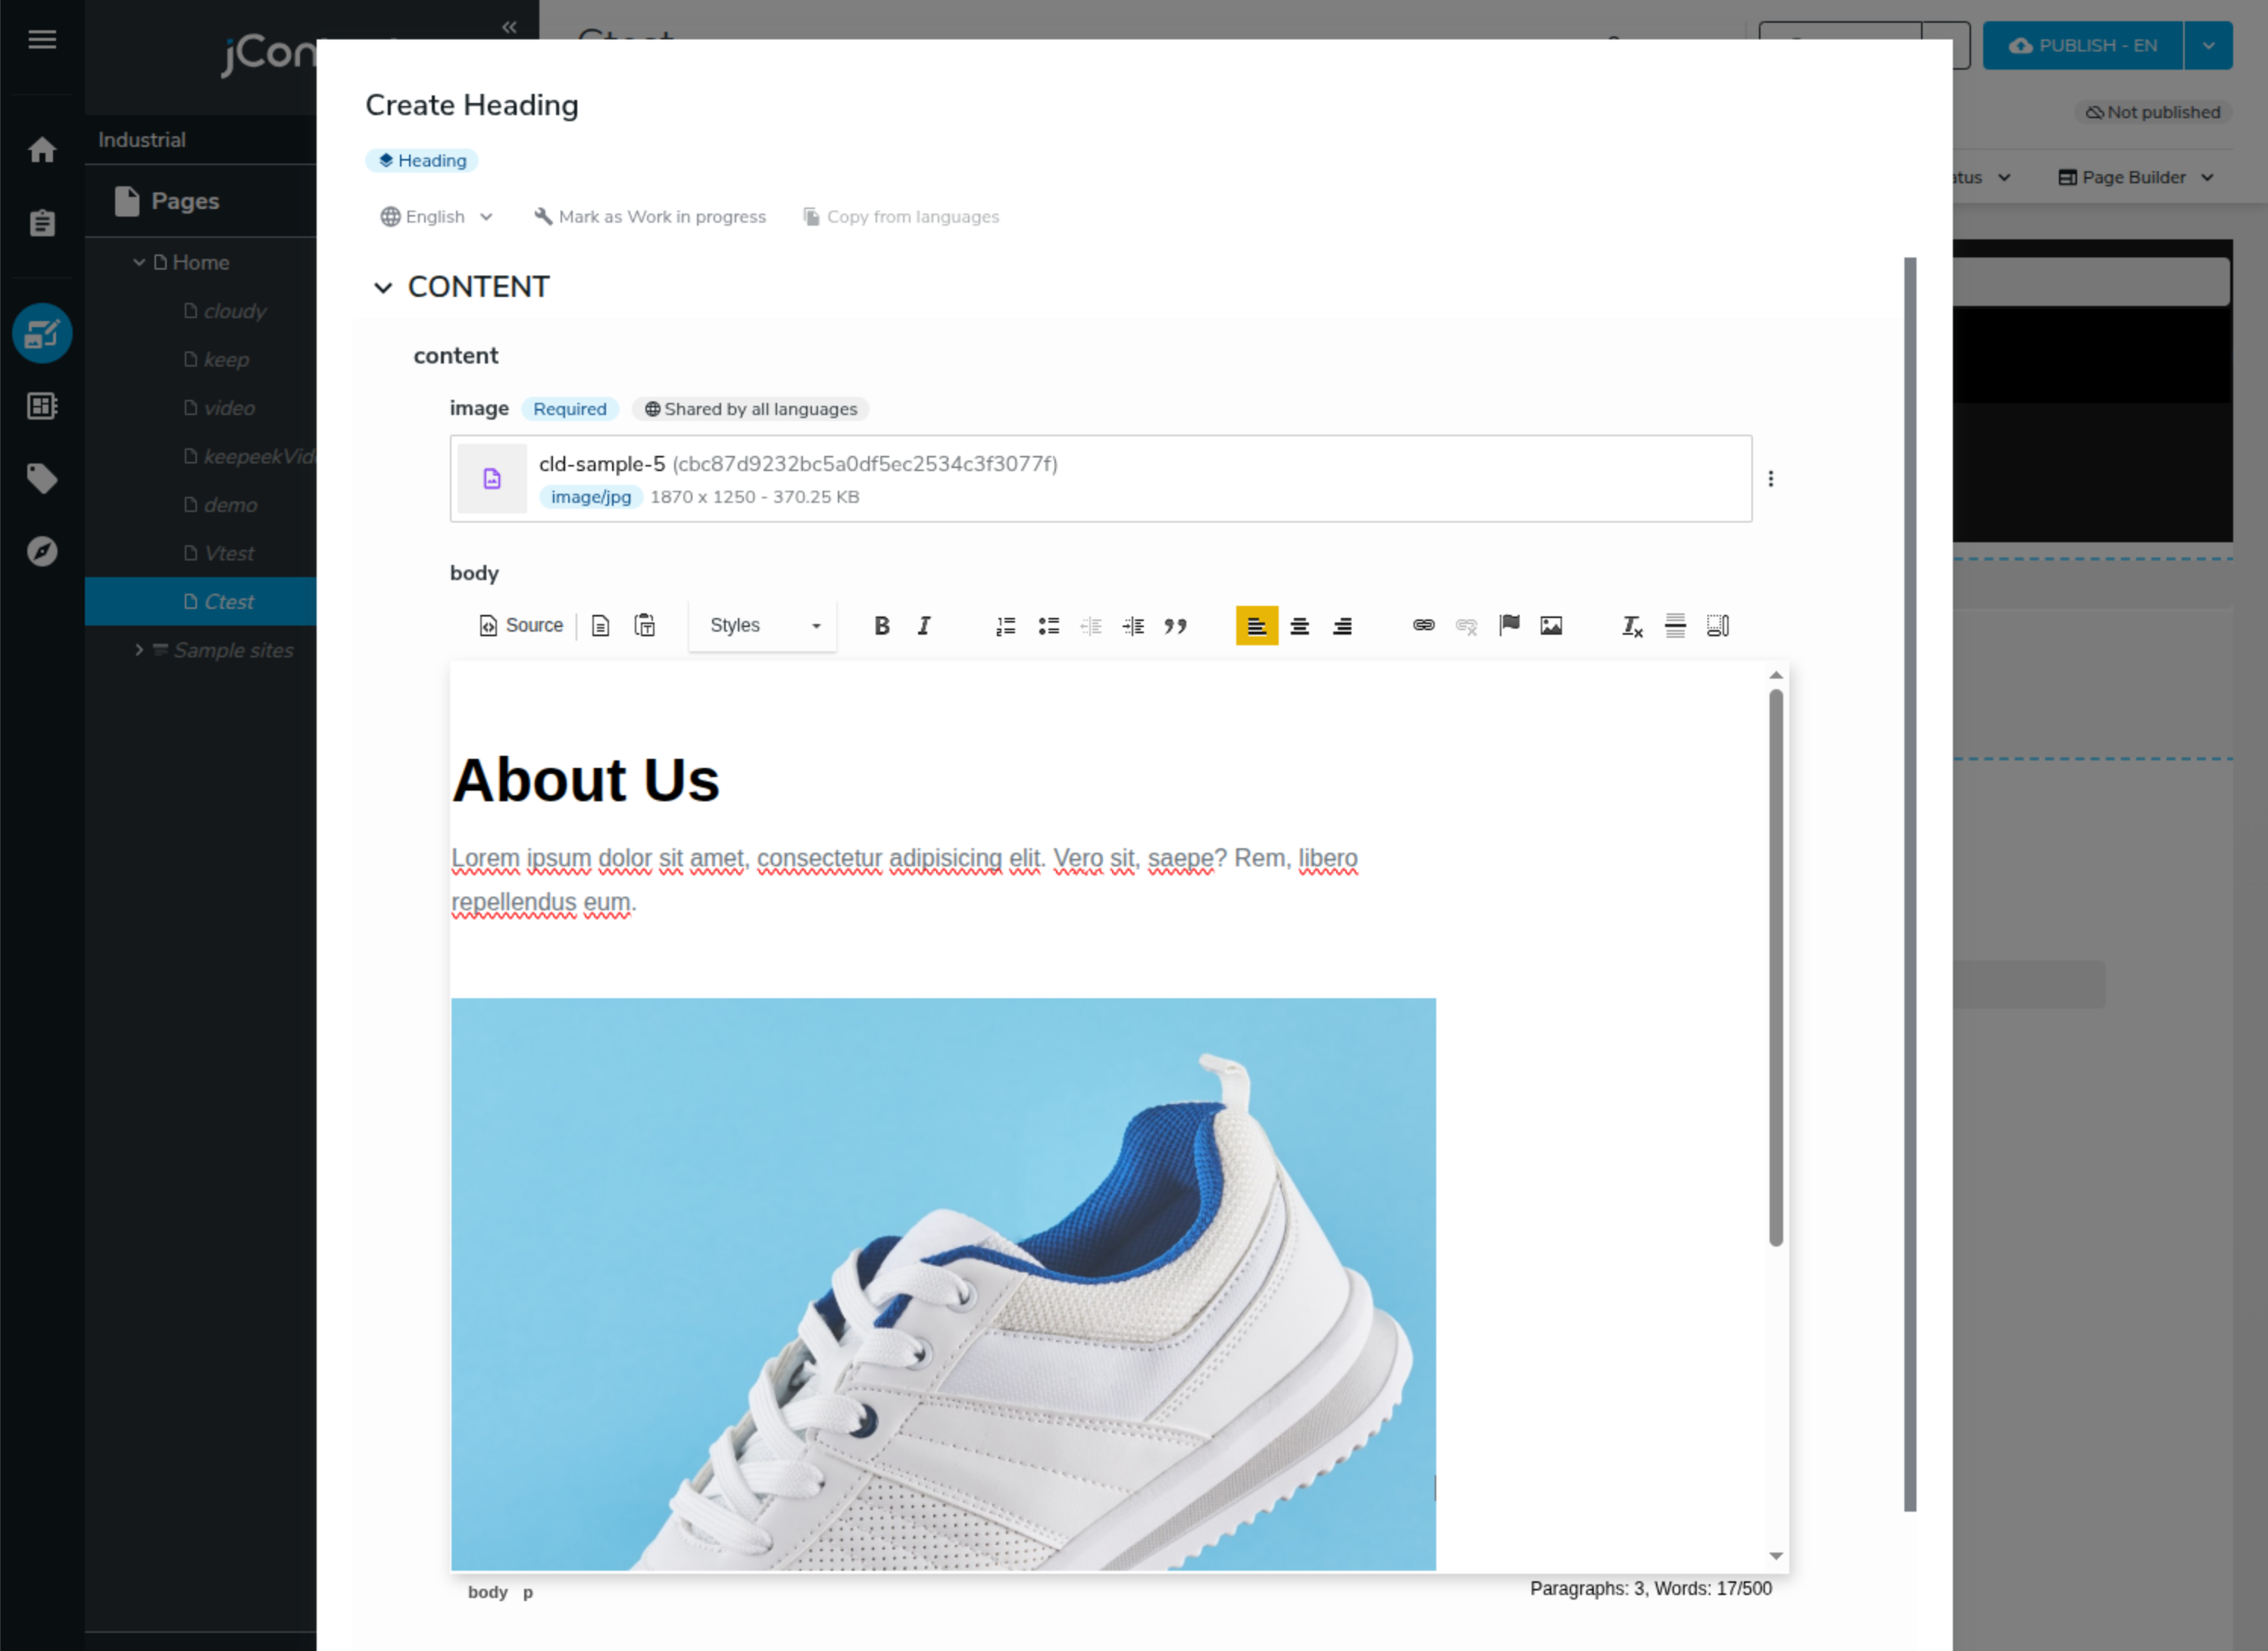
- [Optional] Transform the image
- Crop: Use the crop tool to focus on a specific area
- Resize: Adjust dimensions
- Preview updates in real-time
- Transformations don't modify the original in Cloudinary
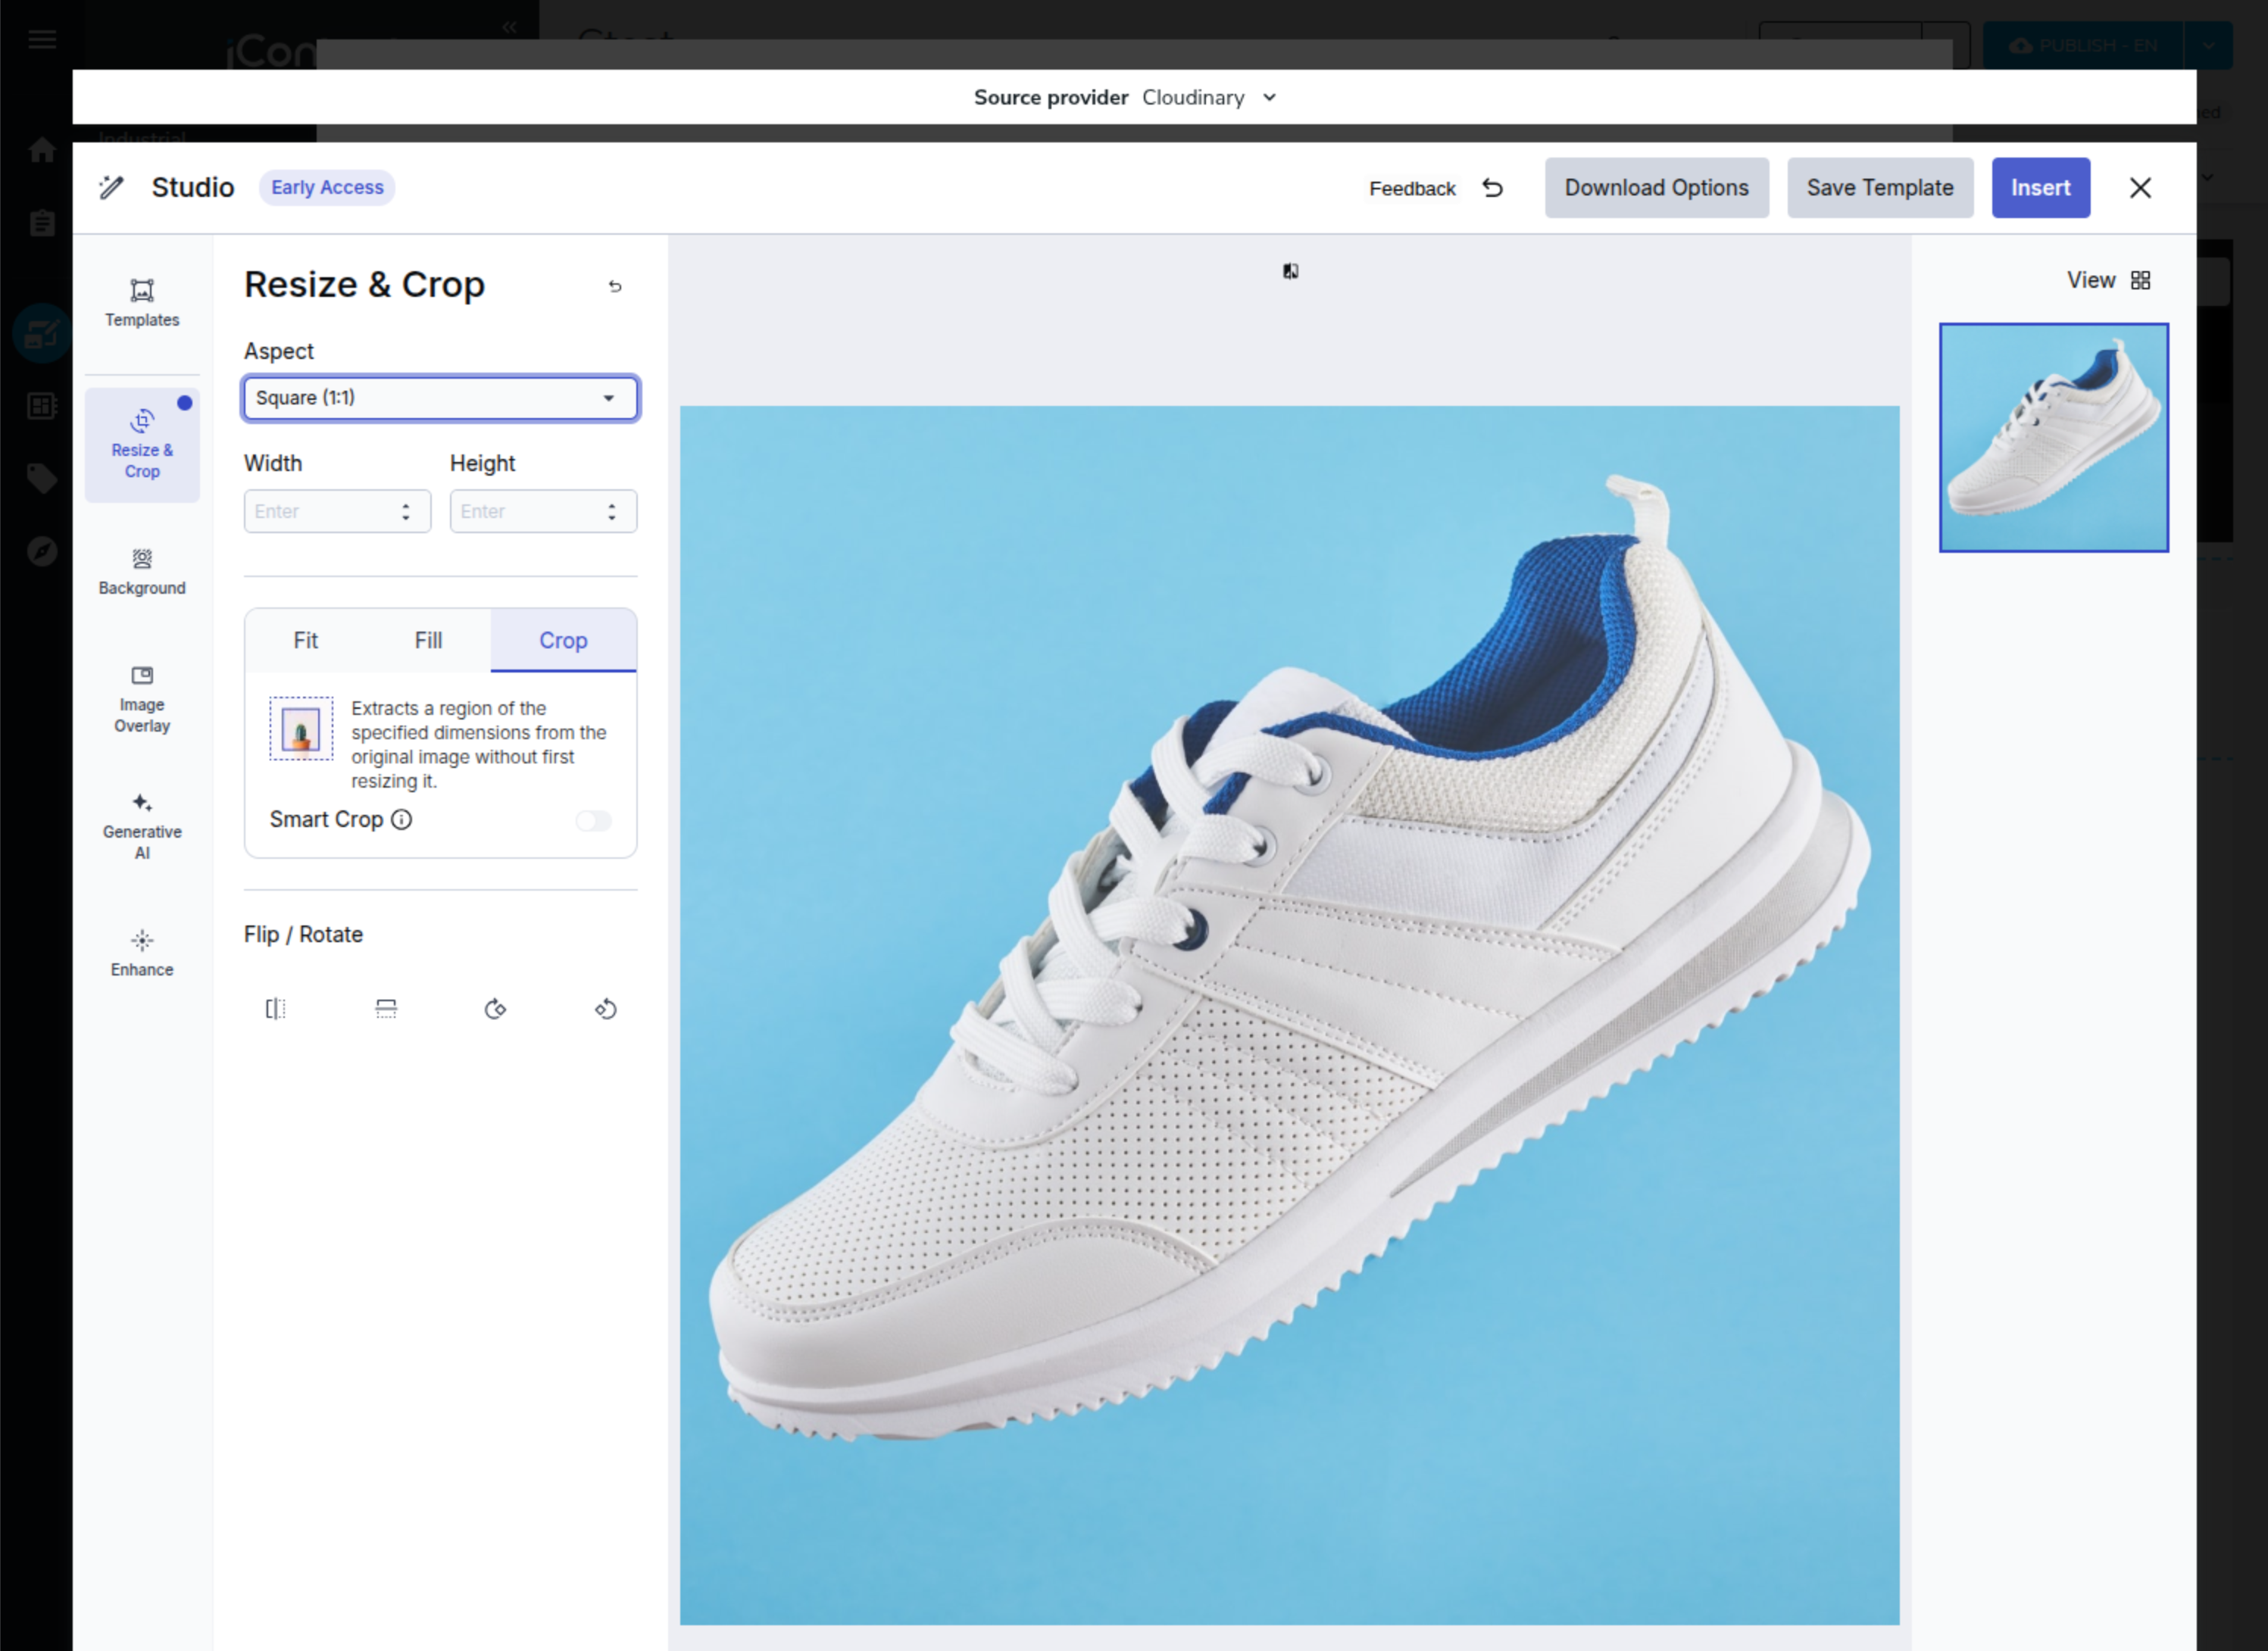
- Insert and save
- Click "Insert" to add the image
- Click "Save" to save your content
 The image is now referenced in your content. The file remains in Cloudinary and is not duplicated in Jahia.
Using Cloudinary Assets in CKEditor
You can also insert Cloudinary images directly into rich text fields:
- Click inside a rich text field (e.g., article body)
- Click the "Image" icon in the CKEditor toolbar
- Select "Cloudinary" as the source (if you have multiple DAM providers)
- Browse and select your image using the Cloudinary Media Library
- Configure display settings (alt text, alignment, size)
- Insert the image
The image appears inline in your text editor.
Adding Cloudinary Assets Directly to Pages
Adding Images with Default Jahia Content
You can add Cloudinary images directly to a page using Jahia's default media content:
- In Page Composer, click "Add content" in the target area
- Select "Jahia - Media → Image (Internationalized)"
- In the image field, click to open the picker
- Select "Cloudinary" from the Source provider dropdown
- Choose your image and optionally apply transformations
- Click "Insert" and "Save"
This approach is useful for adding standalone images to pages without creating custom content types.
Adding Videos with Default Jahia Content
You can add Cloudinary videos to pages in multiple ways:
Option 1: File Reference in Pages
- In Page Composer, click "Add content" in the target area
- Select "Jahia - Media → File reference" (Internationalized or Shared by all languages)
- In the file field, click to open the picker
- Select "Cloudinary" from the Source provider dropdown
- Choose your video
- Click "Insert" and "Save"
Option 2: Video via Weak Reference in Custom Content
For custom content types (e.g., Article with video field):
- Create or edit your content (e.g., Article)
- In the video field (weak reference), click to open the picker
- Select "Cloudinary" as the source
- Choose your video
- Click "Insert" and "Save"
These methods work for any Cloudinary video format and automatically handle video rendering on your site.
Displaying Cloudinary Assets
Displaying Images in JSP Templates
Basic Image Display
<%@ taglib prefix="c" uri="http://java.sun.com/jsp/jstl/core" %>
<%@ taglib prefix="fn" uri="http://java.sun.com/jsp/jstl/functions" %>

<%-- Get the Cloudinary asset reference --%>
<c:set var="Image" value="${currentNode.properties['image']}"/>

<%-- Display the image --%>
<c:if test="${not empty Image.node}">
    <c:set var="image" value="${Image.node}"/>
    <img src="${image.url}"
         alt="${fn:escapeXml(image.displayableName)}"
         class="hero-image"/>
</c:if>
Image with Custom Size
<%-- Display at 800px width --%>
<img src="${image.getUrl(['w:800'])}"
     alt="${fn:escapeXml(image.displayableName)}"/>

<%-- Display at 800x600 --%>
<img src="${image.getUrl(['w:800', 'h:600'])}"
     alt="${fn:escapeXml(image.displayableName)}"/>

<%-- With crop mode and gravity --%>
<img src="${image.getUrl(['w:800', 'h:600', 'c:fill', 'g:face'])}"
     alt="${fn:escapeXml(image.displayableName)}"/>
Supported parameters:
w:orwidth:- Width in pixelsh:orheight:- Height in pixelsc:orcrop:- Crop mode (scale, fit, fill, crop, thumb, etc.)g:orgravity:- Focal point (center, face, auto, north, south, etc.)
Displaying Images in React/JSX Templates
Basic Image Display
import { buildNodeUrl, jahiaComponent } from "@jahia/javascript-modules-library";

jahiaComponent(
  {...},({image}) => {
    if (!image) return null;

    const imageUrl = buildNodeUrl(image);

    return (
        <img
            src={imageUrl}
            alt={image.getDisplayableName()}
        />
    );
});
Image with Custom Size and Transformations
import { buildNodeUrl, jahiaComponent } from "@jahia/javascript-modules-library";

jahiaComponent(
  {...},({image}) => {
    if (!image) return null;

    // Build URL with width parameter
    const imageUrl = buildNodeUrl(image, { args: { w: 800 } });

    return (
      <img
        src={imageUrl}
        alt={image.getDisplayableName()}
      />
    );
  });

// With width, height, crop mode, and gravity
const imageUrl = buildNodeUrl(image, {
  args: {
    w: 800,
    h: 600,
    c: 'fill',
    g: 'face'
  }
});
Parameter format:
buildNodeUrl(imageNode, { args: { w: 800 } })                    // Width only
buildNodeUrl(imageNode, { args: { h: 600 } })                    // Height only
buildNodeUrl(imageNode, { args: { w: 800, h: 600 } })            // Both
buildNodeUrl(imageNode, { args: { w: 800, h: 600, c: 'fill' } }) // With crop
buildNodeUrl(imageNode, { args: { w: 800, c: 'fill', g: 'face' } }) // With gravity
Displaying Videos
Video in JSP
<c:set var="video" value="${currentNode.properties['videoAsset'].node}"/>

<c:if test="${not empty video}">
    <video controls>
        <source src="${video.url}" type="video/mp4">
        Your browser does not support the video tag.
    </video>
</c:if>
Video in React
import { buildNodeUrl, jahiaComponent } from "@jahia/javascript-modules-library";

jahiaComponent(
  {...},({videoNode}) => {
    if (!videoNode) return null;
    const videoUrl = buildNodeUrl(videoNode);

    return (
        <video controls>
            <source src={videoUrl} type="video/mp4" />
            Your browser does not support the video tag.
        </video>
    );
});
Note: Cloudinary automatically handles video format optimization and adaptive streaming when configured.
Retrieving Asset URLs via GraphQL
You can also retrieve Cloudinary asset URLs programmatically using Jahia's GraphQL API. This is useful for headless CMS implementations or custom applications.
GraphQL Query
query GetCloudinaryAssetUrl(
    $workspace: Workspace!,
    $uuid: String!
) {
    jcr(workspace: $workspace) {
        nodeById(uuid: $uuid) {
            title:displayName
            name
            url
        }
    }
}
Query Variables
{
  "workspace": "EDIT",
  "uuid": "fffffff2-6800-40cf-9b88-562d41ada4b4"
}
Example Response
{
  "data": {
    "jcr": {
      "nodeById": {
        "title": "alpine-supercar-concept_d5buh5",
        "name": "b46e97d7820542cddb8942405ff9ece9_c.a.w.15o",
        "url": "https://res.cloudinary.com/demvmlgq7/image/upload/c_thumb,w_1500/v1740057988/alpine-supercar-concept_d5buh5.webp"
      }
    }
  }
}
Note: The returned URL includes any transformations that were applied during asset selection in the picker.
Important limitation: Unlike JSP (getUrl(['w:800'])) or React (buildNodeUrl(image, { args: { w: 800 } })), GraphQL does not support dynamic transformation parameters. The url field returns the asset URL with only the transformations that were applied during asset selection. To get different image sizes via GraphQL, you would need to:
- Select and save multiple versions with different transformations, or
- Apply transformations client-side after fetching the URL
Use Cases
- Headless CMS: Fetch asset URLs for React, Vue, or Angular applications
- Custom integrations: Build custom galleries or sliders
- API consumers: Provide asset URLs to third-party services
- Mobile apps: Deliver optimized images to native applications
Understanding Cloudinary Transformations
Cloudinary provides powerful transformation capabilities. The module supports basic transformations through template parameters:
Crop Modes (c: parameter)
scale- Resize to exact dimensions, may distort aspect ratiofit- Resize to fit within dimensions, maintains aspect ratiofill- Resize and crop to exact dimensions, maintains aspect ratiocrop- Crop to exact dimensionsthumb- Generate thumbnail with face detectionlimit- Resize only if larger than specified dimensions
Gravity (g: parameter)
Controls focal point for cropping and resizing:
auto- Automatic focal point detectionface- Focus on detected facescenter- Center of the imagenorth,south,east,west- Cardinal directionsnorth_east,south_east, etc. - Corner positions
Automatic Optimizations
Cloudinary automatically applies:
- Format optimization (
f_auto) - Delivers best format (WebP, AVIF, etc.) - Quality optimization (
q_auto) - Balances quality and file size - DPR scaling - Adapts to device pixel ratio
Summary
Key takeaways:
- Cloudinary assets are referenced, not duplicated in Jahia
- Transformations are non-destructive and applied on-the-fly
- Use
image.urlfor original,image.getUrl(['w:800'])for transformed - In React:
buildNodeUrl(imageNode, { args: { w: 800 } }) - Cloudinary's CDN handles global delivery and automatic optimization
- Basic transformations (width, height, crop, gravity) are supported via template parameters
For installation and configuration instructions, see the Administrator Guide.