Discovering Digital Experience Manager
1 How to install DX 7.2
1.1 Community versus Enterprise editions
The Community Distribution is the 100% free and open source distribution of Jahia Digital Experience Manager, under GPLv3 license. The Enterprise Distribution is available through a business-friendly license (JSEL) and is designed to meet the needs of the most demanding mission-critical projects.
The Enterprise Distribution differentiates from the Community Distribution by the Digital Industrialization tools it embarks:
- The Private App Store software
- Roles and advanced workflows
- User directories and SSO (LDAP, AD etc.)
- Distant publishing
- Clustering
- Complex environments support (WebSphere, Oracle…)
- The possibility to install specific packages like Portal Factory providing features like Esigate or CMIS integration.
The Community Distribution shares the exact same code base as the Enterprise Distribution (we do not want to provide crapware, early stage or unstable version to our community). But people using the Community Distribution cannot access to the monthly hotfixes and are not supported by the Jahia teams.
The Enterprise Distribution is available through annual subscriptions that encompass the additional Digital Industrialization tools, unlimited bug fixes, Online Technical Assistance and specific SLAs for both development and production environments.
1.2 Download and installation
Different packages (Community edition, Enterprise Edidion, demo) of Digital Experience Manager are available for download here: https://www.jahia.com/community/downloads
Jahia Digital Experience Manager is available for Linux, Mac and Windows.
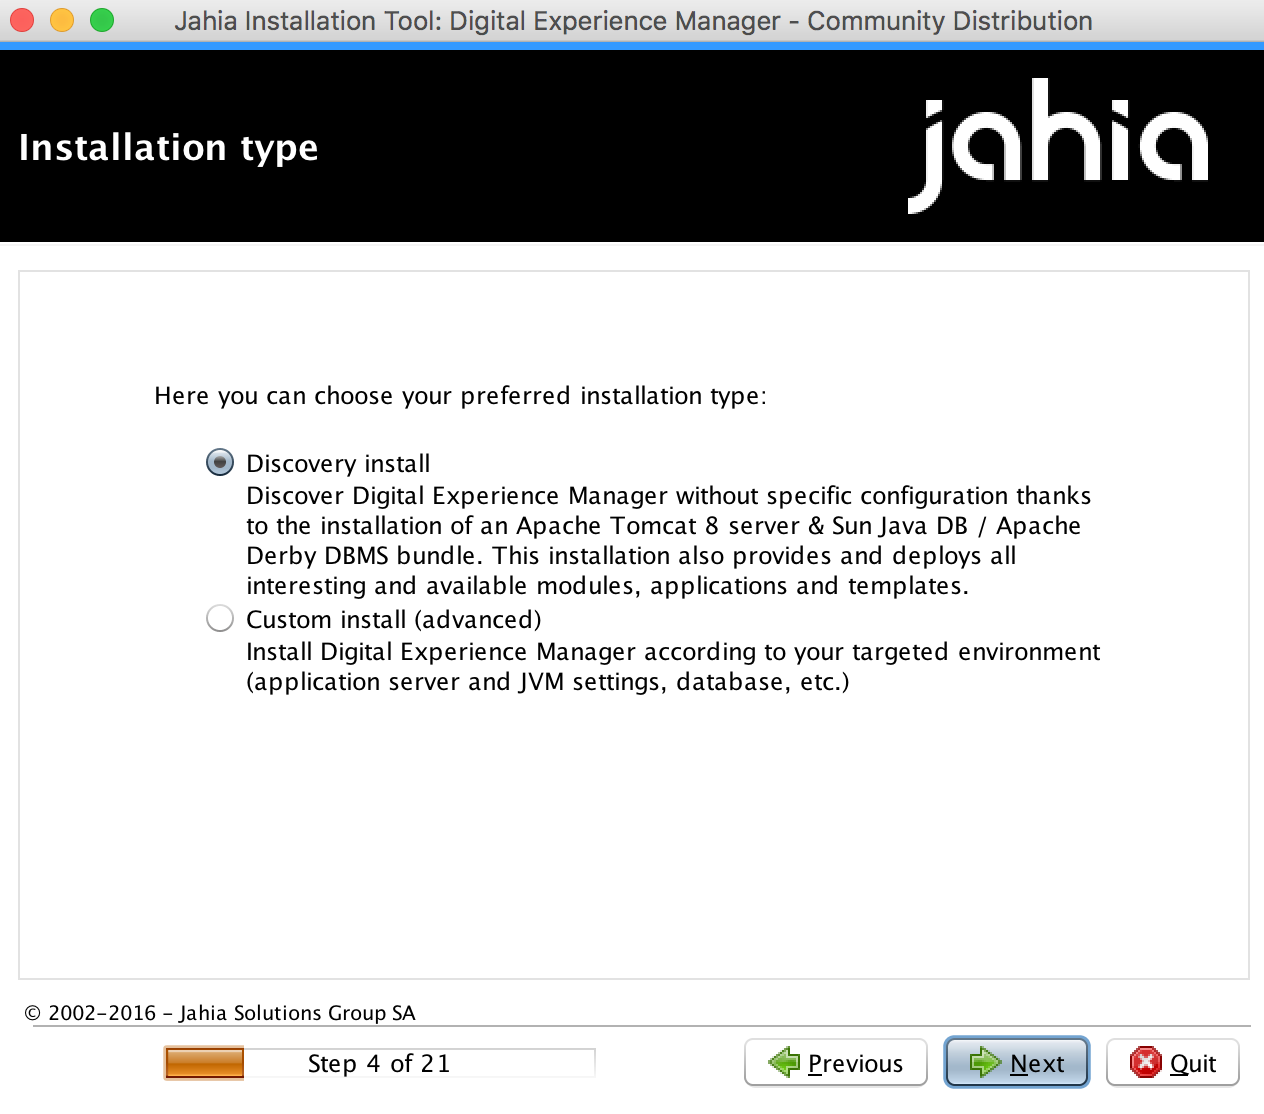
Let the installer guide you through the installation process. Select « Discovery Install » for an easy setup.
2 How to access your dashboard
Log on your DX server using your username and password.
2.1 Login
If Digital Experience Manager is installed on your computer for test or development purpose, you can access it using the urlhttp://localhost:8080/start
If Digital Experience Manager is installed on a distant server, you must call it through its IP address or domain associated to it and type http://ip-address/start or http://domain/start
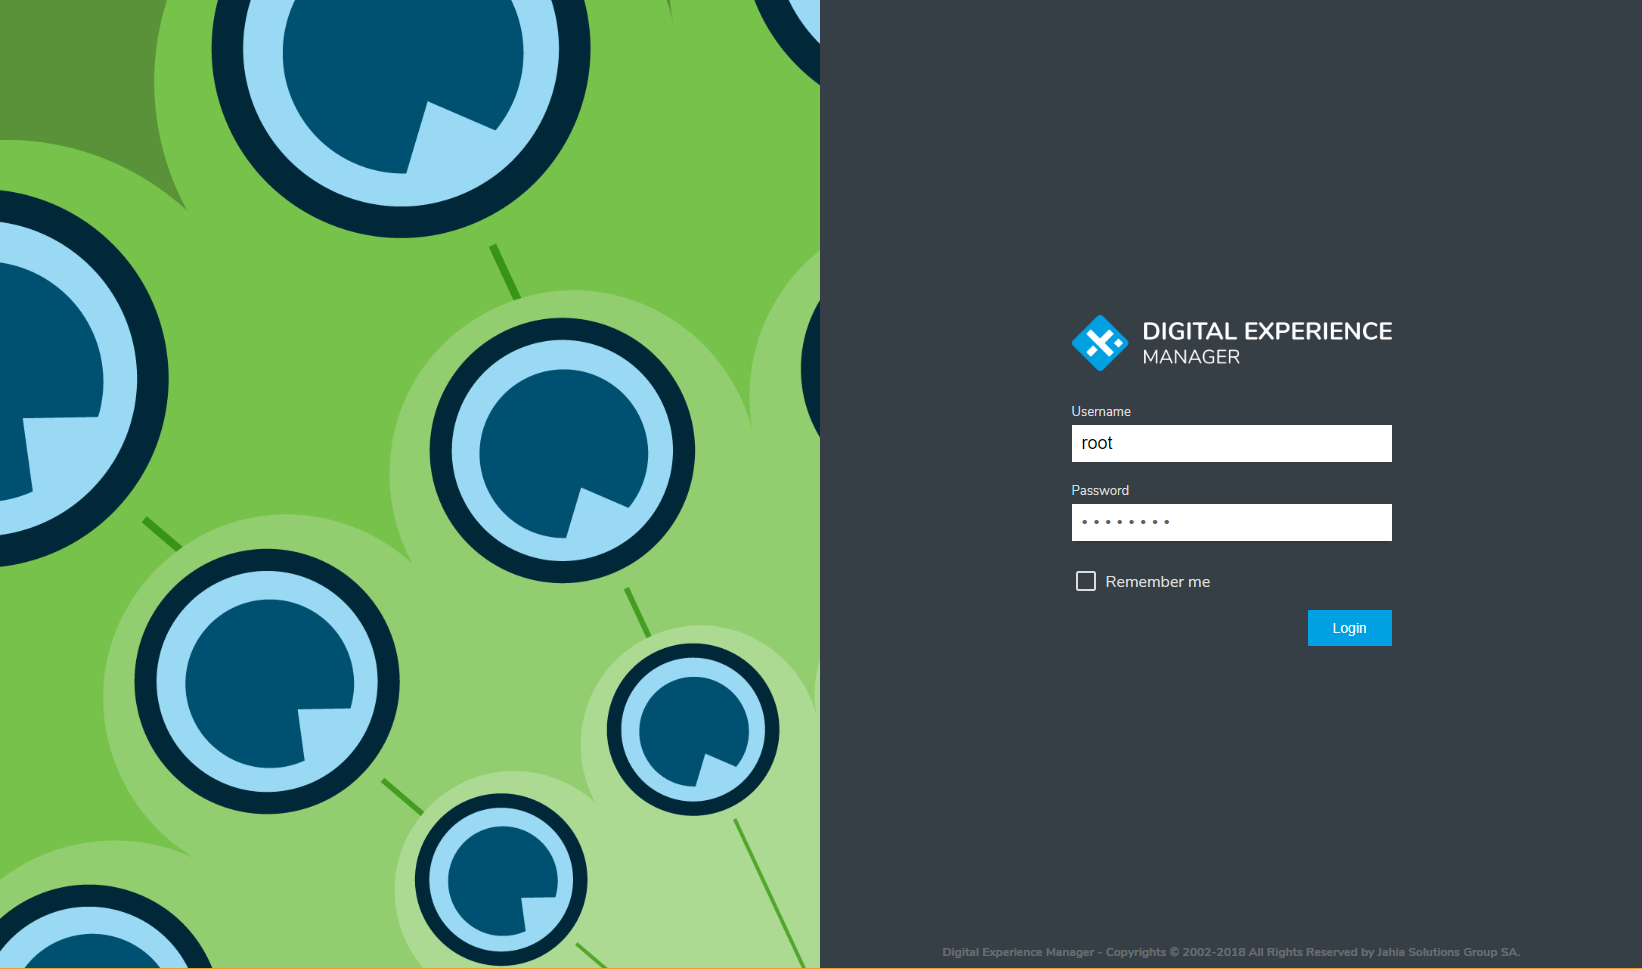
This should bring the following screen, unless your company has a single-sign on mechanism in place, in which case you’ll arrive immediately on your Dashboard.
Type-in your username and password then validate. If your credentials are correct you’ll be redirected to your User Dashboard.
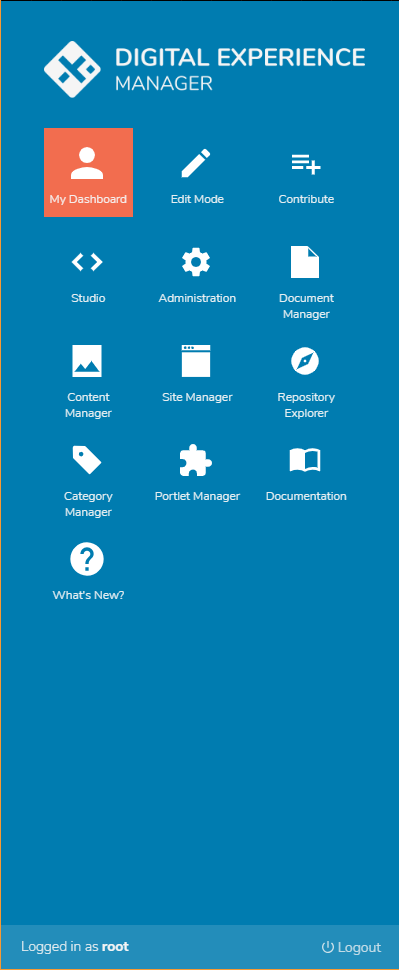
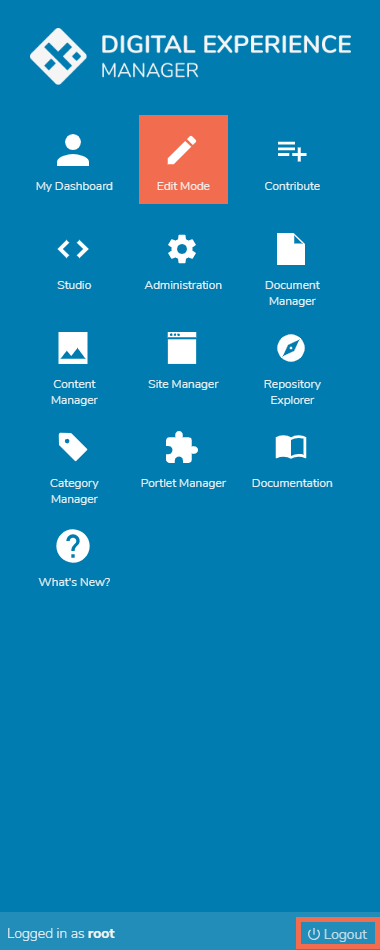
You can also access the dashboard by from the DX menu of the Edit and Contribute Modes:
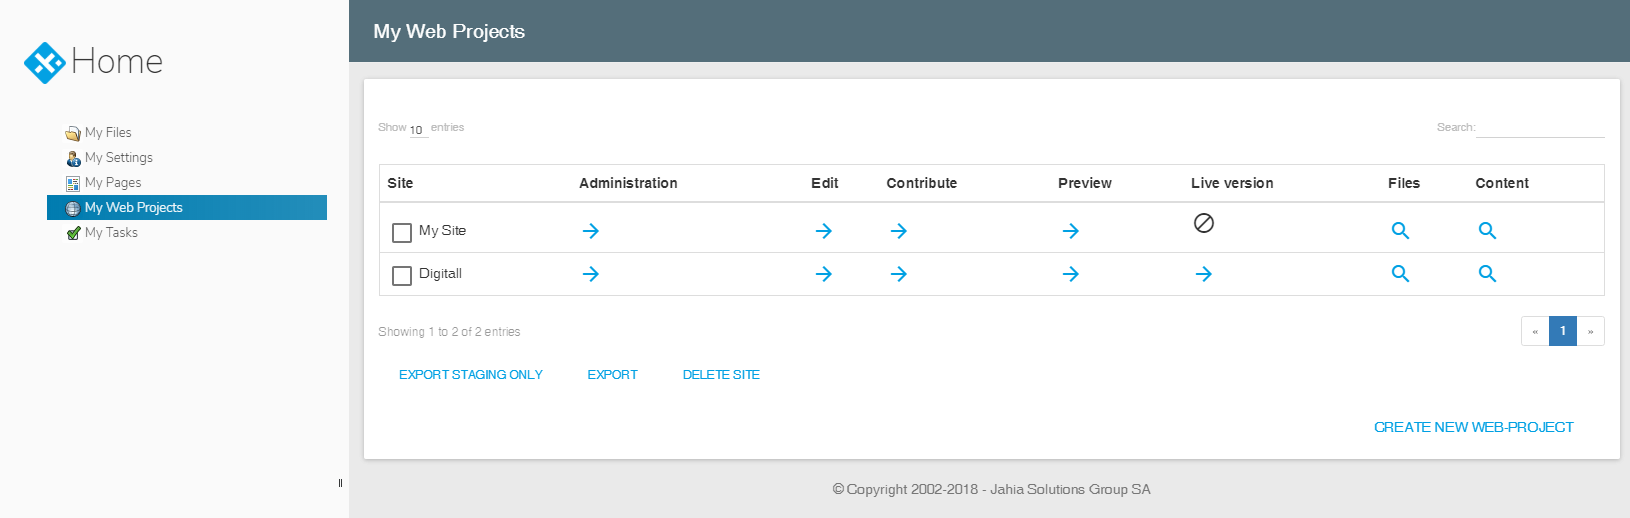
Your Dashboard contains an overview of all your relevant information in Jahia DX: your Web Projects, your Tasks, your User Profile
2.2 Logout
When you have finished working with Digital Experience Manager, it is important to disconnect from the system to prevent another person with access to your workstation (physically or remotely) from accessing the system under your name.
You should be aware that closing your browser is not necessarily sufficient protection.
To disconnect from Digital Experience Manager, click on the "logout" entry in the User Menu located in the top toolbar.
You may also log out when you are in Edit Mode or Contribution Mode by returning to the general menu page and click on the Logout button.
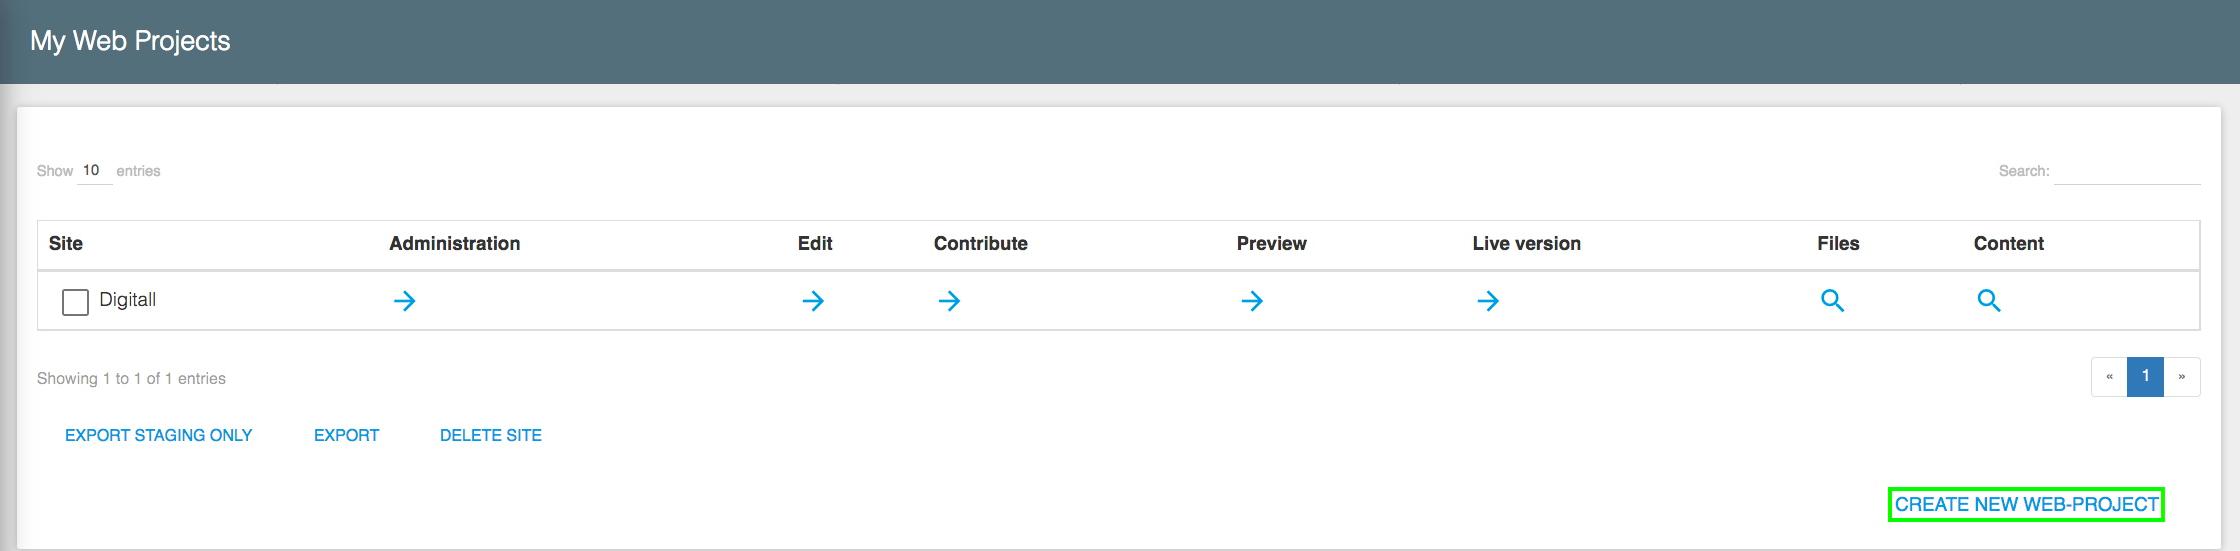
3 How to create a web project
Web Projects are virtual web sites that can be edited through Jahia DX. One single DX server can host several Web Projects for different teams and can handle separate domain names if needed.
On your Dashboard, Click the « Create New Web Project » button
Create a Web Project from scratch
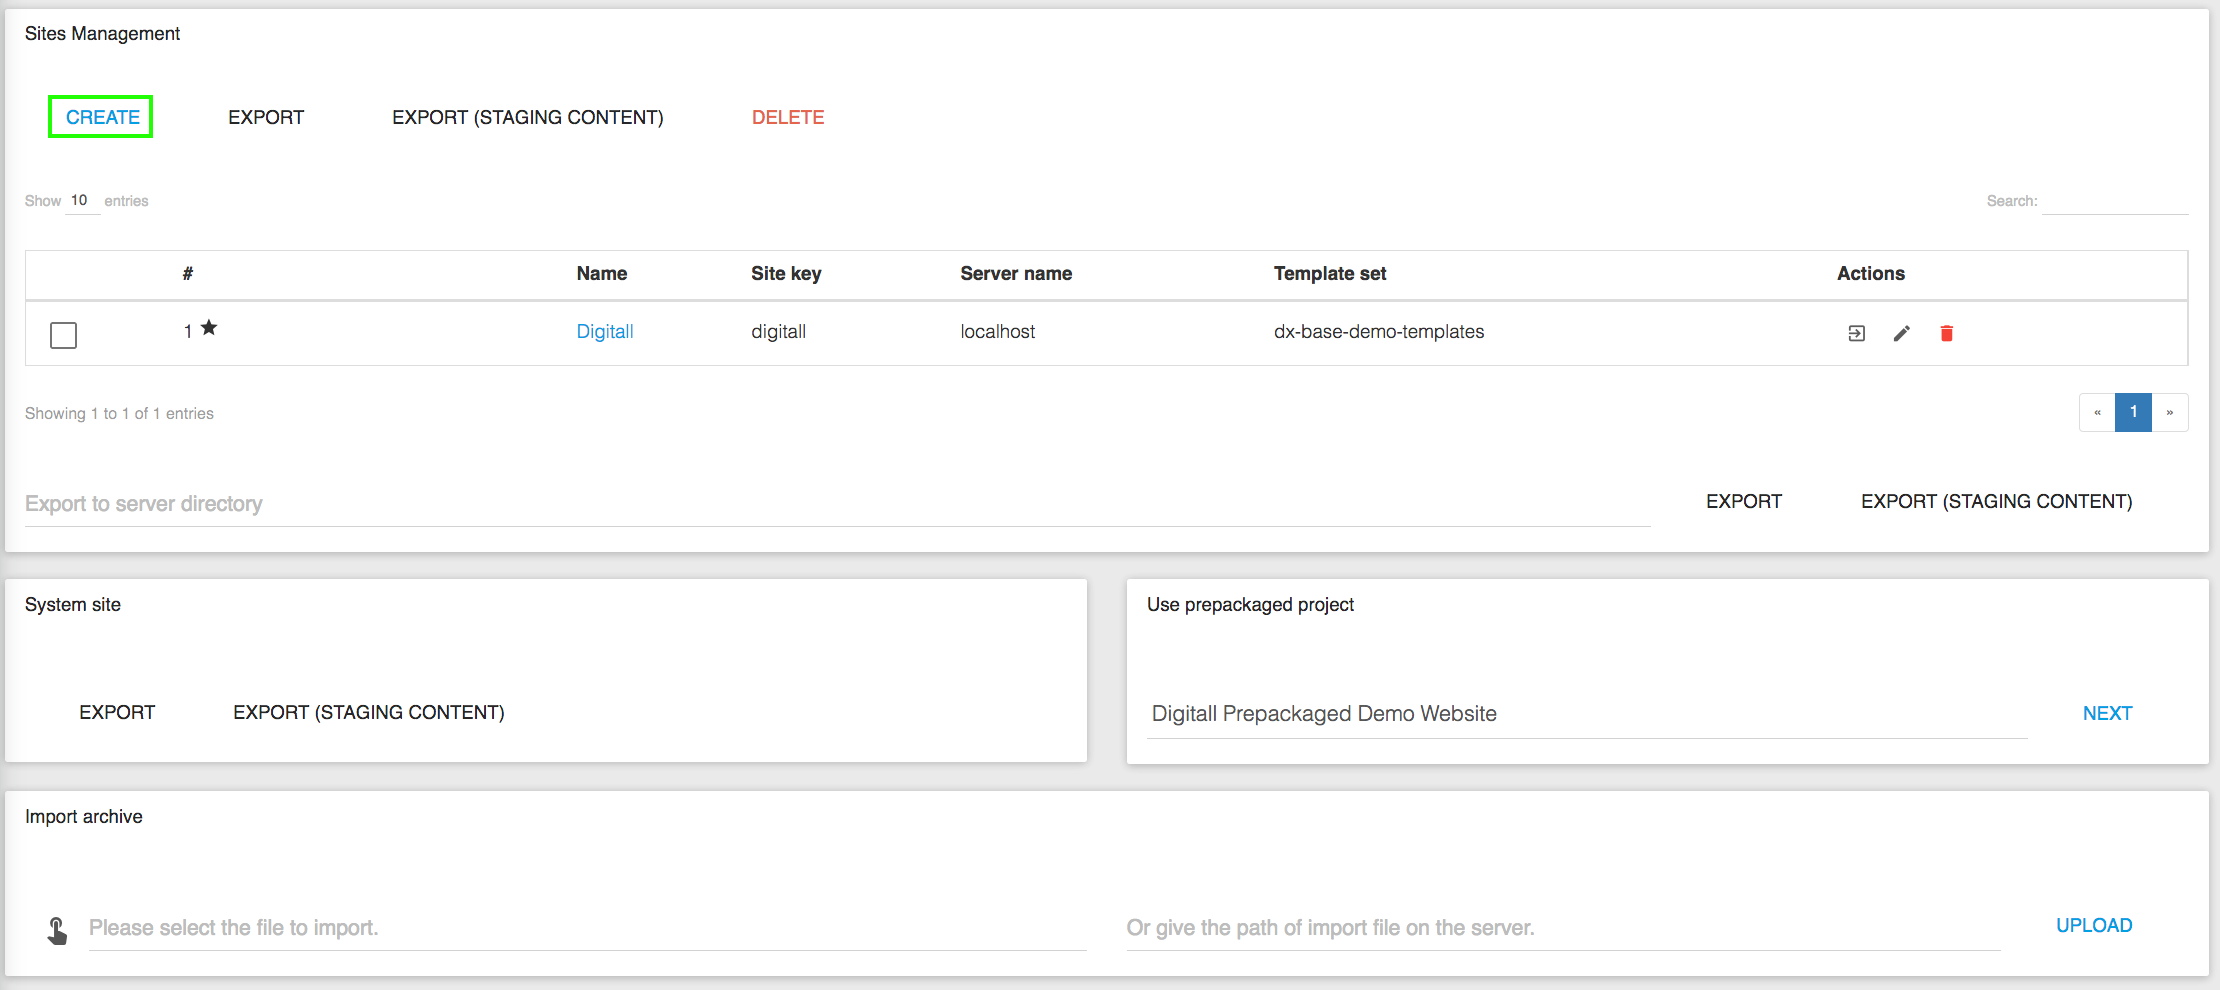
Or use one prepackaged site
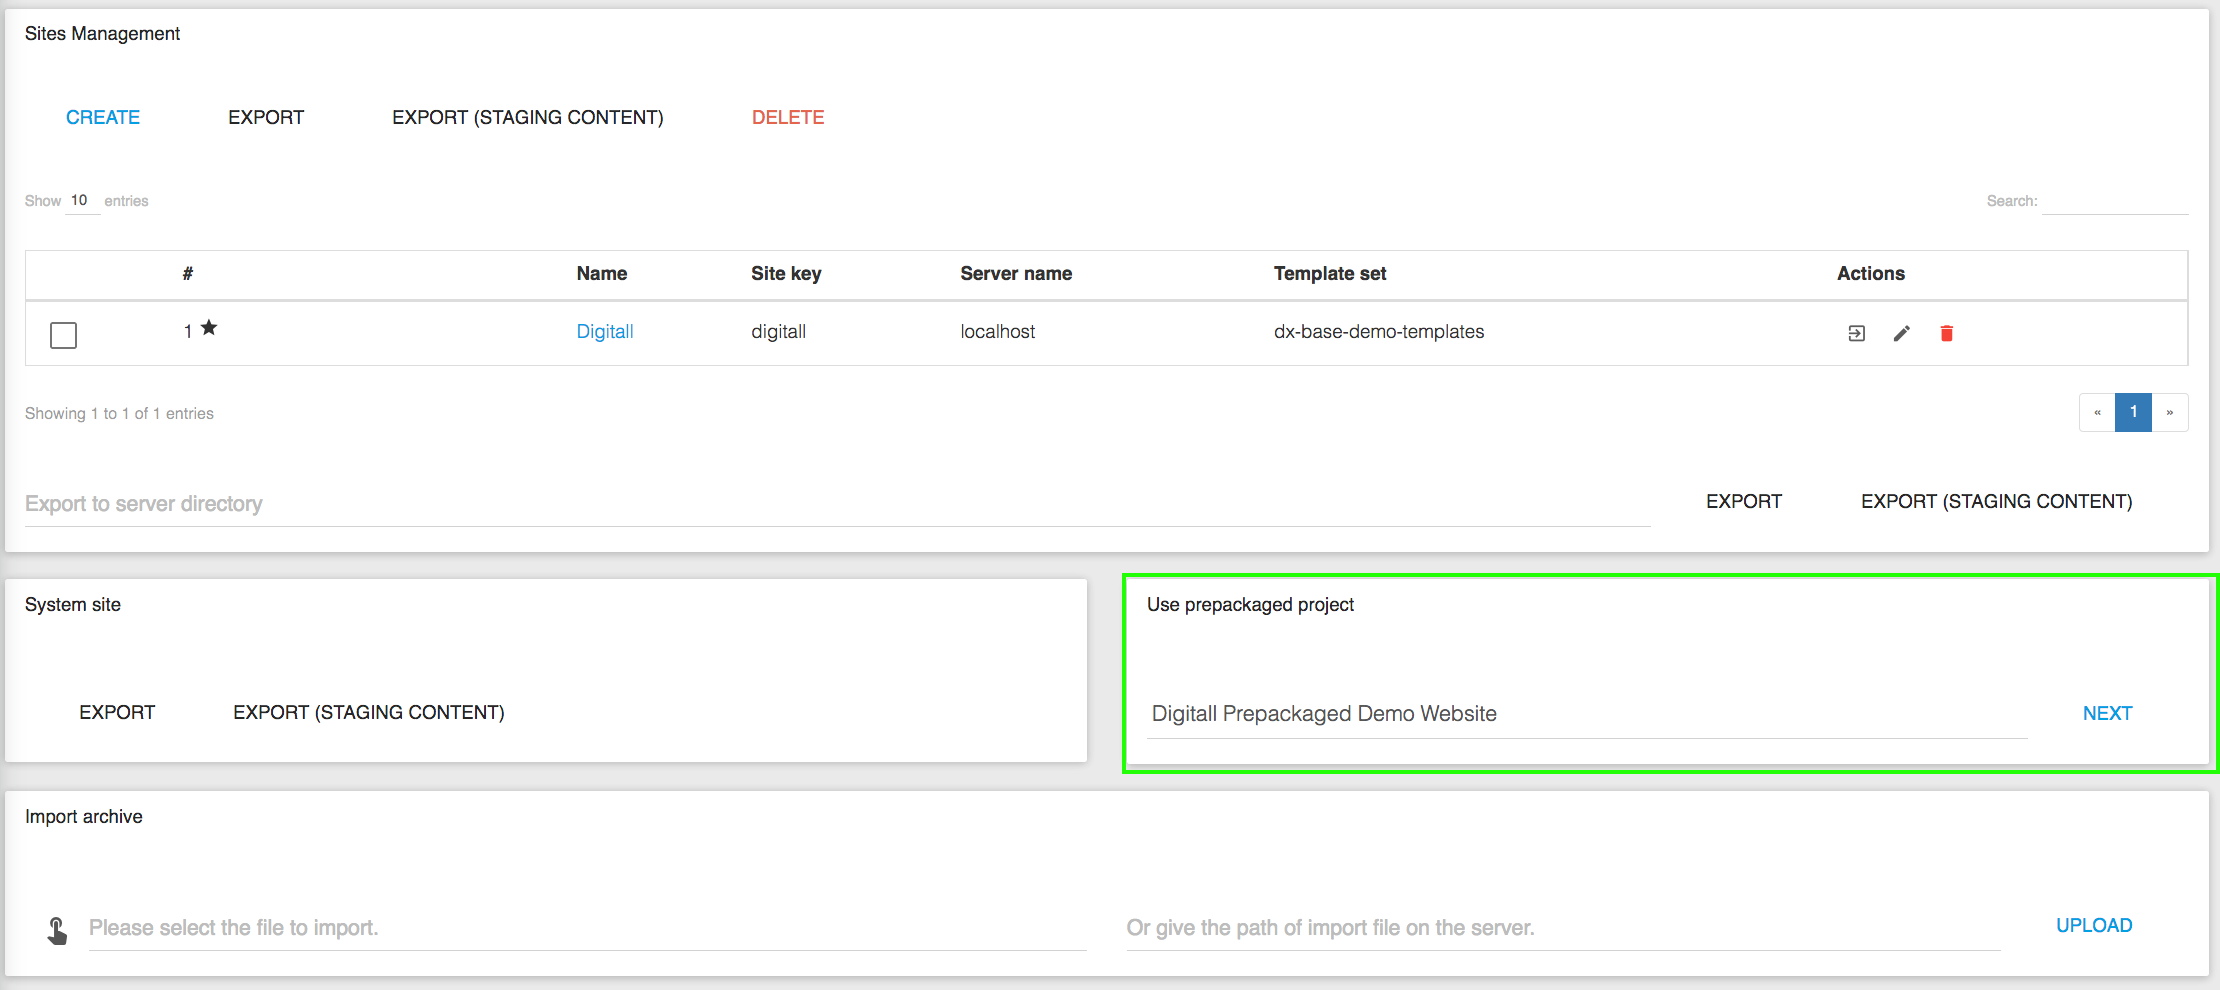
Set the properties for your new Web Project, choose modules if applicable and follow the creation process

4 How to edit content
Once logged in, go to Edit Mode using the menu on the site or through your Dashboard

In Edit Mode, the same principle applies for any content in Jahia DX: Double-Click on the content to Edit

Every content has the same basic set of properties. Different content types have extra specific fields.
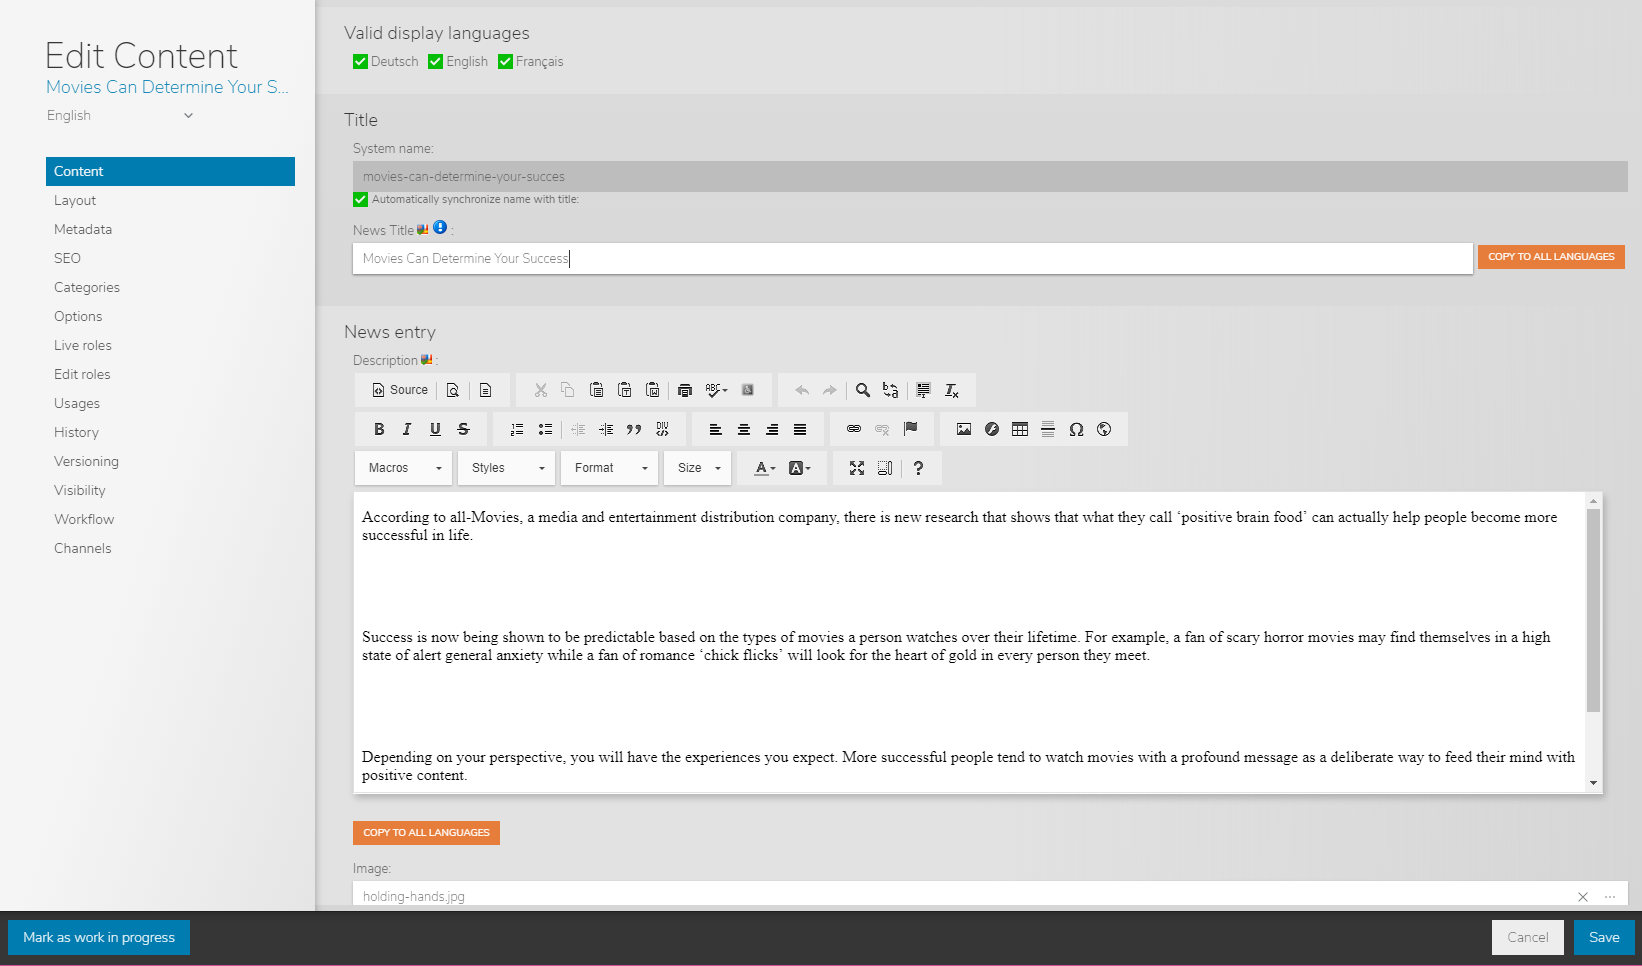
Set properties the way you want them and save changes. Changes will not be visible on the live site until the content is published.
5 How to add new contents
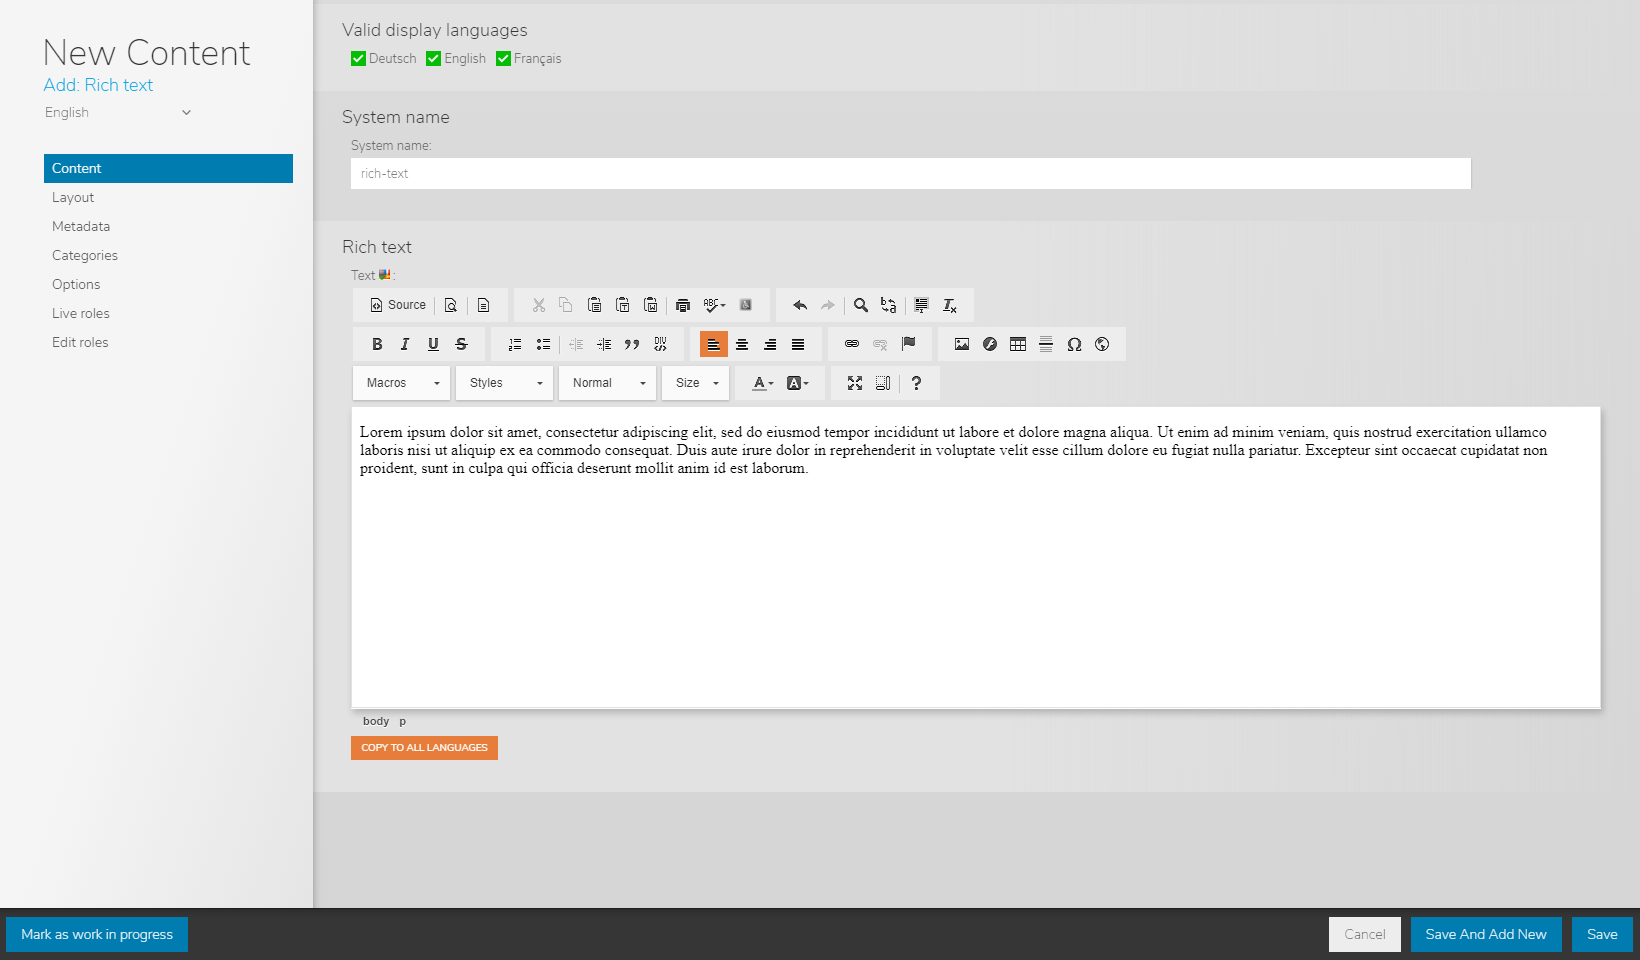
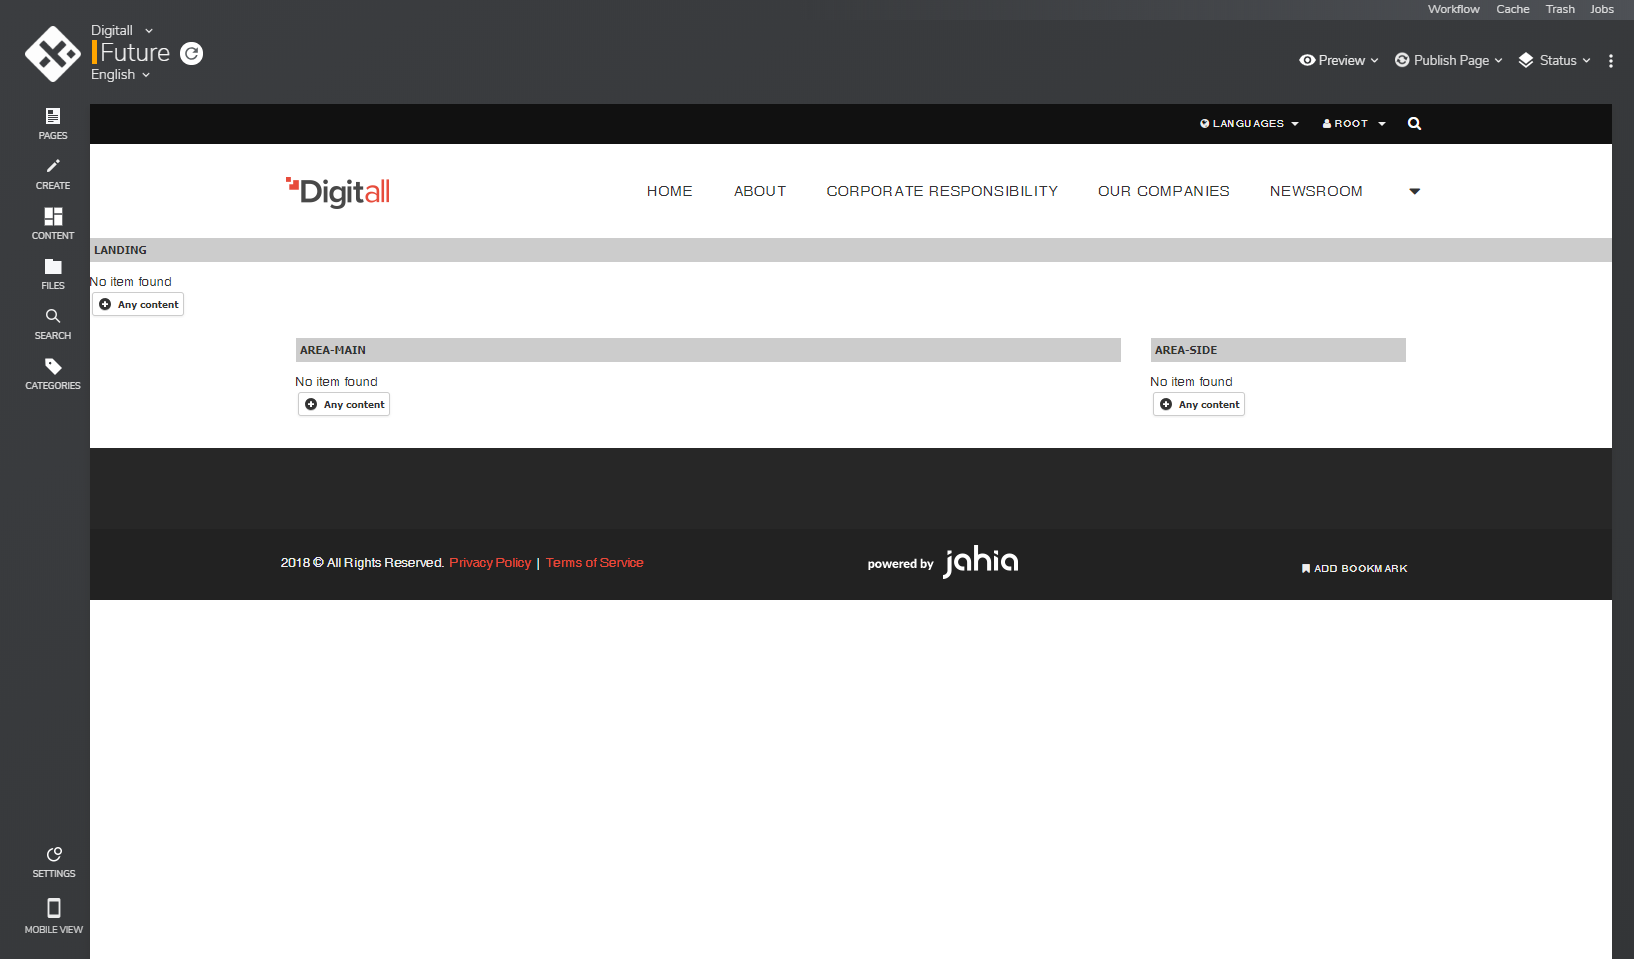
In Edit Mode, use the Content Selector to add any type of content and drag the item where you want it to appear.
You can alsoclick on the + Any content button in the desired section of the page.
Some parts of the page may only allow certain types of content. You can use the +

The Editing engine is launched and you can start defining the content’s properties and entering the content.
6 How to add files and images
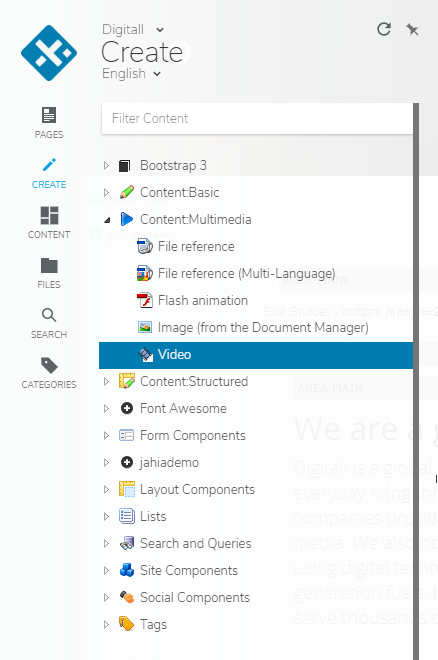
Use the Multimedia content types from the Content Selector to include images, embedded videos, or video streaming from sites like YouTube. Jahia DX comes with a plethora of rich content types that provide diverse, interactive content for your web sites. Drag/drop to add, double-click to Edit.
Set the specific properties

To insert an image, use the content type “Image (from the Document Manager), click on the “Image” field then select your image in the picker window and Save.
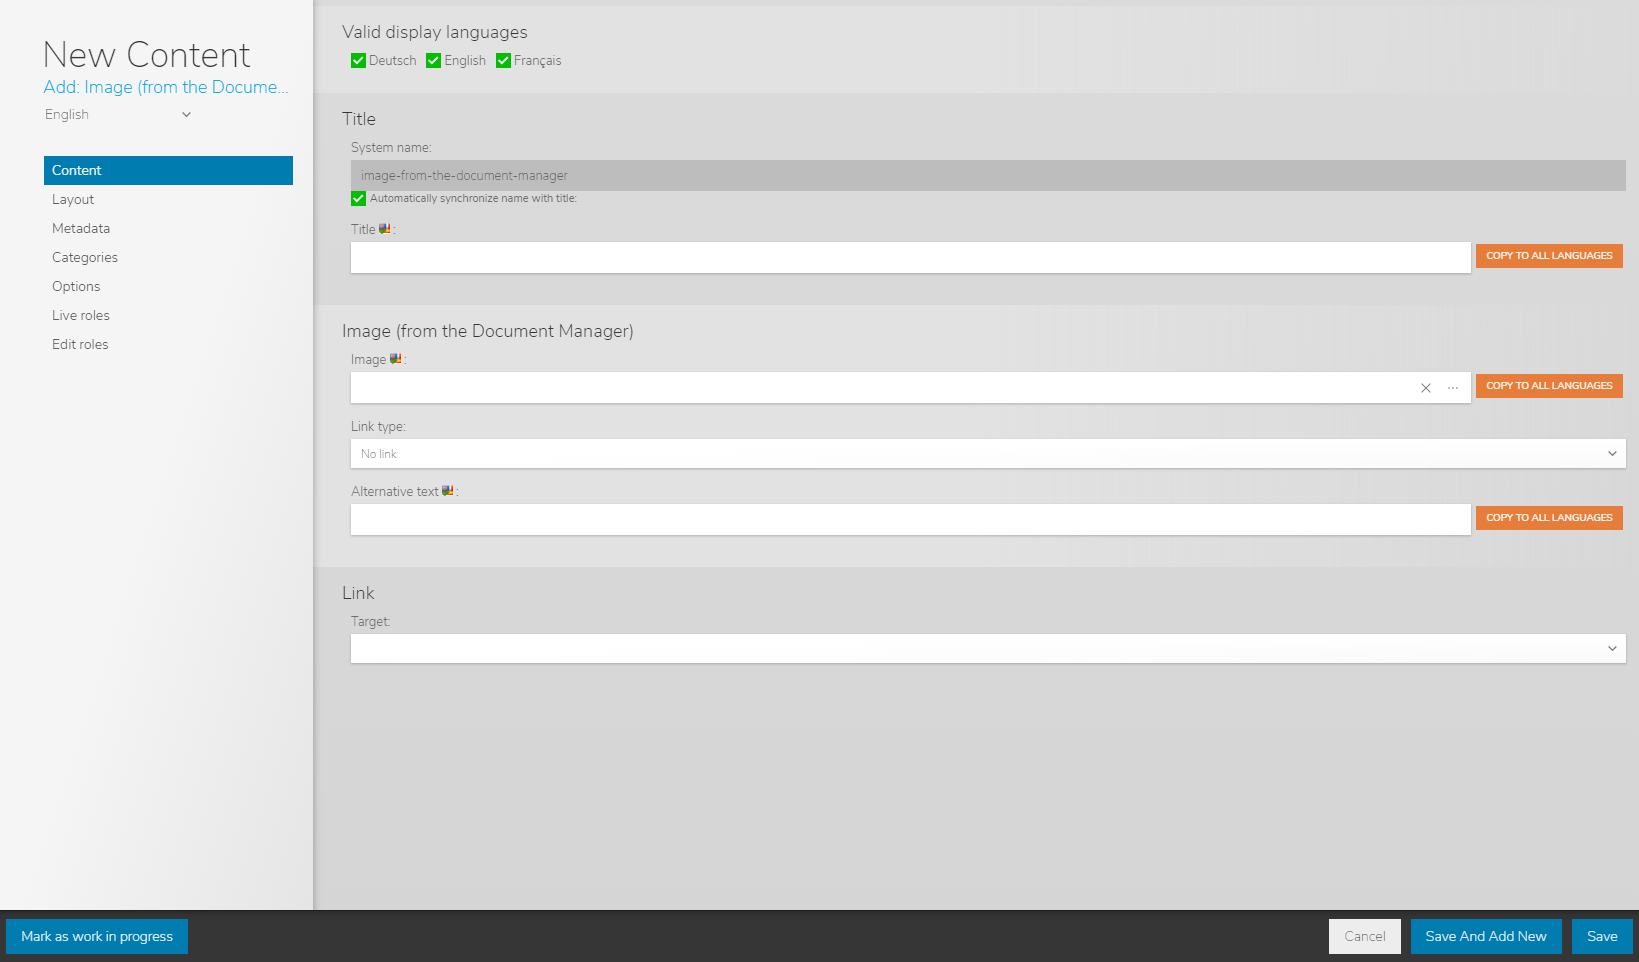
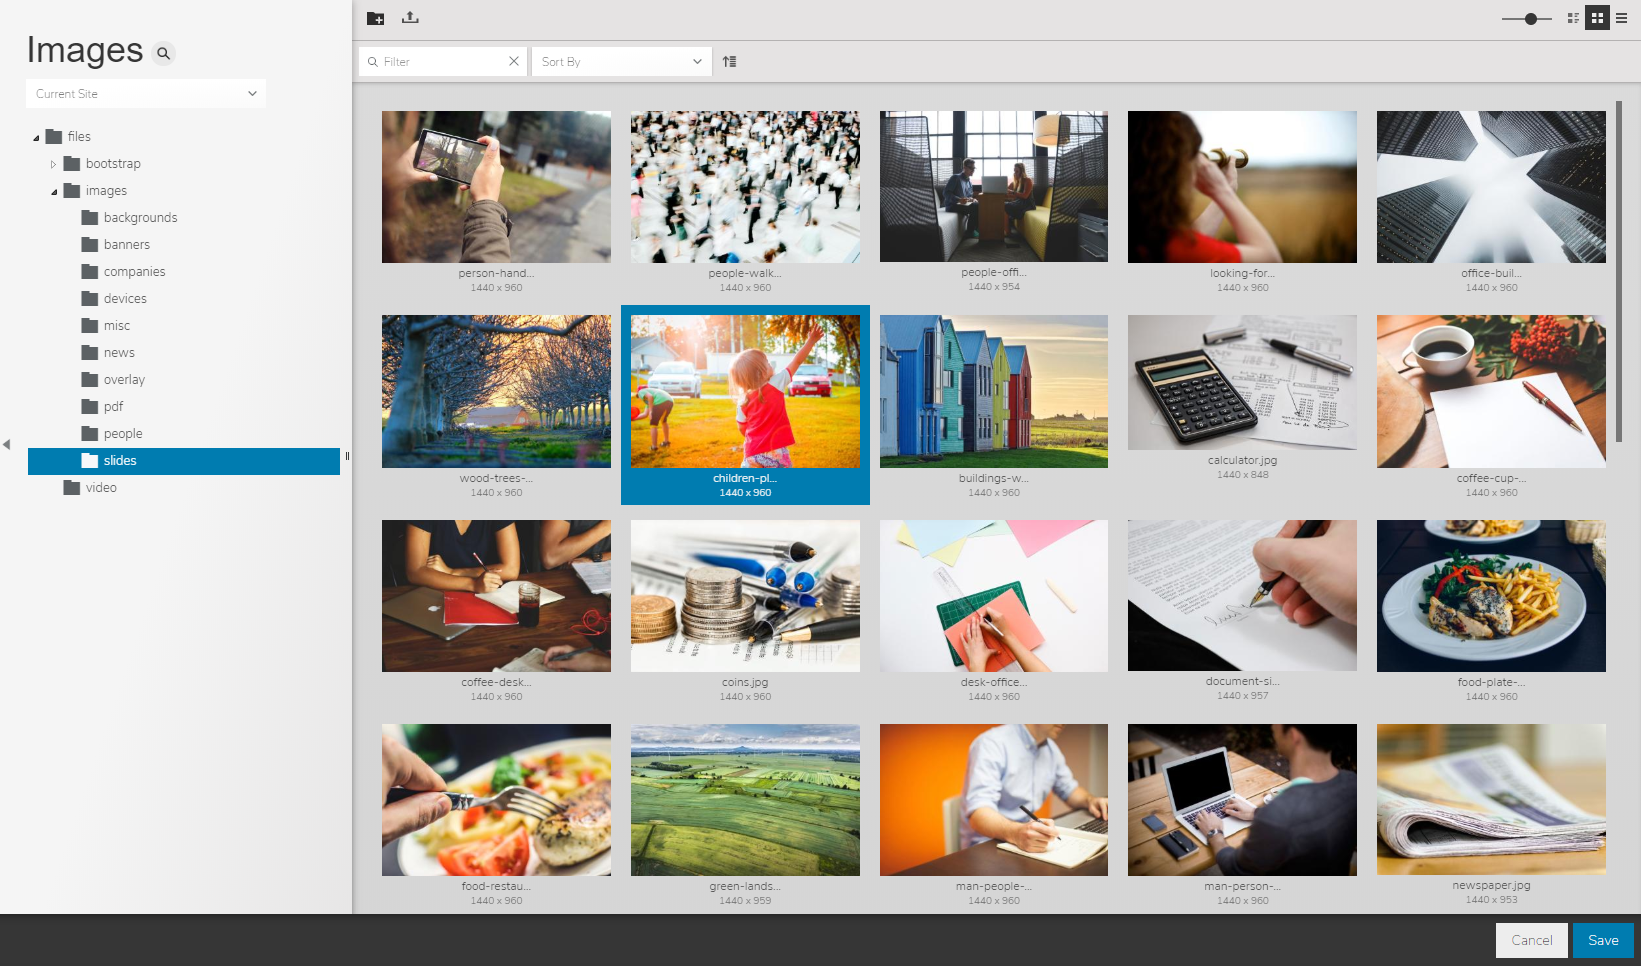
If you need to upload your own image, just browse to the folder where you want to upload your image, and click on the  button which will open a file upload form.
Once you have selected your image, just click on the "Save" button, and the image is added to your content!

7 How to add social components

Engage your visitors using the Social Components content types from the Content Selector : comments, ratings, polls, social sharing
8 How to produce multilingual contents
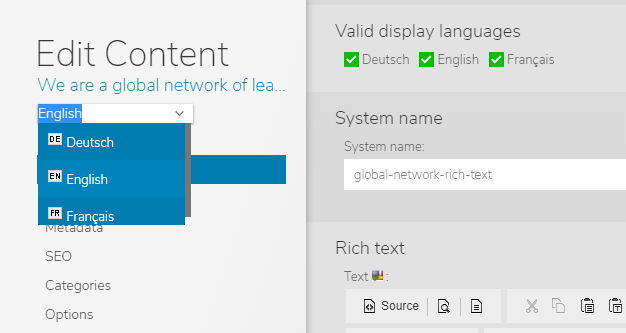
In the Editing engine, use the Language Selector to select the language of the content you wish to edit. Authorized languages are defined by the Site Administrator.
Edit the content in the new language and save your changes.
9 How to create a new page
On the Pages tab, choose the parent node for the new page, right-click and select « New Page »

Edit the new page’s properties, such as Title and select a template.
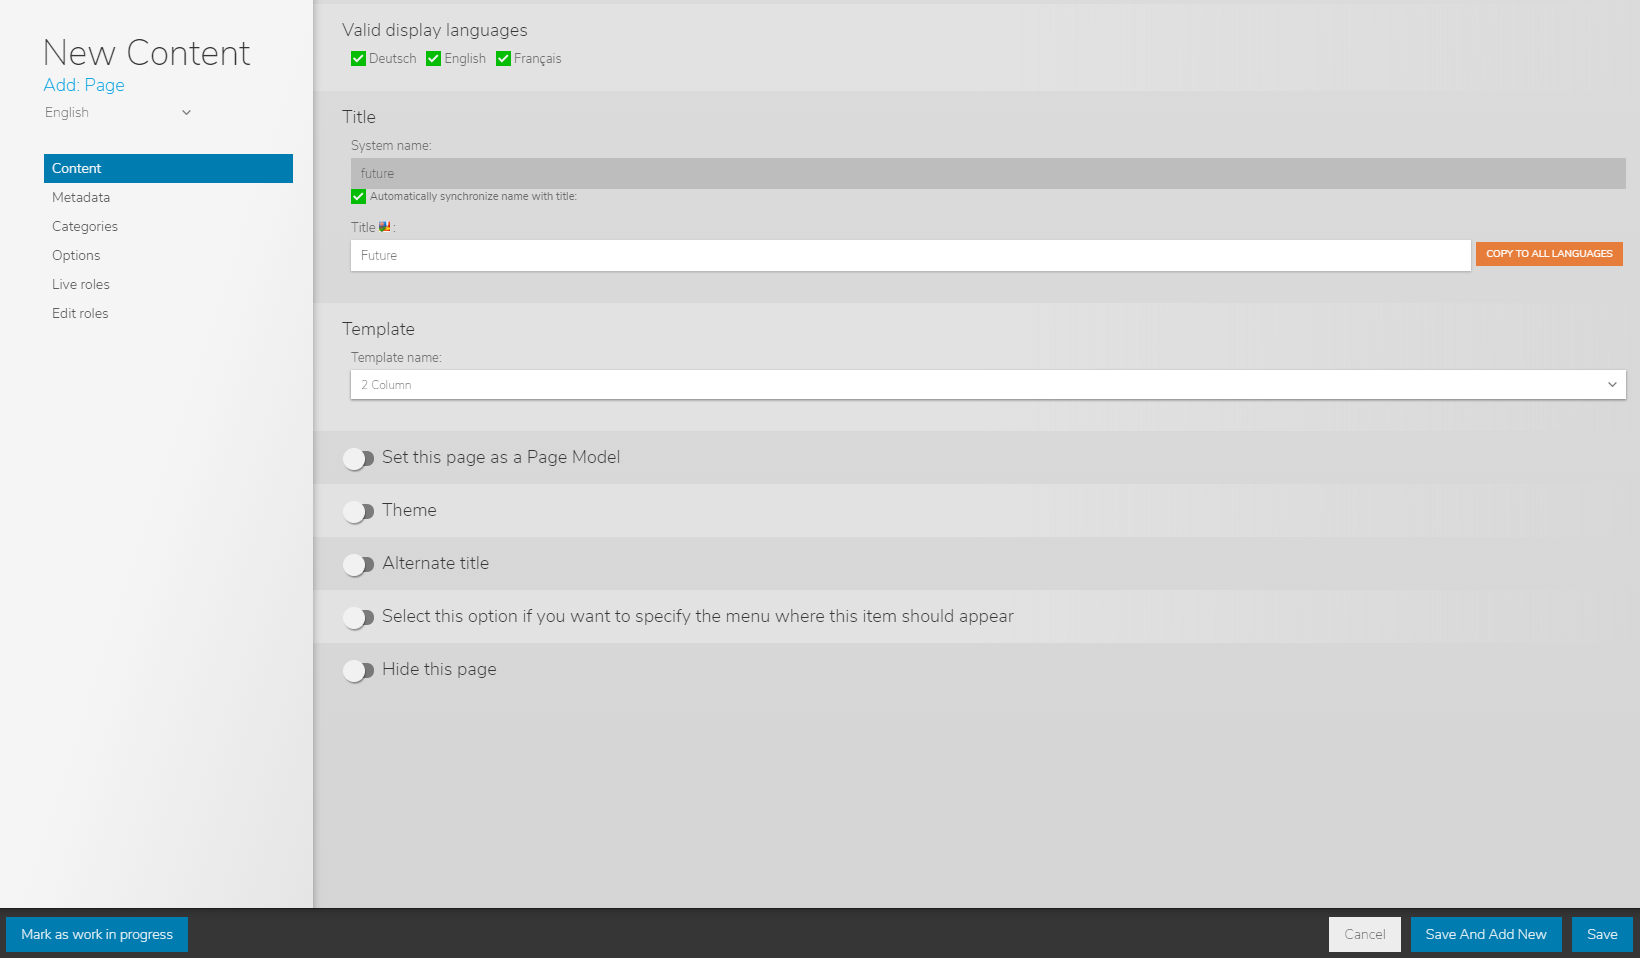
Your new page is now ready to accept content
10 How to preview your site
Now that you have completed some changes to the pages, the time has come to make them available to visitors. But first, it could be useful to verify what the site will look like for the visitors, to be sure that they will see the site like we have in mind.
To do that, you can click on the Preview button located in the page/selection toolbar.

This will open a new tab in your browser displaying the current page from the edit mode, like it will appear for visitors if you publish it right now. You can navigate in the Preview Mode, exactly as if you were on a published web site. More advanced preview options are also available.
11 How to publish content
Use the Publication menu to publish the current page or the currently selected content item(s):
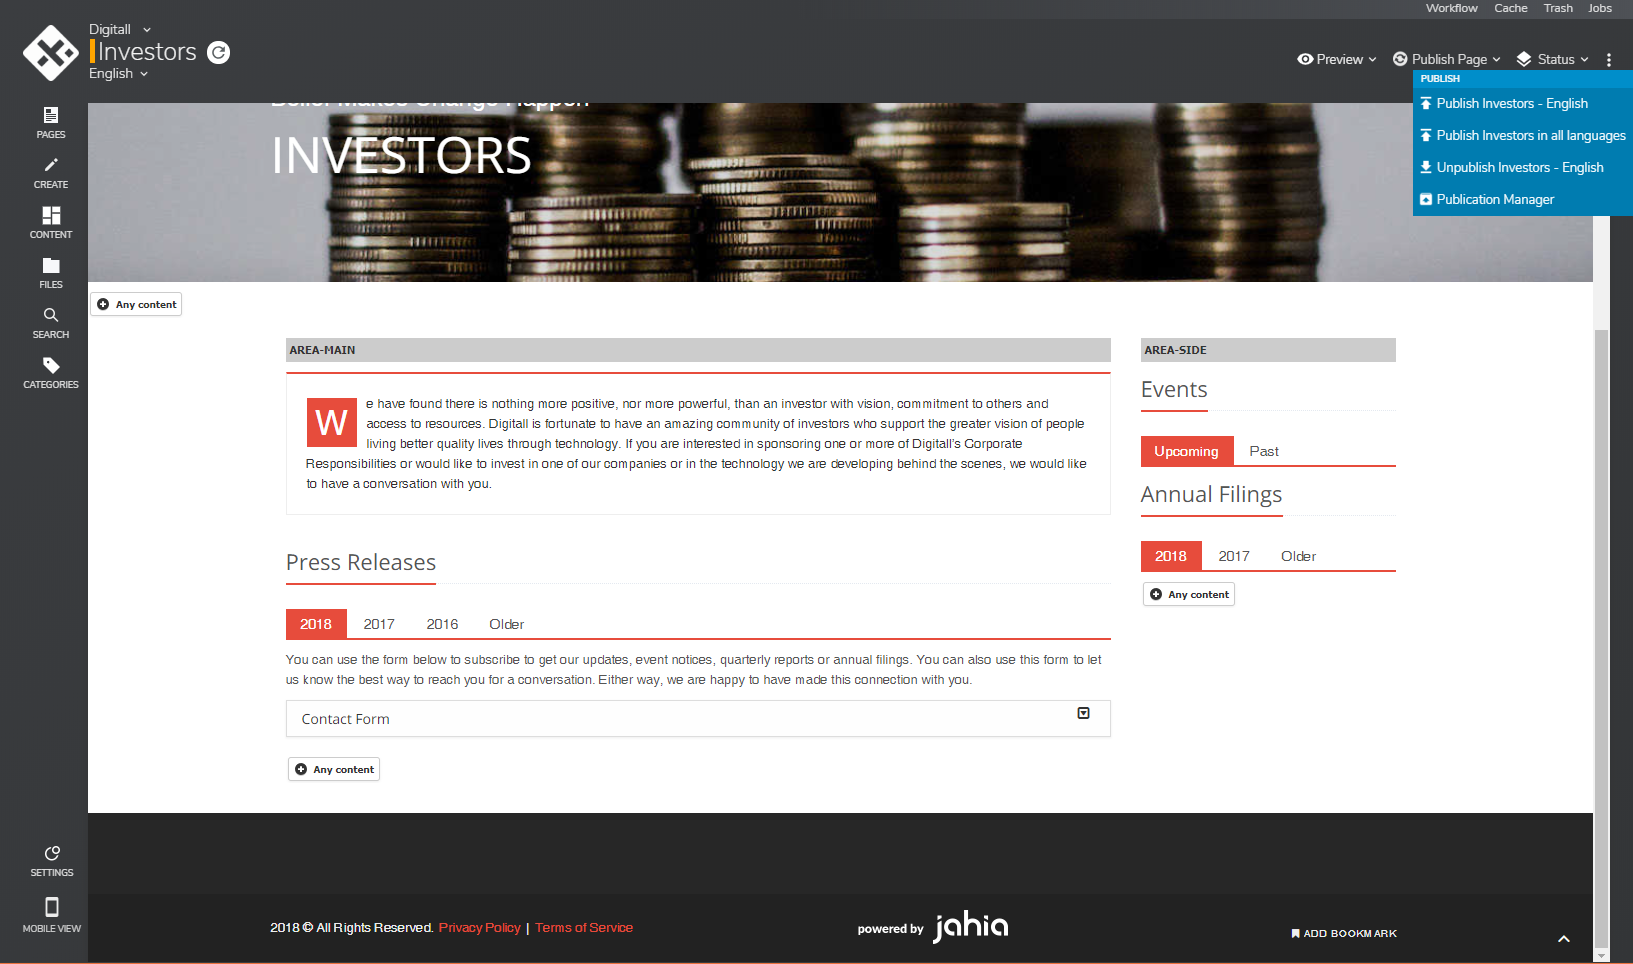
Note: the Publish button is a shortcut to publish the current page or selected item(s) in the current language.
In the Publication window, click Publish, if you have sufficient permissions, to directly publish the content, or Request publication so another collaborator can validate the publication.

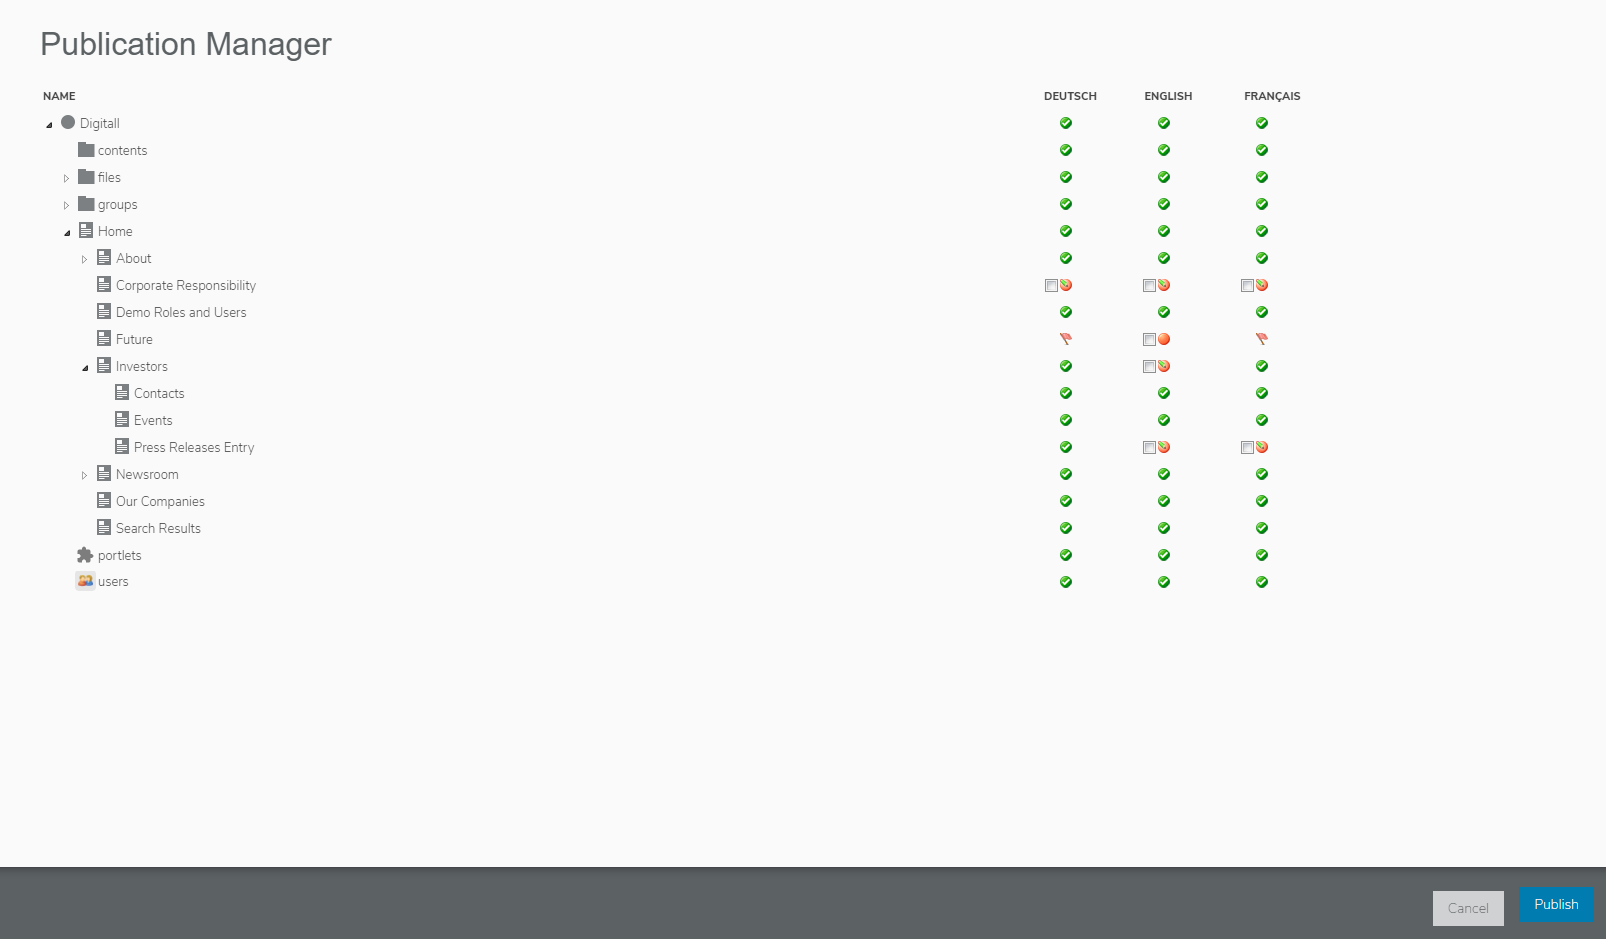
The Publication Manager helps you keep track of modified pages
What else can you do with DX ?
- Jahia Digital Experience Manager offers advanced industrial features to unleash the power of online convergence :
- Target multiple channels such as tablets and smartphones
- Define permissions and roles for editing content or managing multiple sites
- Optimize referencing with metadata, tags, SEO
- Re-use content from one website to the other without duplicates
- Deploy your own modules and apps to all your web sites
- Use a corporate workflow process to validate content before publishing
- And many more...