About content types
Digital Experience Manager web projects use several different types of contents:
- Pages and navigation contents
- Areas and content lists
- Editorial contents
- “Out of context” contents
- Files and images
- References
1 Pages and navigation contents
1.1 Pages
Your web project consists of a home page and sub pages. Each page consists of predefined and non-modifiable contents, and areas. Each area, may contain one or more contents, the number and types of possible contents may depend on the type of page. A page template is applied to every pages, which corresponds to the structure of the page, ie to the position of the different areas, and to the non-modifiable elements of the page (for example a navigation menu).
The opening of the page creation form differs according to the mode (edition or contribution) used.
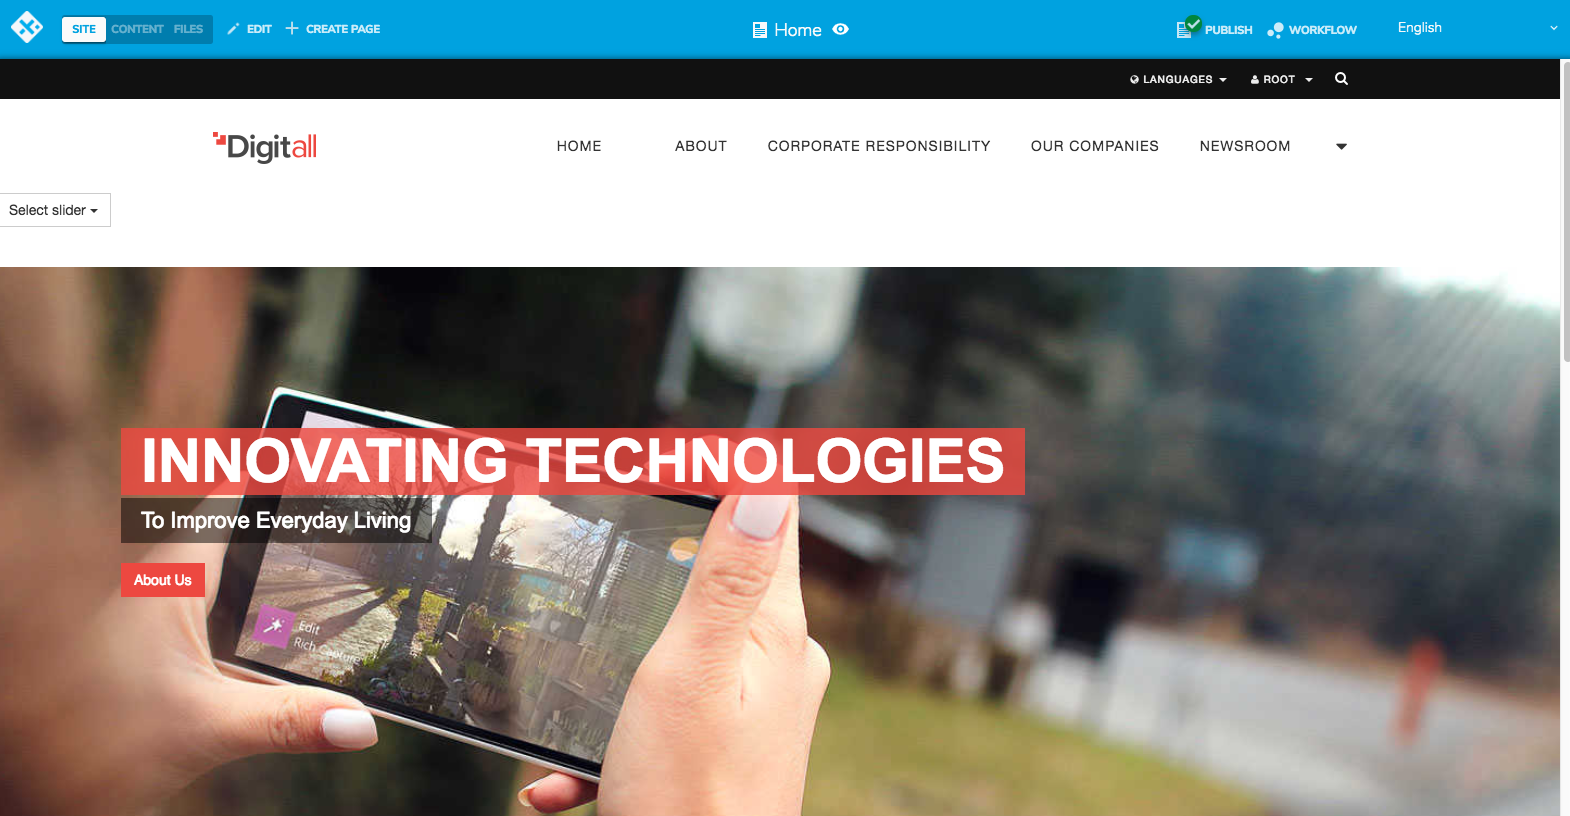
1.1.1 Contribute mode
Navigate to the parent page below which you want to create a new page. In the menu at the top of the screen, you have to click on the "Create page" button:
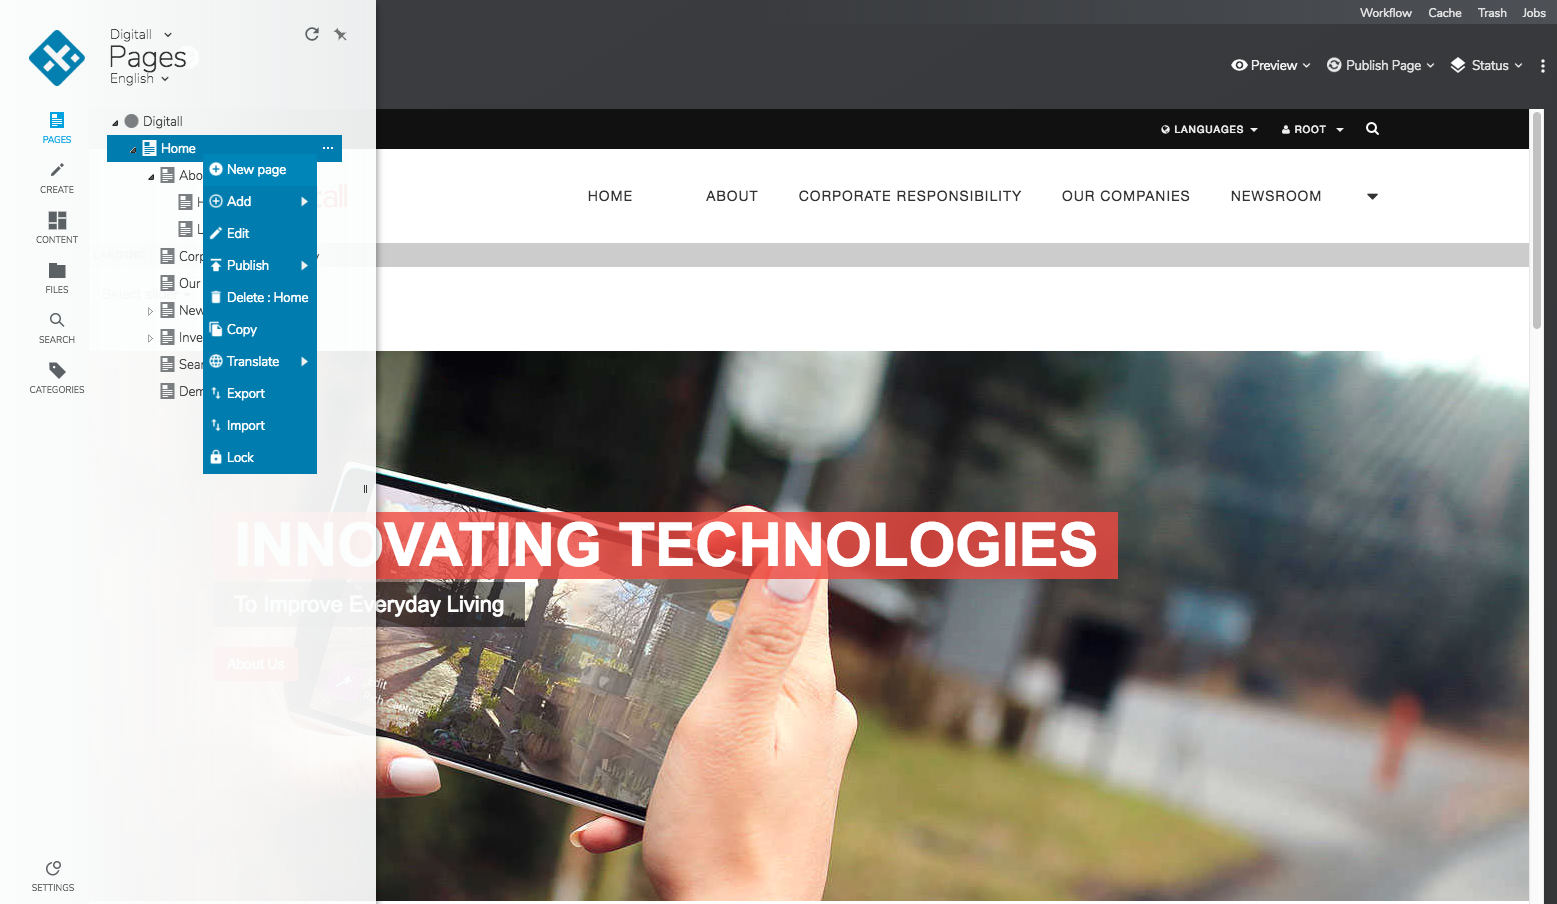
1.1.2 Edit mode
In edit mode, creating a new page is done in the left panel. Click on the "Pages" button to open the navigation panel, and then right-click (or click the corresponding "..." button) on the parent page below which you want to create a new page. In the contextual menu, select "New page":
1.1.3 Page creation form
Note that the options of the page creation form depend on the mode (edit / contribute) and the site you are working on.
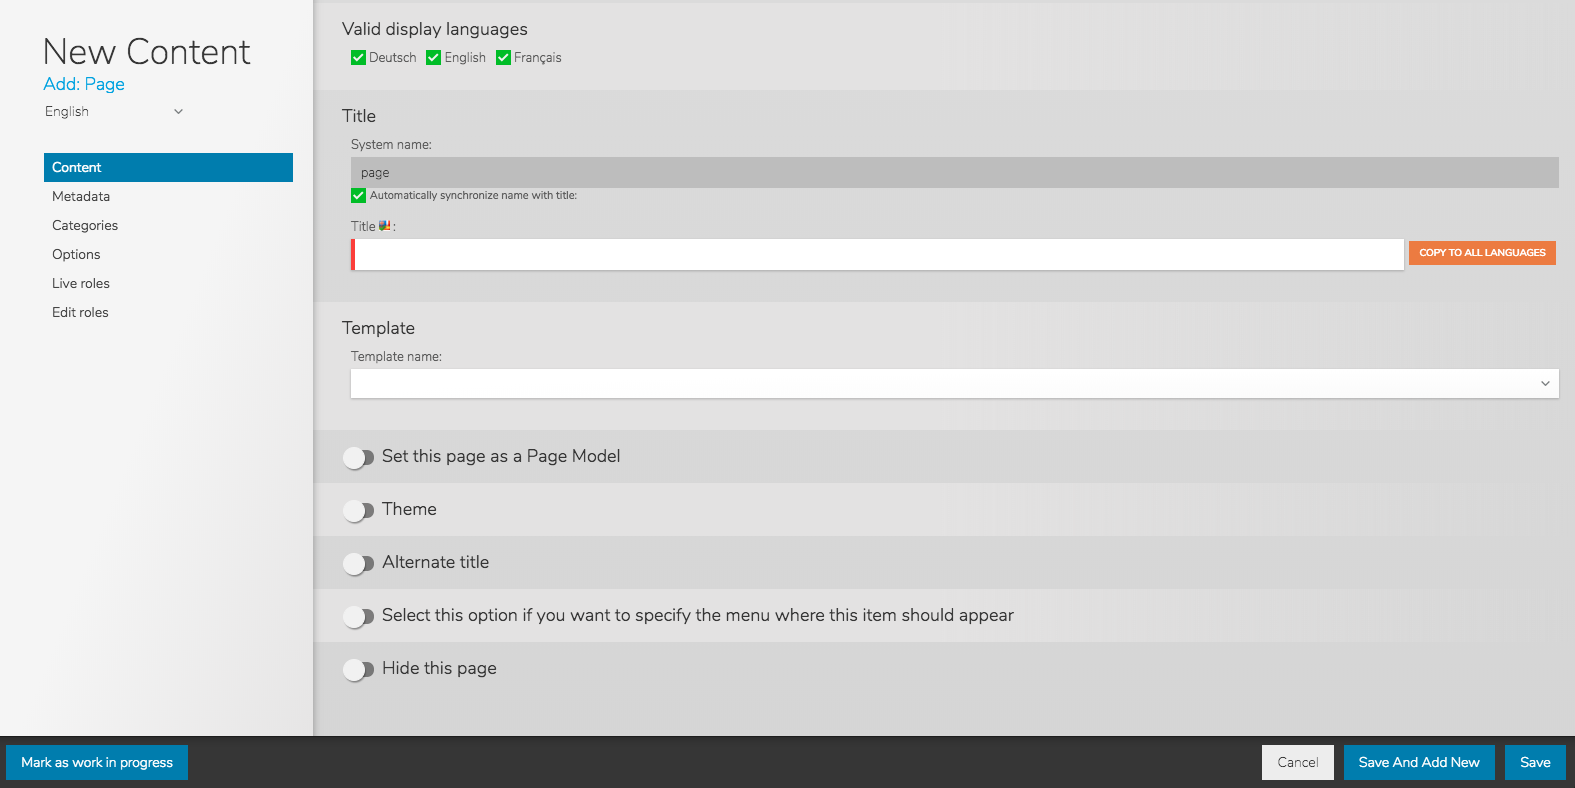
The three main fields are:
- System Name: The system name of a page is important because it is the value used to build the URL of the page. However, it is possible to use a custom URL via the SEO tab. By default, the system name is created from the title of the page.
- Title: Title of the page. This property is mandatory.
- Template name: The page template corresponds to the structure of the page: the different areas that compose it, the types of content that each zone can receive, and so on. The list of available page templates is specific to each site.
1.2 Menu label
A menu label is the ability to group pages under a navigation menu, which can not be clicked. You can create pages under a menu label. Its purpose is therefore purely organizational. It can only be created from the edit mode by opening the contextual menu of the parent page.
1.3 Internal link
An internal link is the possibility of displaying in a navigation menu a link to an existing page of a Digital Experience Manager web project. It is possible to create an internal link from the edit mode by opening the contextual menu of the parent page.
In the form for creating an internal link, you can enter the title of the link, ie the text to be displayed in the navigation menu. In order to select the page corresponding to the link, you must click on the field "Internal Link / Target", which will open a content picker. You will be able to browse the tree of your site, via the left pane, to select in the main panel the page or content corresponding to the internal link that you are creating.
You can choose whether the link should open in the same frame (the visitor will leave the current page), in a new window or in a new tab (same window) via the Link / Target property.
1.4 External link
An external link is the possibility of displaying in a navigation menu a link to any web page. It is possible to create an external link from the edit mode by opening the contextual menu of the parent page. You can enter the name of the link in the title field, and you must then enter the URL of the external page in the URL field.
You can choose whether the link should open in the same frame (the visitor will leave the current page), in a new window or in a new tab (same window) via the Link / Target property.
2 Areas and content lists
Areas define the layout of a page and where you can create contents. Depending on the page template, the areas will be distributed differently on the page, and will only accept certain types of contents. It is not possible to move an area in a page.
A content list is similar to an area, in the sense that it allows the creation of contents within it, and the way these contents are displayed: it is possible to modify the order of the contents via the " List ordering" tab in the edit engine, and set the style of the list via the “Layout” tab.
A list of contents can be moved from one area to another, from one page to another, and so on. It is possible that you have several types of content lists, which restrict the types of contents that can be created inside them.
3 Editorial contents
We call here editorial contents, all the contents that can be created via the contribute or edit modes: texts, images, structured contents (for example a news entry which is constituted of a title, a date, an image and a a text), etc.
The content type selector is accessible when you click the 

In this case, the types of content offered may depend on the area of the page in which you will create the content.
Content types are organized by category (here "Bootstrap 3", "Form Components", etc.). In order to display the types of contents of a category, you just have to double-click on the category itself, or on the arrow on the left of the category. Then, double-clicking on the content type will allow you to display the edit engine (content creation form), or you can select the type and click on the "OK" button.
The search field at the top of the form can also be used to filter the types of contents to display.
The content will then be created in a content area of the page, or in a content list.
The content selector can also be accessed from the "Create" button on the left of the edit mode (this option is not available in the contribute mode).

To create contents using this panel, you must drag and drop the content type into the desired area of the page. Once the content type is selected, the left pane is hidden to display the page across its entire width. As you hover over the different areas of the page with your cursor, an indicator informs you of the possibility or not to create content of the selected type in the corresponding area: 
Once you release the click over the desired location, then the corresponding edit engine is displayed so that you can fill in the different fields to create your content.
Important: It is not possible to choose the position of the new content within an area (relative to other contents in the same area) at creation time. If the content ordering of a zone/list is not automatic, you can move your content inside the zone by drag-and-dropping it or by using the "List ordering" tab of the corresponding area or content list.
4 Out-of-context contents
Some contents are not intended to be created within a page, because they can be displayed in several other pages or only displayed using search mechanisms. For example, a page can display only the last 10 articles, and another page only display articles of a particular theme. Digital Experience Manager provides a specific directory dedicated to the organization and management of this type of contents. This is the "contents" directory, accessible from several interfaces:
- The "Content" interface of the contribute mode
- The "Content" tab of the edit mode
- The content manager
From these different interfaces, you can create a folder tree to organize your contents. There are no restrictions on the types of content you can create inside these folders.
Creating out-of-context contents is done in the same way as for creating editorial contents, using the same type selector and the same edition forms, specific to each type of content:
These out-of-context contents work the same way as the contents created directly in pages. The content will not be visible online until it is published. The publication can be started via the contextual menu of these contents, or when publishing a page referencing these contents. See the chapter "References".
5 Files and images
Similar to out-of-context contents, images and other files are stored in a specific directory on the site: the "files" directory. It is therefore not possible to add "directly" an image or a file in a page. To do so, you need to use:
- An editorial content in which you can select one or more files
- A reference type content
This directory "files" is accessible from several interfaces:
- The "Files" interface of the contribute mode
- The "Files" tab of the edit mode
- The document manager
From these different interfaces, you can create a folder tree to organize your files. There are no restrictions on the types of files you can upload inside these folders.
In order to upload one or more files via the edit mode, you need to open the contextual menu of the parent folder, then select the "Upload" option. From the contribution mode, select the "Upload" option in the menu bar. From the document manager, you can either select the “Upload” option in the contextual menu of a folder, or you can click on the “Upload” button in the menu bar, which will upload the file in the currently opened folder. Then open the file upload form:
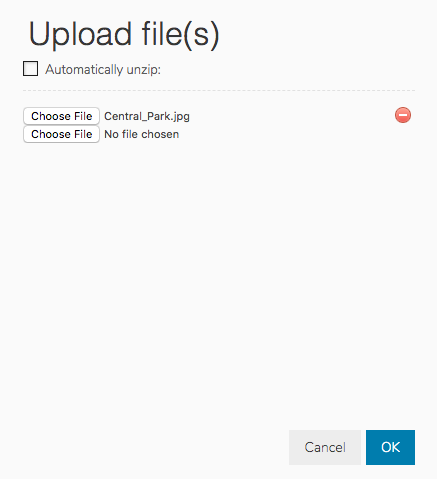
By clicking on "Browse" you can then select a file to upload from your computer. You can repeat the process several times to upload multiple files.
By selecting the option "Automatically unzip", files in .zip format will be automatically unzipped. This allows faster upload of a large number of files. If your .zip file contains folders, these folders will also be created to maintain the tree structure and file organization contained in the .zip file.
It is not possible to have multiple files with the same name in the same folder. If you try to upload a file while a file with the same name already exists in the folder, then you have the option to:
- Manually rename the file
- Automatically rename the file: in this case, Digital Experience Manager will automatically add a number at the end of the file name
- Add a version: In this case, the file you are uploading will replace the current one. Every content referencing this file will now display this new file.

6 References
References are special contents because they only display contents or files created in another part of the site (area, page, folder). A reference allows you to display the very same content in several pages. This simplifies the management of these contents used in different places, because you will only have to modify the "original" content once, and all the pages will display this updated version of the content. All modifications done on the original content are reflected on the references.
The main types of references provided by default with Digital Experience Manager are:
- Image references: This type of content allows you to display an image in your site, if necessary using a different image per language. You also have the option to make the image clickable to redirect the user to an internal or external link.
- File references: These types of content allow you to display a link to a file or image of your site, while specifying the name of the link to display. By choosing the multi language type, you can specify a different file per language.
- Content references: This type of content allows you to select a content previously created elsewhere in your site for display in your page. From the "Layout" tab, you will be able to choose the display style (known as “view”) of this referenced content.
Depending on your site, you may have other types of references at your disposal.
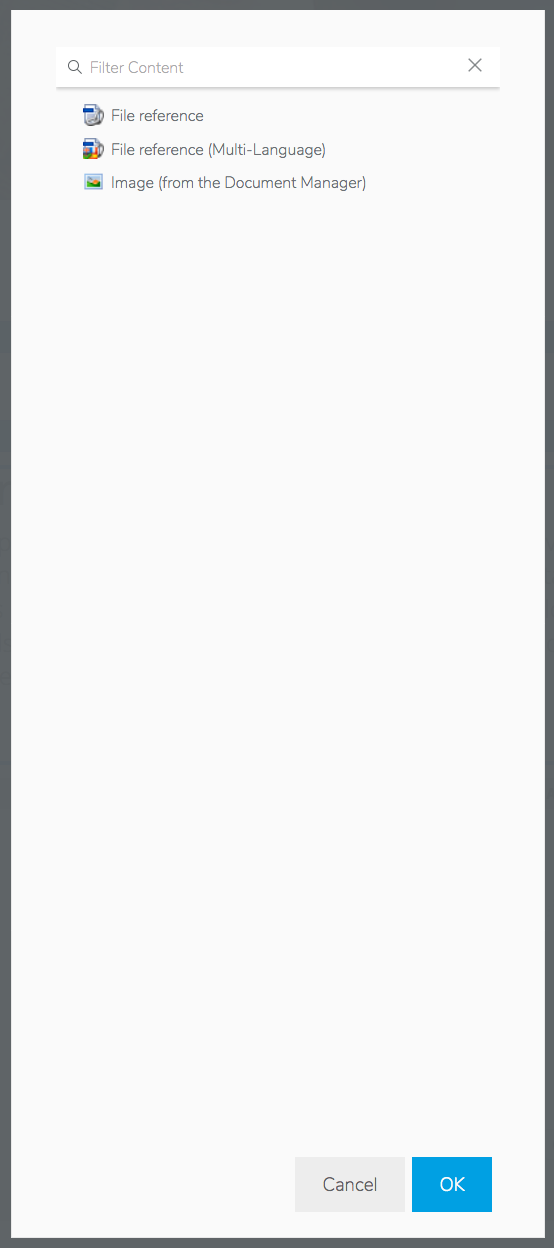
The "content reference" type is the type used when you copy content, and then select "Paste reference". This is also the type used when you use drag-and-drop from the "Content" tabs of the edit mode. A drag-and-drop from the "Files" tab of the edit mode will prompt you for the type of reference to create:
Starting the publication of a content reference also involves the publication of the content being referenced. These referenced contents therefore appear in the list of contents to be published (if they are not already published).