Publishing content
Changes are made in the Edit or Contribute Mode are saved in the defaultworkspace, and are visible only to other users with sufficient permissions to access this space (contributors, editors and administrators).
To make the information truly available to visitors online, it must be published.
1 Publication status
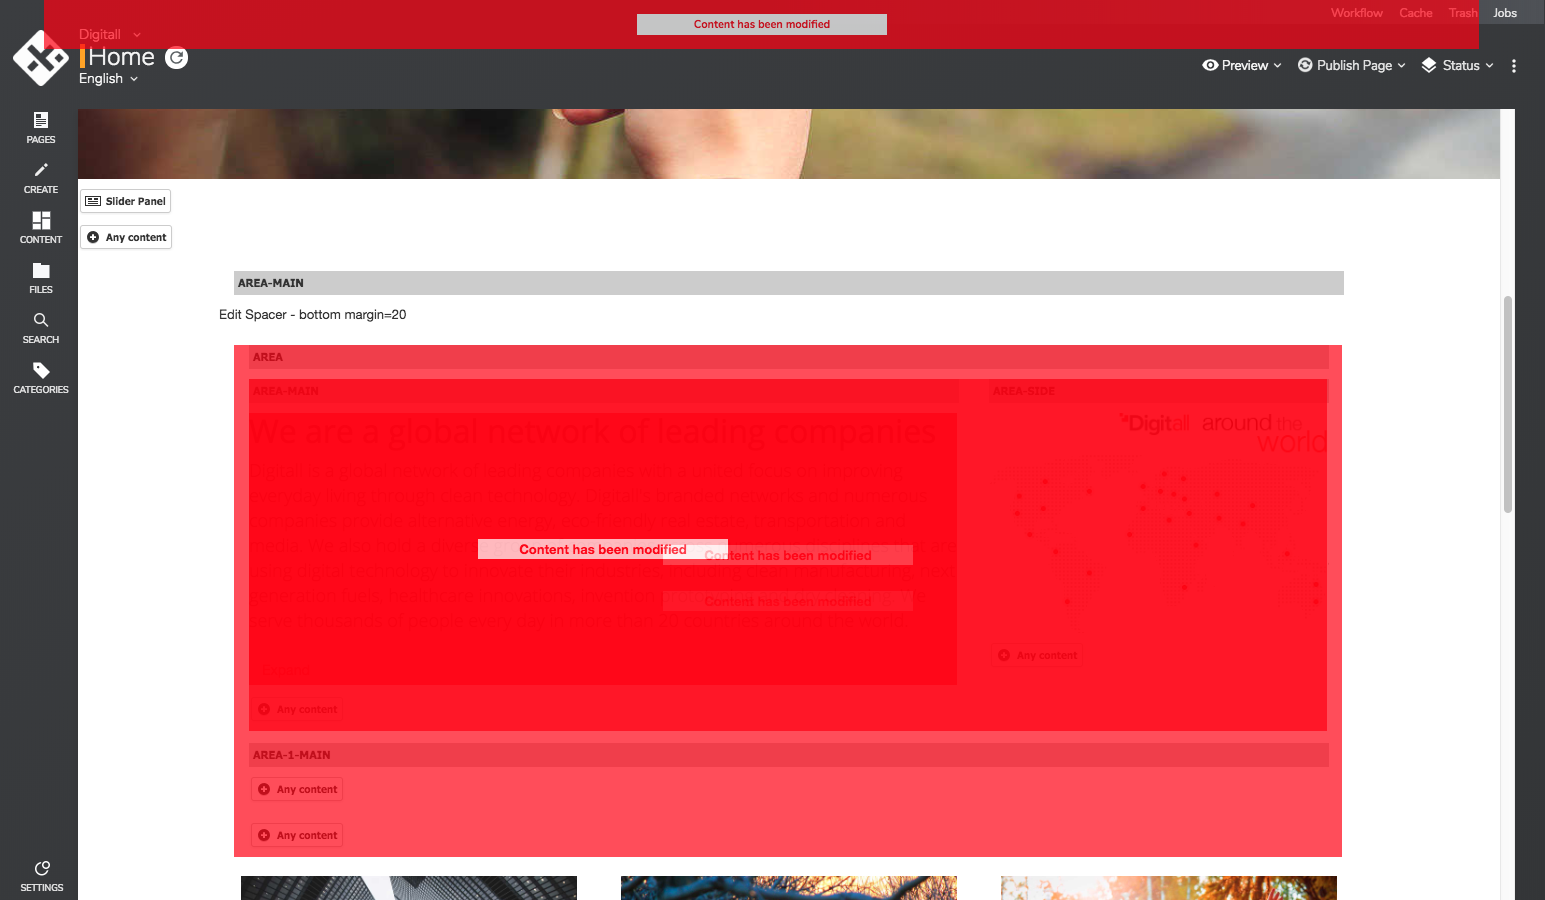
At all times, the tool bar indicates the publication status of the page the contributor is currently working on.
If the page in the Workspace is published (i.e. there is no difference between the page and the version available to visitors), a green icon is displayed next to the “Publication” menu.

When one or more changes have been made in the page in the Workspace, then the working version is no longer identical to the currently published version, an orange icon is displayed.
When a page has been unpublished – I.e. it is no longer available to visitors – but still exists in the Workspace, a black icon is displayed.
It is possible to see the publication status of all the contents of a page by checking the box "Show Publication status" in the “Status” menu:
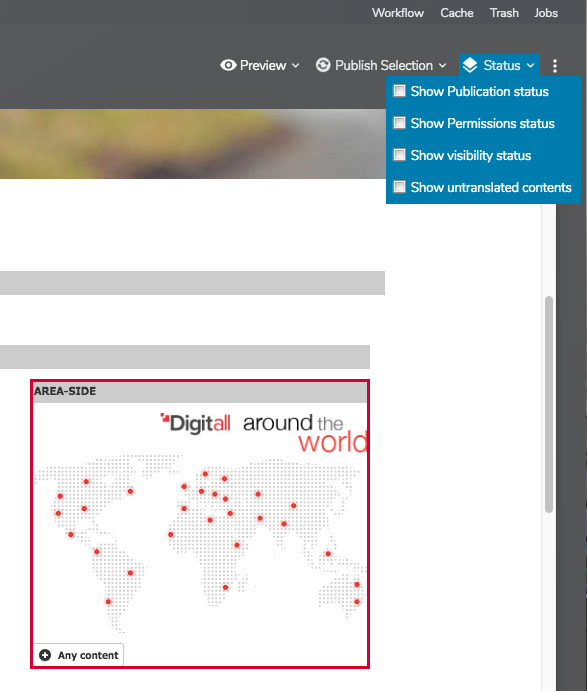
Information layers are then displayed on the page. To mask these layers, you can either click on one of them, or uncheck the box in the “Status” menu.
2 Starting a publication workflow
Contributors can request publication of their changes so that they are available online. These requests must be approved by users with sufficient permissions in a process called Publication Workflow. Publication workflows can be more or less complex and involve a varying number of users, but from the contributor’s point of view this has no consequence: the procedure to perform this request is still the same.
3 Scope of the publication
It is possible to publish:
- an item within a page;
- an item and all its children;
- an entire page (without its subpages).
Generally speaking, the more precise the publication request, the easier it will be for the people in charge of validating it to do a quick and efficient job. If only one item was changed in a page, it will be more efficient to request the publication of this specific item rather than the entire page – in which case the validator would have to try and understand which precise part of the page was modified. If multiple items were edited and they should be published together in order to make sense, then it is preferable to request the publication of the entire page.
It should be noted that in Contribute Mode, when a complete page is published, its subpages or the items that were modified in its subpages are not automatically published with it. Therefore, it is necessary to make a publication request for each modified page.
4 Selecting the items to be published
To publish an individual item within a page, click on it to select it, then choose “Publish - <name of the selected item> “in the tool bar’s “Publication” menu. Right-clicking on the selected item brings up the same option in the contextual menu.
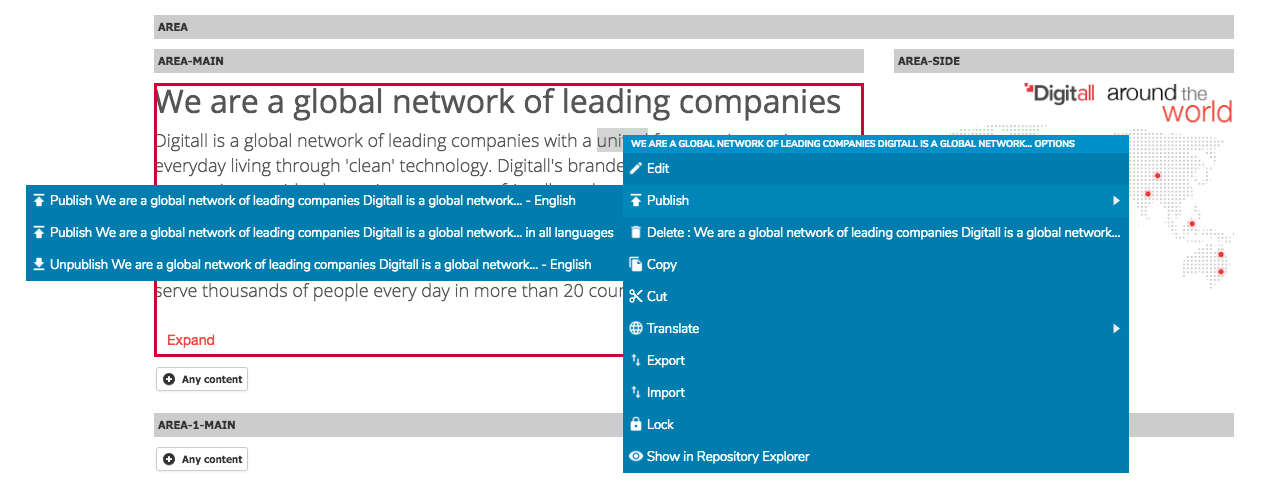
Note: if your site is available in several languages, selecting the option "- in all language" in the publication menu will show, in the publication dashboard, the publication workflows for every languages.
To publish an entire page, no individual item should be selected in the page (if necessary, click anywhere in the page outside of any contributable area to deselect all items, or use the "Clear selection button" - the X button- on thop of the page). Choose “Publish <name of the page> <language>“ in the tool bar’s “Publication” menu.

Once the publication request has been made, a form is displayed in full screen mode. This user interface contains three tabs.
5 Publication dashboard
A publication can require several publication workflows, depending on the contents to be published or if the contents need to be published in several languages. The different workflows appear in the top part of the publication dahboard, and can be selected by clicking on them:
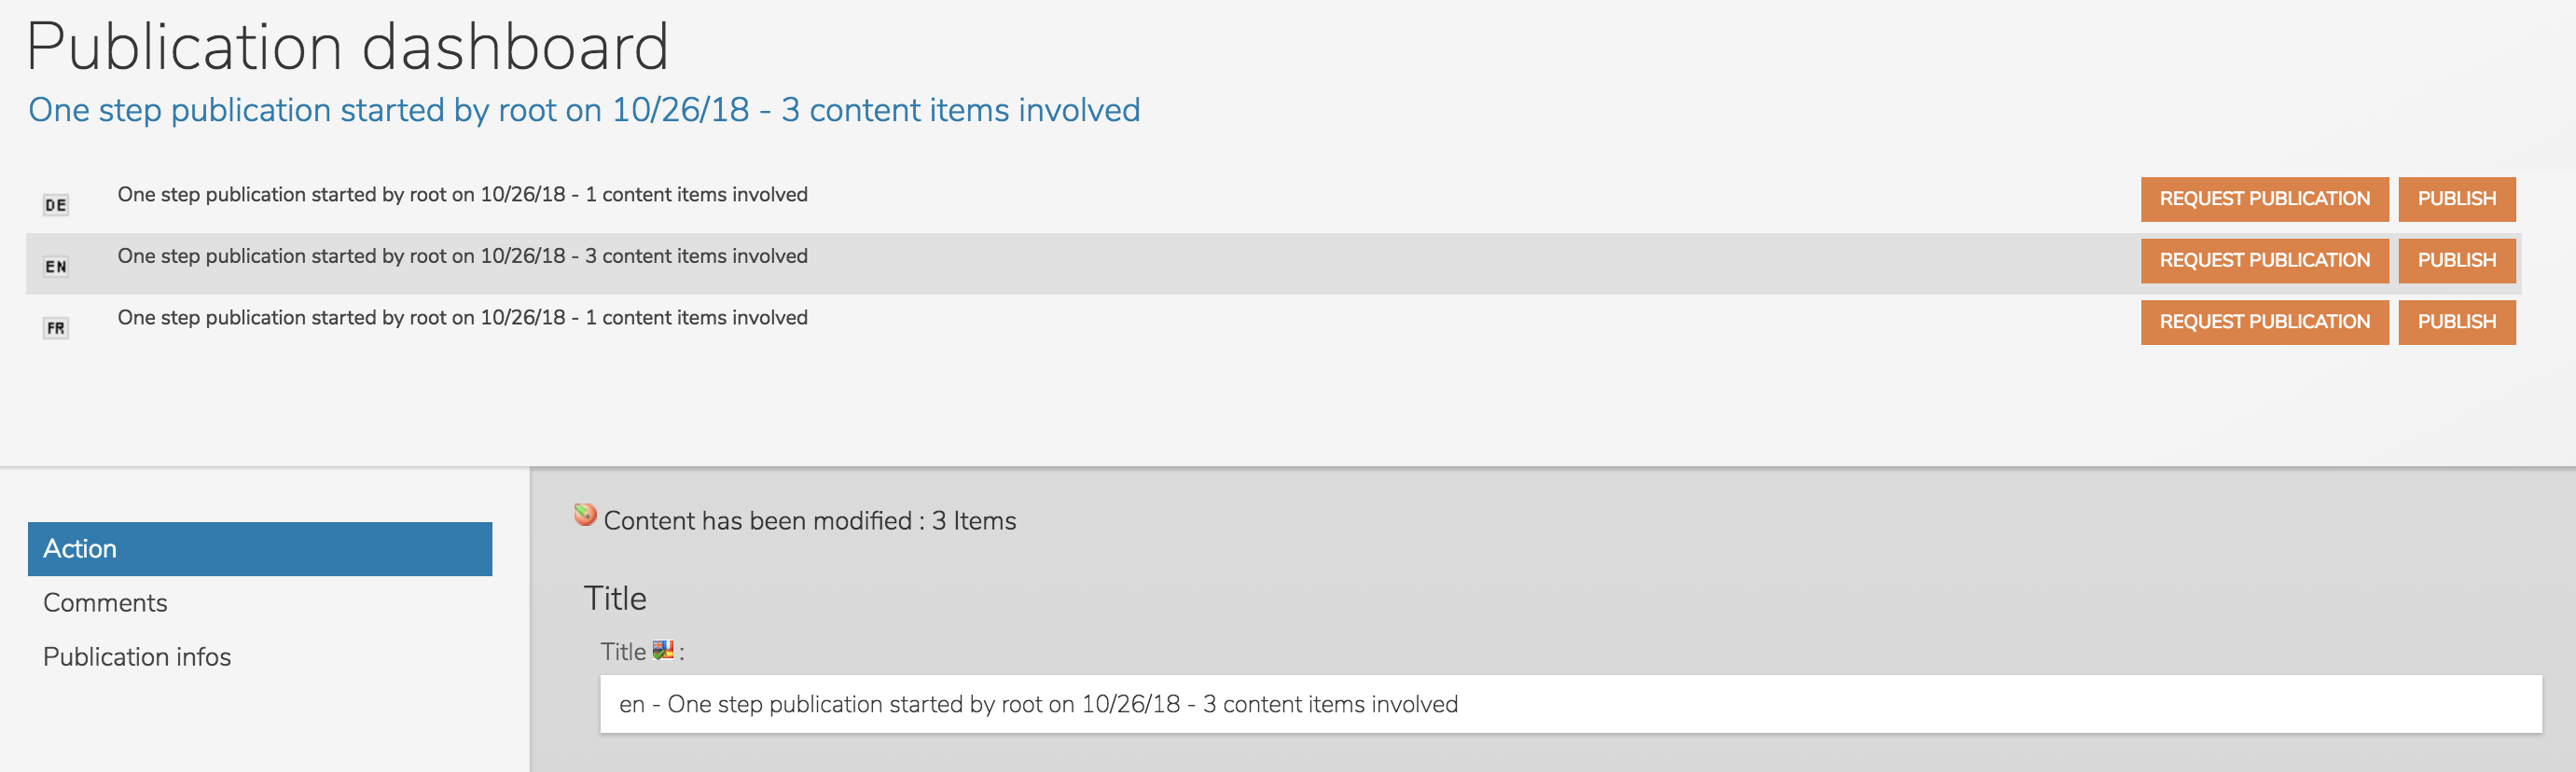
Once a workflow is selected, three tabs are available:
The first tab shows a summary of the number of items concerned by the publication request and the nature of publication types (modified, new or deleted items). A pre-filled title field makes it possible to describe the workflow, for the people in charge of validating it. This title can be freely modified by the contributor requesting the publication.

The second tab allows the user requesting the publication to add a comment that will be shown to the validator(s).

The third tab gives a detailed view of all the items involved in the publication process, item by item. The items are gathered under the page where they are in use.

Clicking on the "Review content" button of an item opens the edit engine of the content.
The "Compare" button opens a new screen, displaying the content as it is online ("Live version") on the left, and its version to be published ("Staging version") on the right:

To better identify the modifications, you can click on the "Highlighting" button, which will highlight the texts or elements that were added, modified or deleted.
The publication request will only be active after this form has been submitted, by clicking on the "Start workflow" button corresponding to the selected workflow, or the "Start workflow" button at the bottom of the screen if there's only one publication workflow. When the publication dashboard shows several workflows, you can start all of them at once by selecting the "Start all workflows" at the bottom of the screen. If the contributor wants to cancel the publication request at this stage, they still can, by clicking on the “Cancel” button.
Users with sufficient permissions can directly publish the contents without going through publication workflows, by clicking on the "Bypass workflow" / "Bypass all workflows" buttons.
Once the publication workflow is launched, the involved items can no longer be edited until publication is accepted or rejected by the users in charge of validation: the contents are locked.
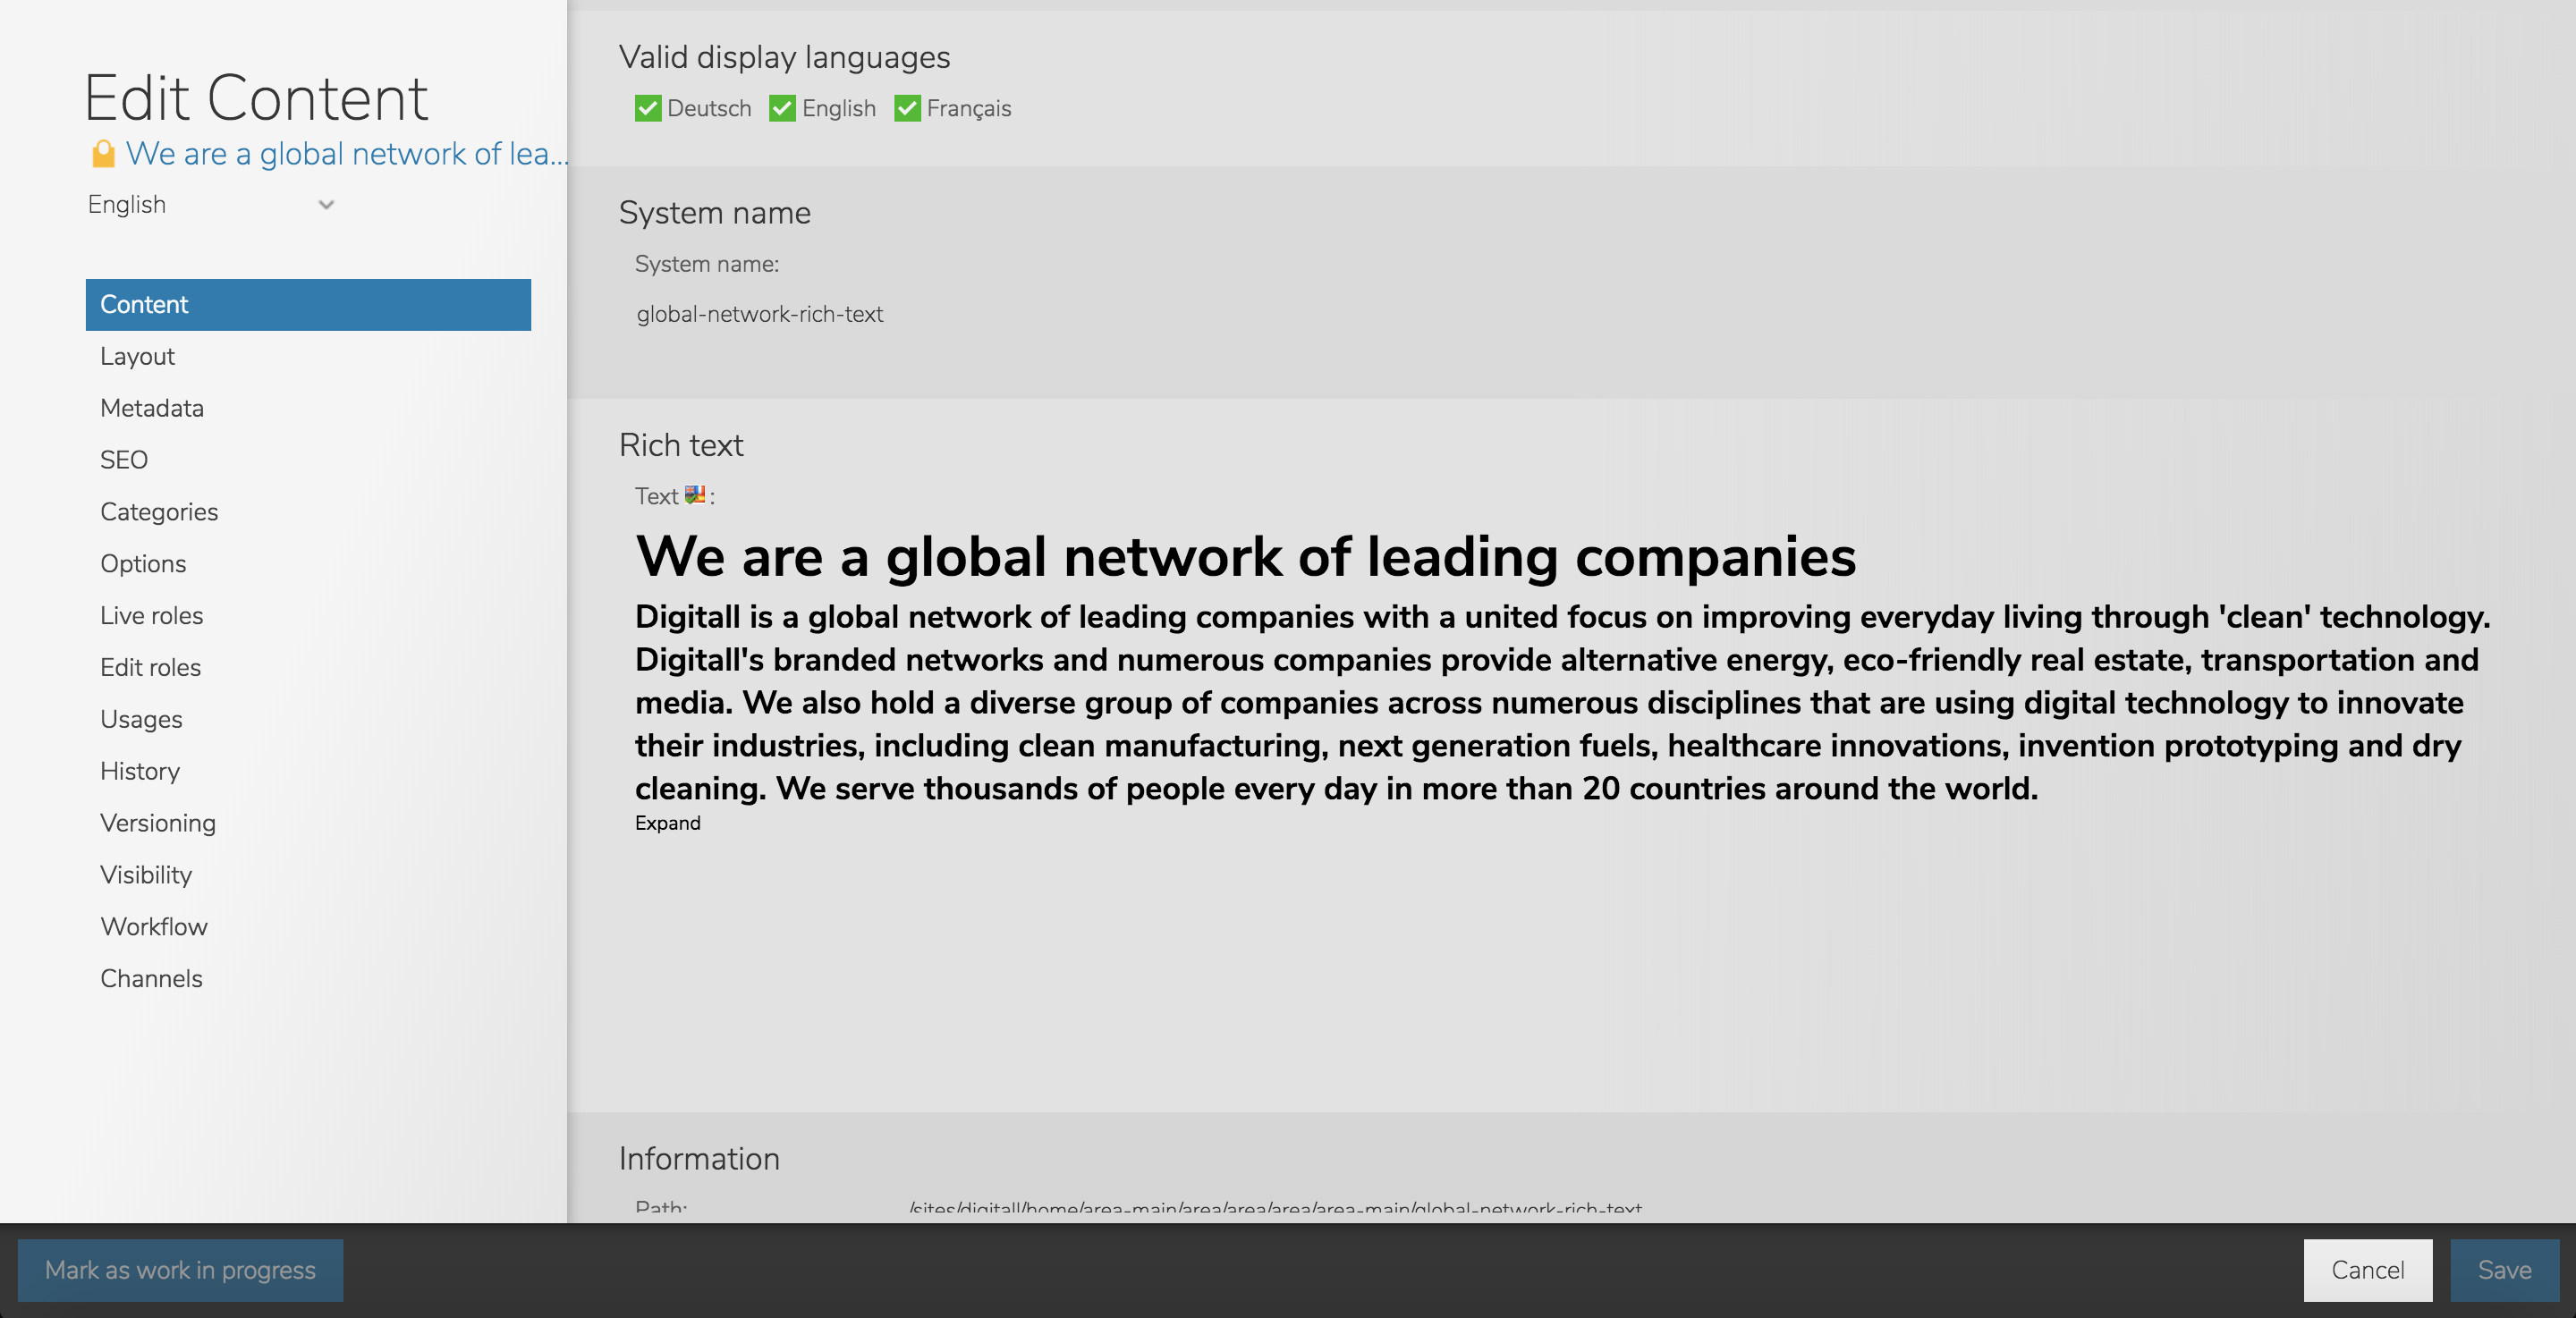
If a contributor tries to edit an item locked by a publication workflow, the editing form will display the item’s properties but will not allow any changes (“read-only” mode).
6 Workflow dashboard
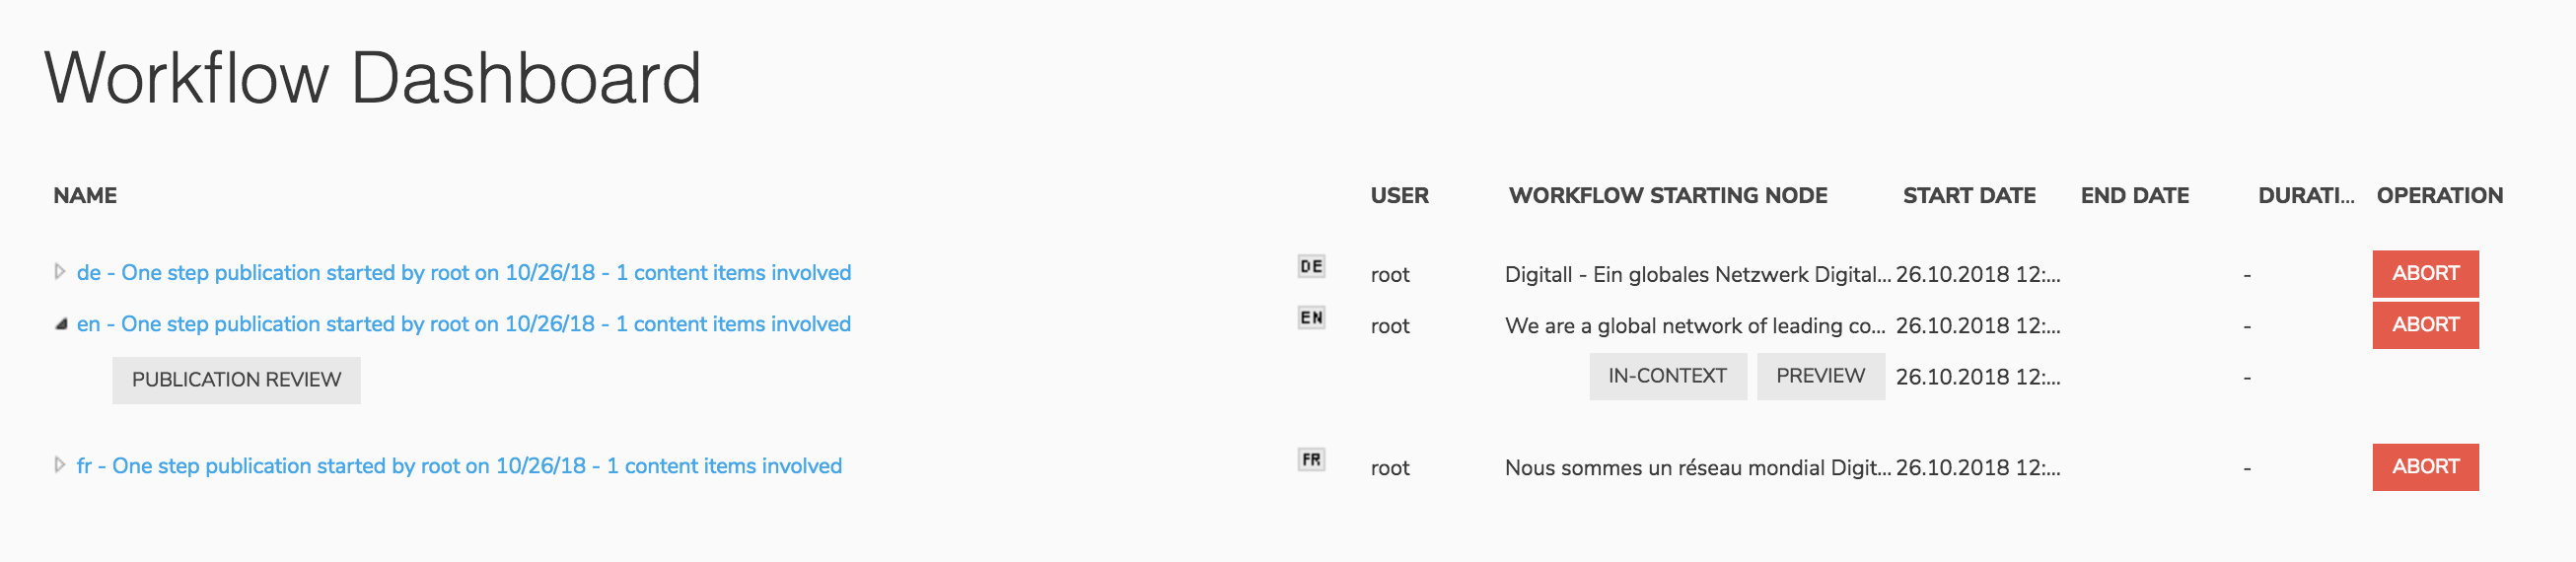
Selecting “Dashboard” in the tool bar’s “Workflow” menu opens the workflow dashboard, listing the workflows for which the user can interact with.
7 Validation / review of workflows
The validation / review of workflows can be done from the workflow dashboard, or from "My tasks" in the user dashboard. We present here the validation from the workflow dashboard, please consult the "My tasks" documentation for the other way.
Users with sufficient permissions see the "Abort" button, which directly cancel the publication workflow.
By expending a workflow, options such as "Review of content" appear. Clicking on it displays the workflow step screen:

This screen displays the 3 same tabs as described in the publication dashboard:
- Action: with the workflow name
- Comments: from which you can see or add new comments. Note that comments can not be removed or edited once added, and are still available even if you do not complete the workflow step.
- Publication infos: useful to verify the contents to be published and identify the modifications
The available actions on the workflow are available in the bottom right of the screen. In our above example, the user can accept or reject the publication.
8 Publication and languages
A publication request is always performed for one specific language at a time. If a content item or a page have been modified in several languages, a publication request must be made for each language. This can be achieved by selecting the option "Publish in all languages" in the drop-down menu.
Although this procedure may seem tedious for a contributor who would be in charge of several languages, it has some obvious benefits in the context of working within an organization on projects involving several people and refined Web project management:
· it is possible to update a language without forcing the update of other languages;
· it is possible to split the work (editing, translation tasks) between different people working at a different pace;
9 Unpublication
In order to remove a page or a content from the live version of the site, you need to unpublish it. The process is the same as for a publication, depending on your role you can directly unpublish a content or you may need to start an unpublication workflow.
An unpublished content is still available in the workspace, can be edited and published again in the future.