Working in Contribute mode
1 Access
The contribute mode can be accessed by the DX Menu:
2 Presentation
The contribute mode is a deliberately restricted interface, simpler than the edit mode. The possibilities for creating contents are more limited than in the edit mode. It is made to ease the contribution experience of occasional or untrained users.
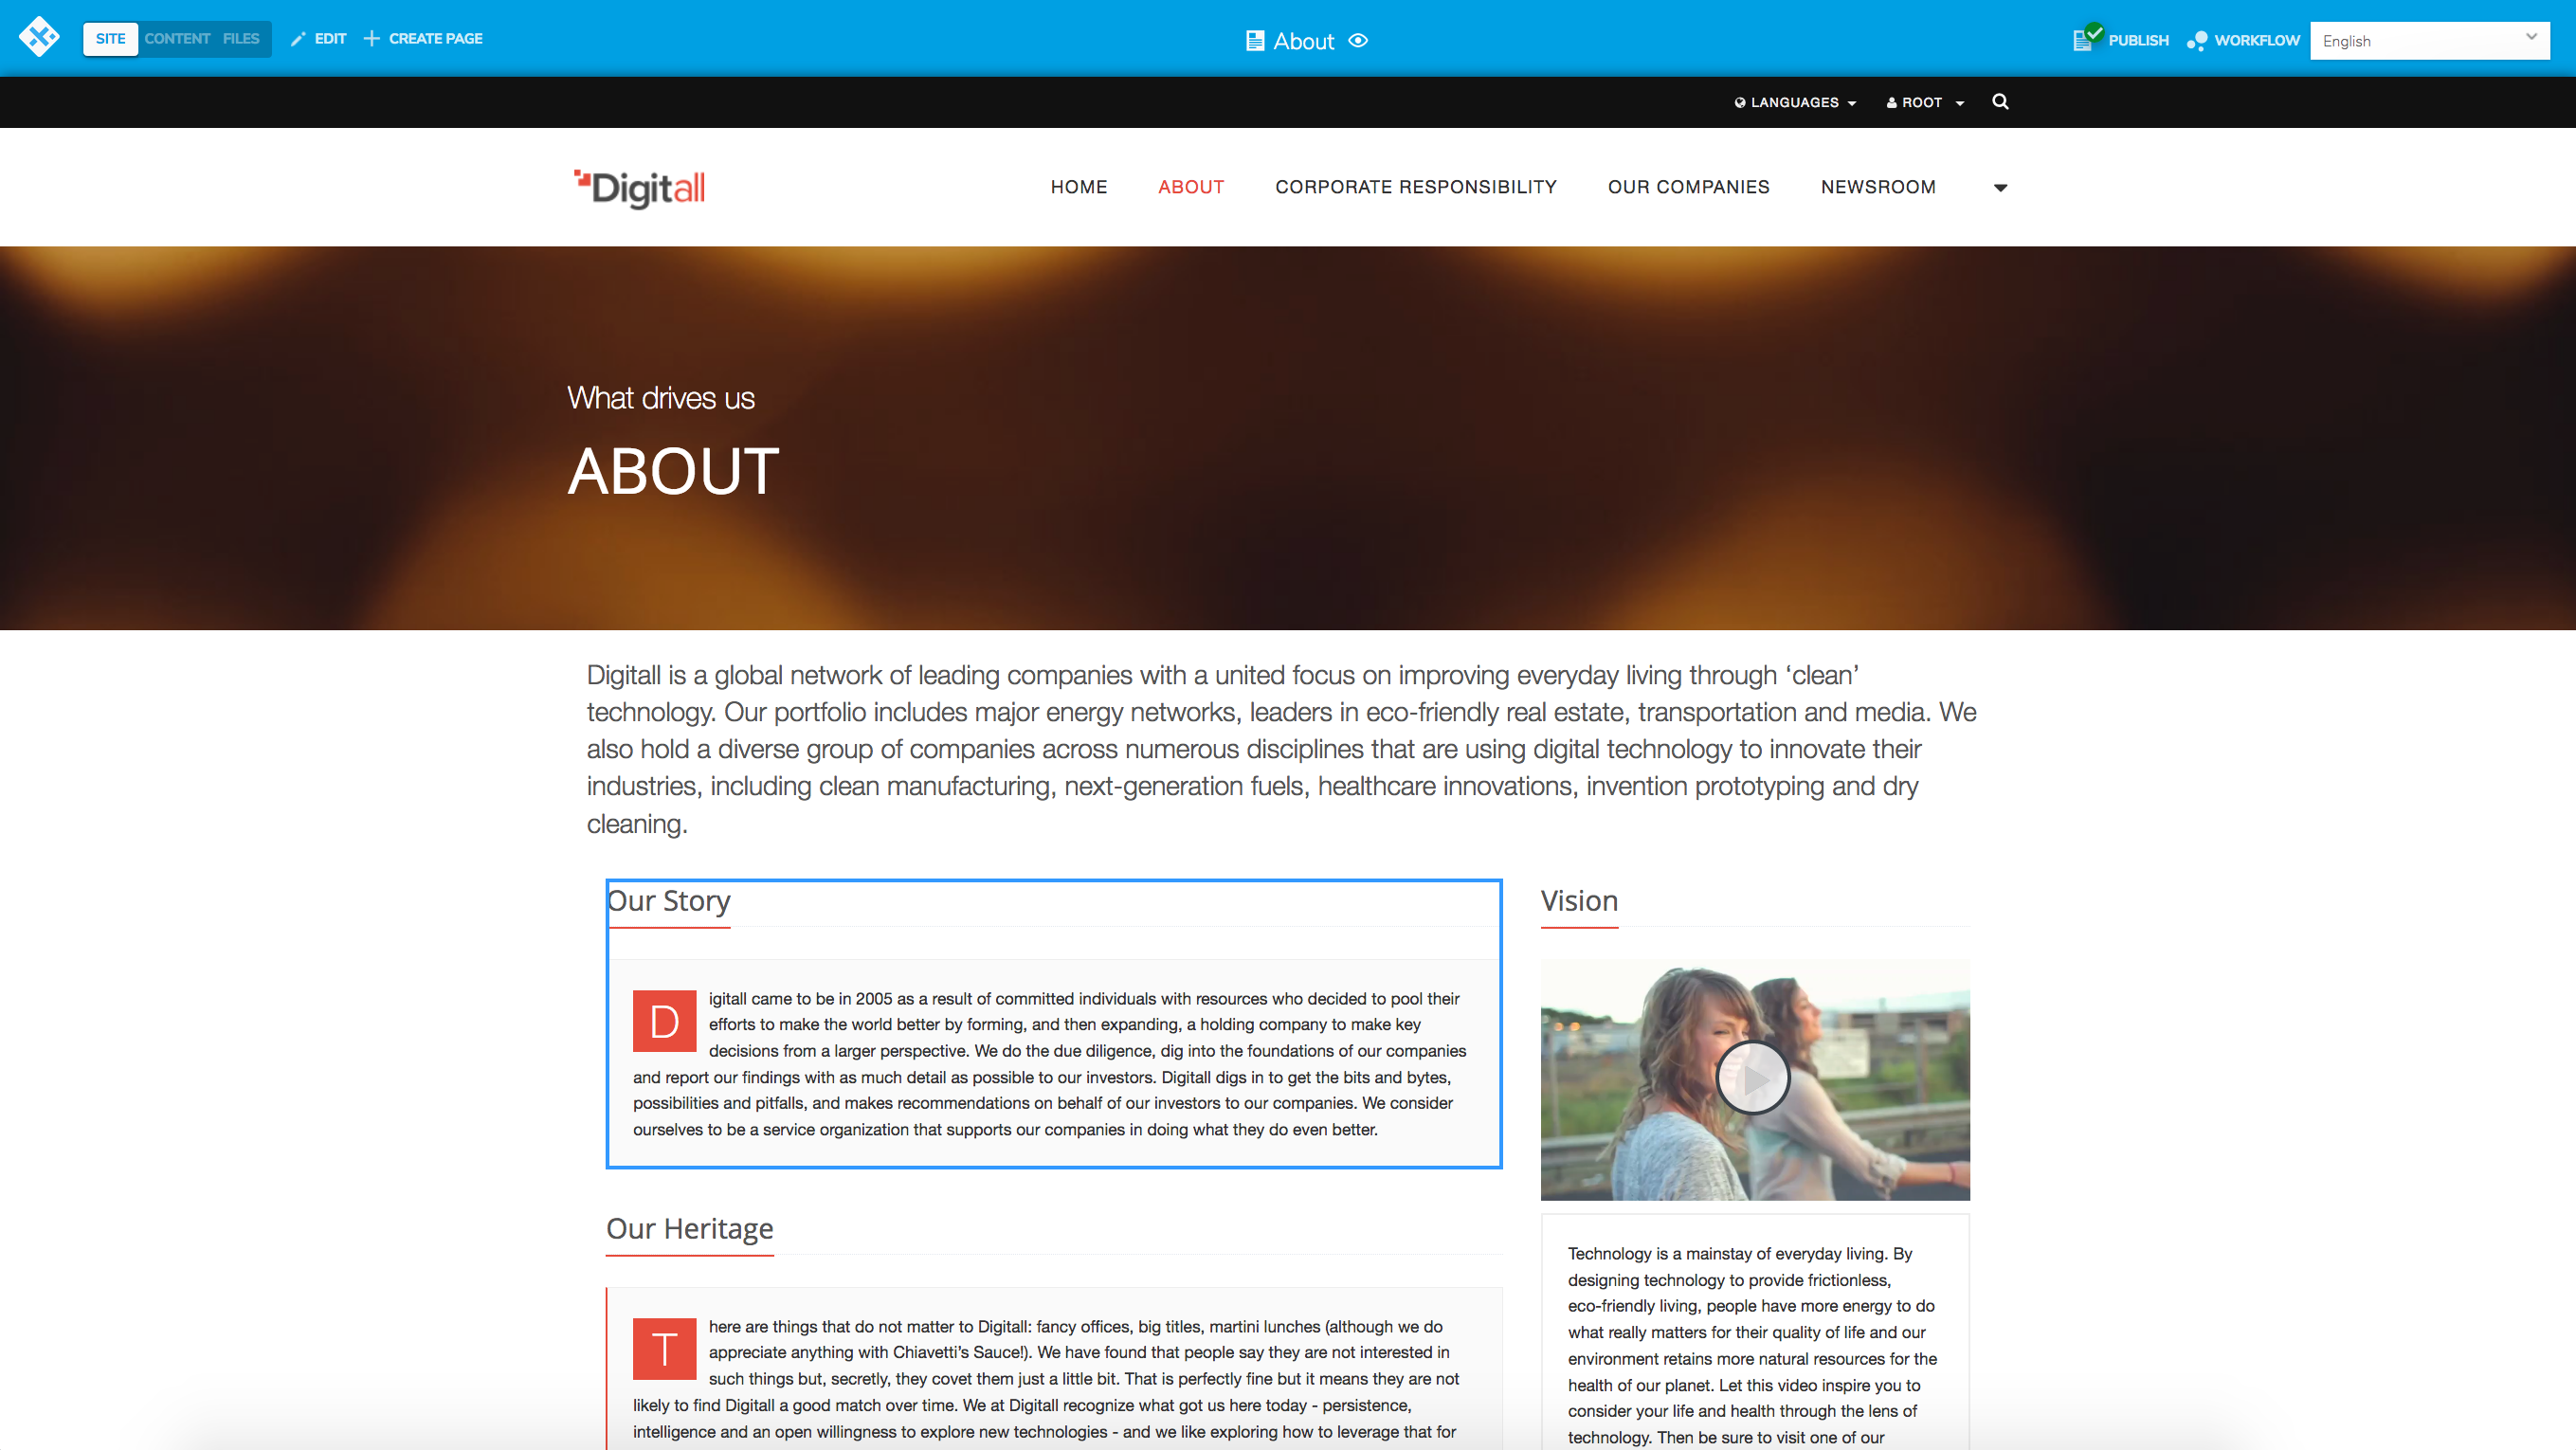
For this purpose the interface is lighter, and consists of a menu bar on top of the site:

The site displayed is the one coming from the workspace, it is not the site as it appears online. You can browse the site just like you would do in its live version.
The functions available in the Contribute Mode are limited to:
- creating new
- editing existing content;
- deleting existing content;
- reordering existing content in a list;
- requesting publication of recent changes.
It is not possible to modify the structure of the site from the contribute mode: you can only create new pages.
You will notice that not all pages are configured to be editable through the contribute mode: the option of making pages editable through this mode is at the sole discretion of the site developer or webmaster - they may also define, for instance, that some page type can’t be edited through the Contribute Mode, or can always be or can be under specific conditions. If you browse a site using the Contribute Mode and there aren’t any edit controls on the page or on part of the page, it may be by design (you may not have permission or the elements may not be open to the Contribute Mode).
Contents that can be edited are easily identifiable, as a blue frame appears when you move your mouse over them:
The edit engine is also limited to the minimum and only shows the:
- Content tab: where the contributor can edit the different fields specific to the content
- Metadata tab: where the contributor can add a description, keywords and tags
- Categories: where the contributor can assign one or several categories to the content
3 Top Menu

This menu bar contains a series of menus and buttons that can be used immediately.
3.1 DX menu
A click on the DX button opens the DX menu:

4 Site

The site view shows the workspace of the site, as described in the presentation.
5 Create page

This button opens the page creation form. Consult "Page creation form" for more details.
6 Clipboard

This icon appears to inform you that you have one or several contents in the clipboard, meaning that you have copied or cut one or several contents. By clicking on it, you will either see the content in the clipboard, or the number of contents in the clipboard.
7 Preview

The preview menu allows you to open the live version of the page currently opened in the contribute mode, or a preview of this page.
The customized preview offers advanced preview capabilities:
- Based on permissions: so you can see the site the way another user would see it
- Based on a future date: the site might have some content visible at a certain date or time of the day (see Visibility conditions)
- Based on a different device: you can see how the site will look like on a mobile device
“Compare staging vs live” allows you to see the staging and live versions side by side, to ease the comparison.
8 Publish

This menu allows you to publish (and/or unpublish) or start the publication(and/or unpublication) workflow of the current page or of the currently selected content.
The “Show publication status” displays an overlay on the page, to help you identified which contents are modified, or unpublished, etc. To remove the overlay, either click within the page or uncheck the checkbox in the menu.
9 Workflow

The workflow menu shows you the number of opened tasks. Clicking on “Dashboard” or “Open dashboard” will show the Workflow dashboard, from which you will be able to validate or reject publications. See the documentation dedicated to the workflow dashboard.
10 Language switcher

If your site is available in more than one language, then you can easily switch from one language to another using the language switcher.
11 Content
As briefly mentioned when reviewing the menu bar buttons, Digital Experience Manager makes it possible to create content that is not directly integrated into the pages of a Website (this is known as “in-context” editing) but rather stored in a simple directory structure – a bit like when you place office documents inside folders on your computer’s hard drive.
11.1 Accessing Out-of-Context Editing
To go to the out-of-context editing space, click on the “Content” item in the menu bar at the top of the page.

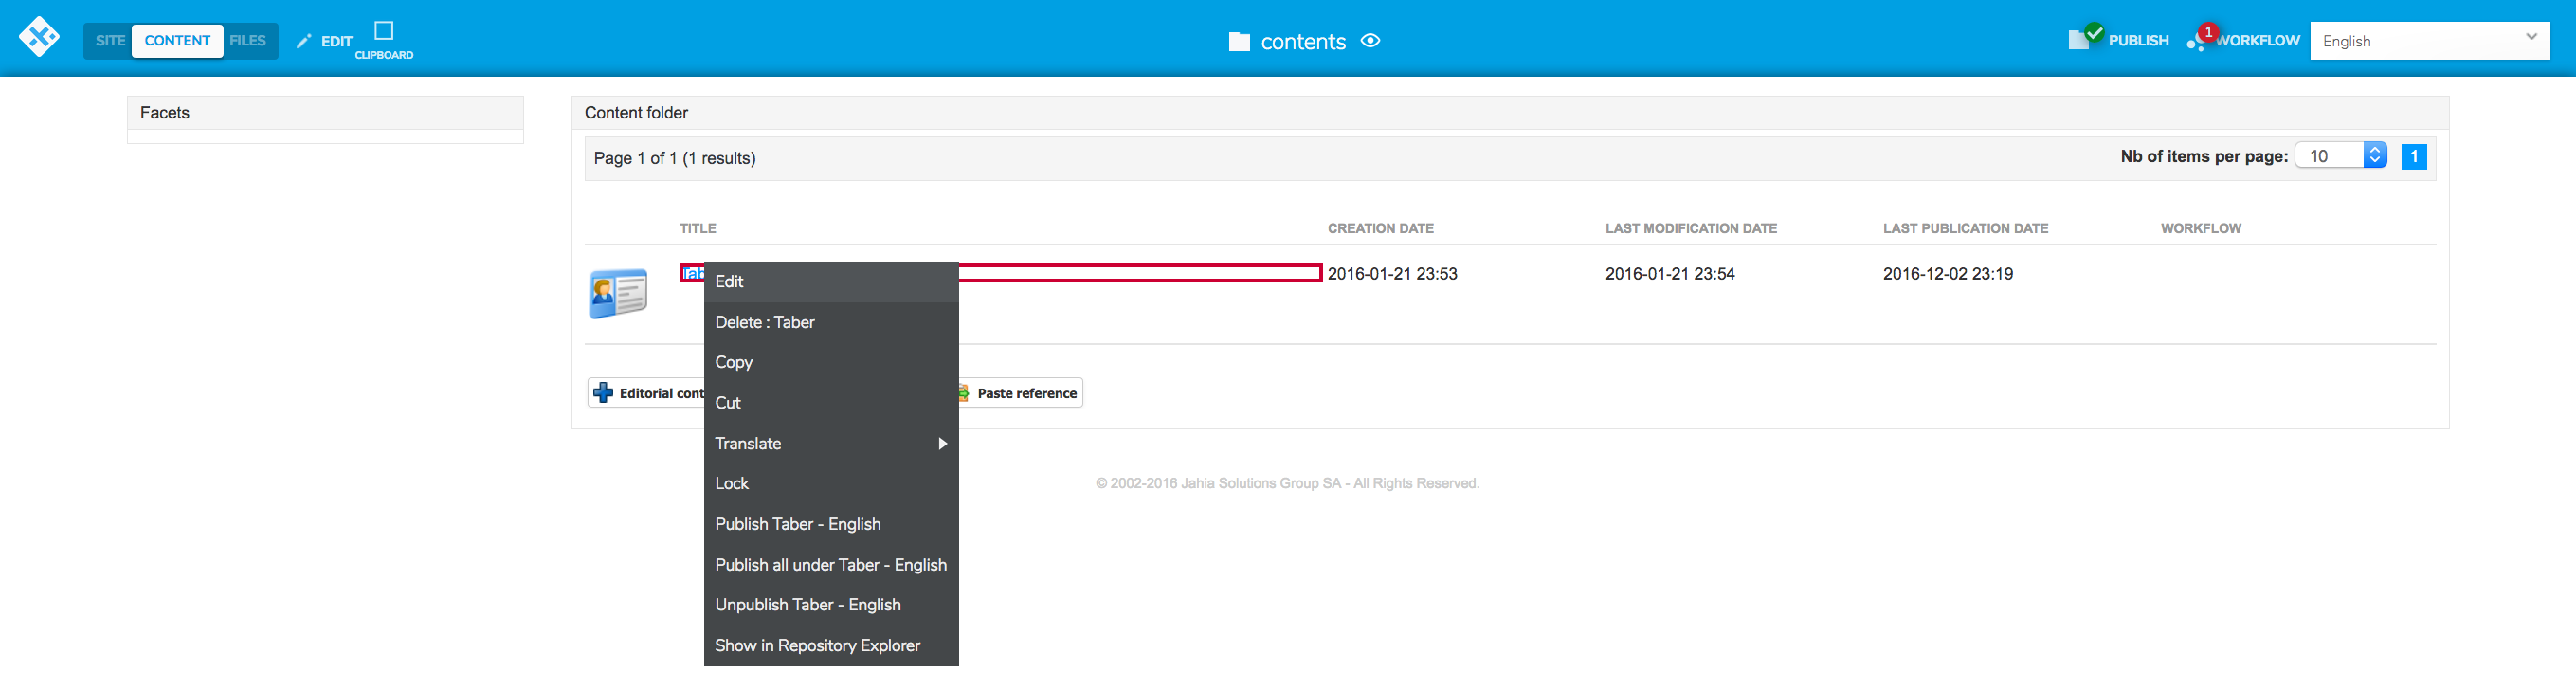
The current page is then replaced by a generic user interface (without the styling of the site on which you are working, since this is out-of-context editing). At the center of the page, a simple table lists the currently used content items, and in the left column you will find filters based on the categories applied to the contents.

From this interface, content can be created and manipulated identically to what we previously saw with “in-context editing”.
11.2 Editing a Content Item
To edit a content item, right-click on its title and select “Edit” in the contextual menu.
11.3 Deleting a Content Item
To delete a content item, right-click on its title and select “Delete” in the contextual menu.

11.4 Navigating Within the Directory Structure
Click on a folder to display its contents;
- click on the icon
- at the top left of the table to go up one level;
- use the “Content” button to go back to the root of the out-of-context content items.
11.5 Filtering Contents
By default, the out-of-context editing interface makes it possible to filter the list of content items by their tags or categories. If the content items are not tagged or linked to any category, no filtering is offered.
When tags or categories are added to content items, they appear on the left side of the page. Other filters can be added on your platform. Tags and categories are the filters available by default after installing Jahia. If you need additional search or filtering tools, you should ask your platform administrators.
Filters work from the folder where you are located and return all content items in this folder and all sub-folders, whatever their level. Therefore, when selecting a filter, content items from sub-folders may appear, making it possible to quickly make searches as soon as the out-of-context contribution interface is displayed.
Of course, when navigating to sub-folders and using filters, only the items located below your current location will be displayed.
Naturally it is possible to select several filters at the same time: only the items matching all selected filters will be displayed. For example, in the following screenshot, only one item matches both the “news” and “uranus” tags.
12 Files

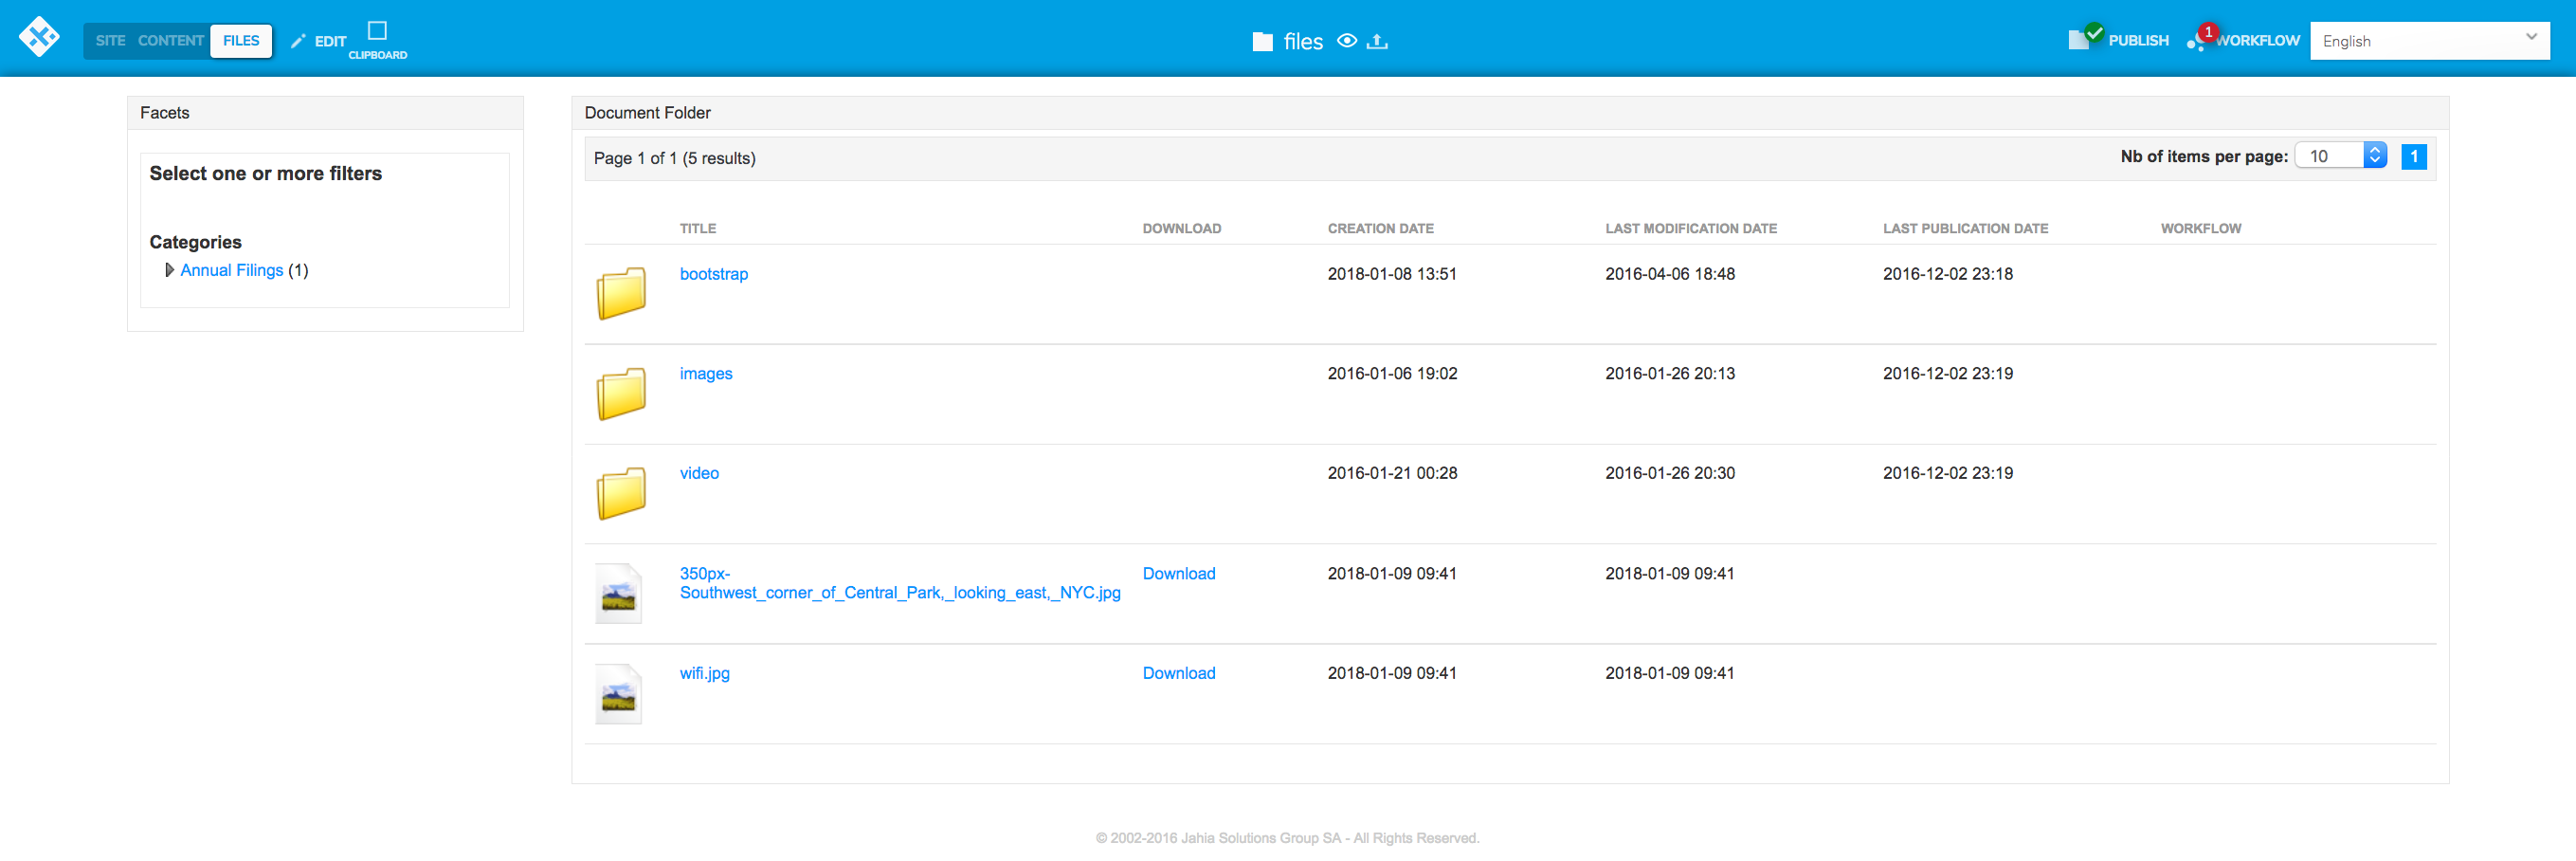
Contributors can browse the directories containing the files (office documents, videos, sounds…) and images for the site via an interface similar to the out-of-context editing interface.
12.1 Viewing a File
To view a file, click on its name. The file appears in full page.
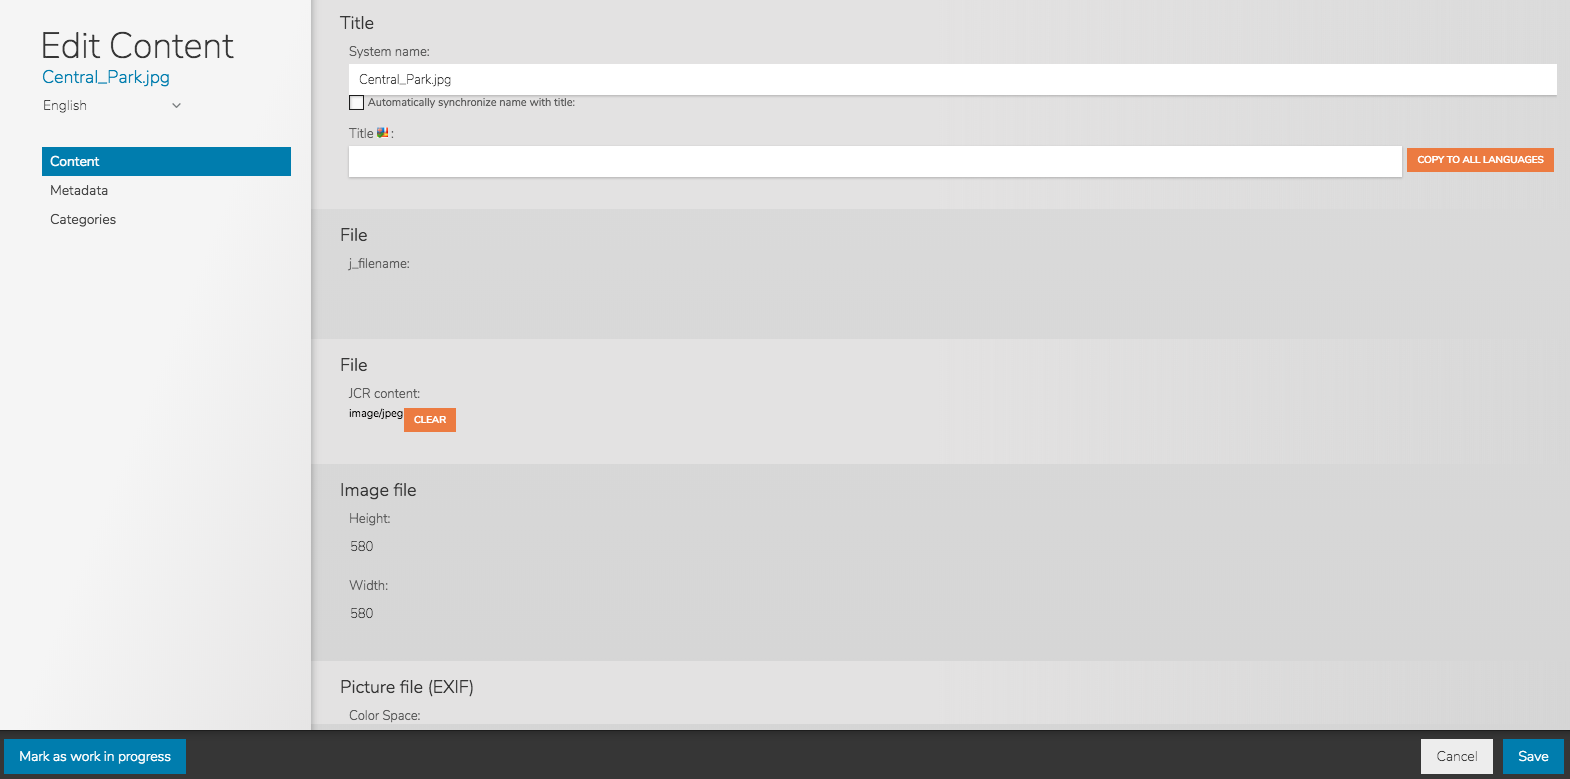
12.2 Editing File properties
To edit properties of a file, right-click on the file name and selected “edit”.
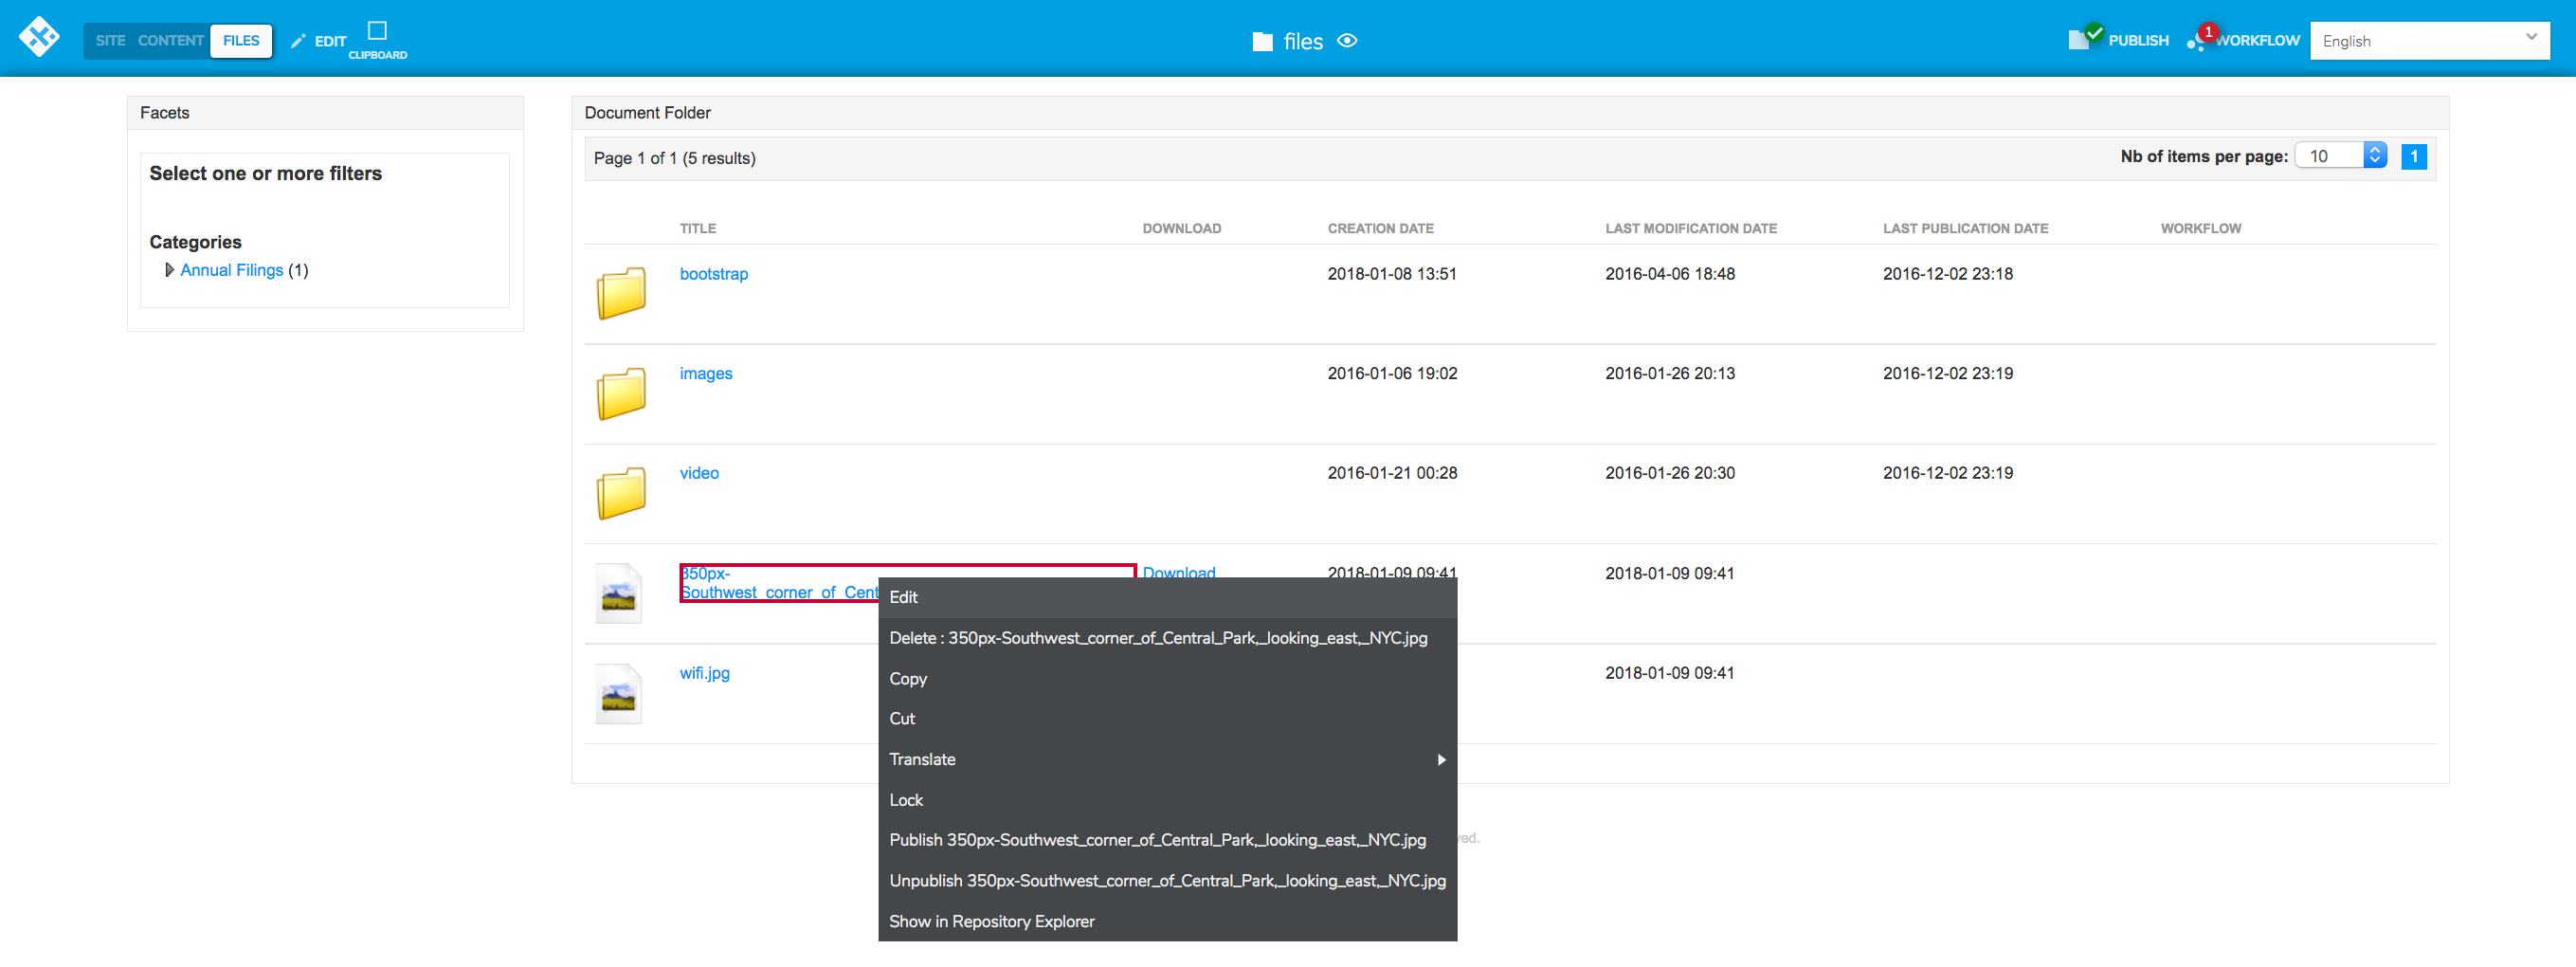
The editing form is displayed. It shows a number of read-only properties – such as width and height for images – and makes it possible to edit properties such as the file’s title, description, tags and categories. The number of fields depend on the file itself, as Digital Experience Manager extracts metadata information from the files.
12.3 Deleting a File
To delete a file or a directory, right-click on its title and select “Delete” in the contextual menu. When deleting a directory, all the files and directories inside it are also deleted.

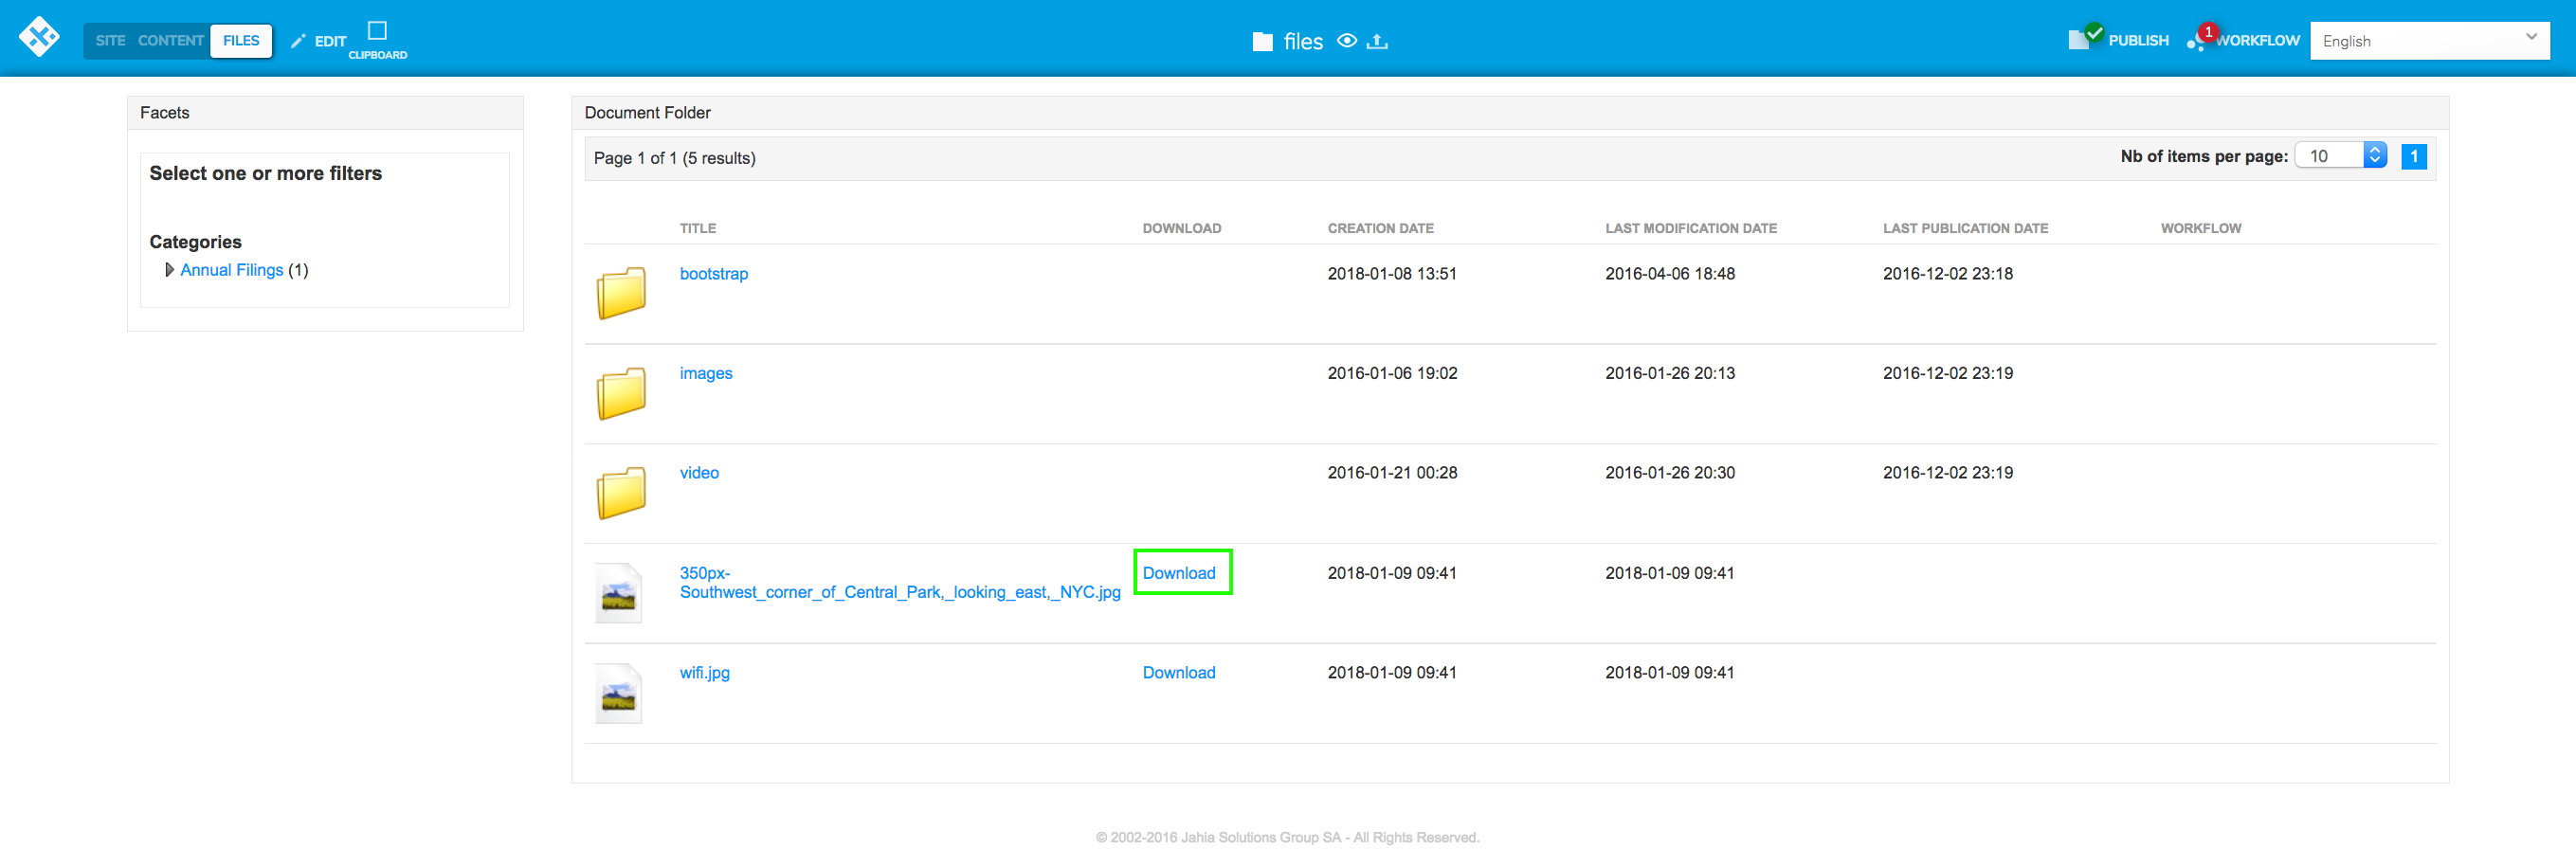
12.4 Downloading a File
To make a local copy of a file, click on the “Download” link in the second column of the table listing the files.
12.5 Navigating Within the Directory Structure
Click on a folder to display its contents;
- click on the icon
- at the top left of the table to go up one level;
- use the “Files” button to go back to the root level.
12.6 Adding Files
To add one or more files to the current folder, click on the “Upload” button in the menu bar.

A floating window is displayed.
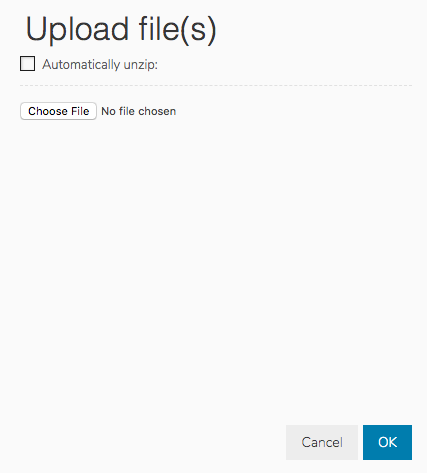
In the window that displays, click on “Select a File” and browse the local disk to the desired file, then select it and click on “Open”.
You can select an unlimited number of files. To transfer them to the server, click on “OK”. The higher the number of files and the larger their size, the longer the transfer time to the server.
12.7 Filtering Files
By default, the file browsing and editing interface makes it possible to filter the list of files by their tags or categories. If the files are not tagged or linked to any category, no filtering is offered.
When tags or categories are added to files, they appear on the left side of the page. Other filters can be added on your platform. Tags and categories are the filters available by default after installing Jahia. If you need additional search or filtering tools, you should ask your platform administrators.
When clicking on a tag or category, the list is filtered and only the items with these tags or categories are displayed.
