Installing DX Community and Enterprise distributions
1 Introduction
This document intends to help users and developers to do a first and fast install of Jahia Digital Experience Manager, mainly for a first discovery.
1.1 What’s in this documentation?
This document presents the simplest installation process for
- Digital Experience Manager Community Distribution,
- Digital Experience Manager Enterprise Distribution and
Subscription customers using the Enterprise Distribution should also refer to the installation chapter of the Configuration and Fine Tuning Guide, to have a complete understanding of all installation options.
1.2 What this guide is not
This guide is not a complete installation guide, it does not explain all available options (DB, OS, Application Servers, external libs, production environments, etc.) nor advanced configurations some of which are only available to our subscription customers.
2 Jahia DX Community and Enterprise Distributions
2.1 Content and Main differences
The Community Distribution is the 100% free and open source distribution of Jahia Digital Experience Manager, under GPLv3 license. The Enterprise Distribution is available through a business-friendly license (JSEL) and is designed to meet the needs of the most demanding mission-critical projects.
The Enterprise Distribution differentiates from the Community Distribution by the Digital Industrialization tools it embarks:
- The Private AppStore software
- Roles and advanced workflows
- User directories and SSO (LDAP, AD etc.)
- Distant publishing
- Clustering
- Complex environments support (WebSphere, Oracle…)
- The possibility to install specific packages like Portal Factory providing features like the Esigate or CMIS integration.
The Community Distribution share the exact same code base as the Enterprise Distribution (we don’t want to provide crapware, early stage or unstable version to our community) but people based and the Community Distribution cannot access to the monthly hotfixes and are not supported by the Jahia teams.
The Enterprise Distribution is available through annual subscriptions that encompass the additional Digital Industrialization tools, unlimited bug fixes, Online Technical Assistance and specific SLAs for both development and production environments.
Prices for the subscriptions can be found on the Pricing page from the website.
3 Installing Digital Experience Manager Community Distribution
The following procedure is presented with the Mac version, but there are both Windows and Linux versions also available.
3.1 Procedure
First, download latest Digital Experience Manager 7.x Community Distribution
Once the download is finished, launch the jar package from the repository where you have download the package and type the following command in a terminal window (use the downloaded file):
java -jar DigitalExperienceManager-CommunityDistribution-7.x.x.x-rXXXX.jar
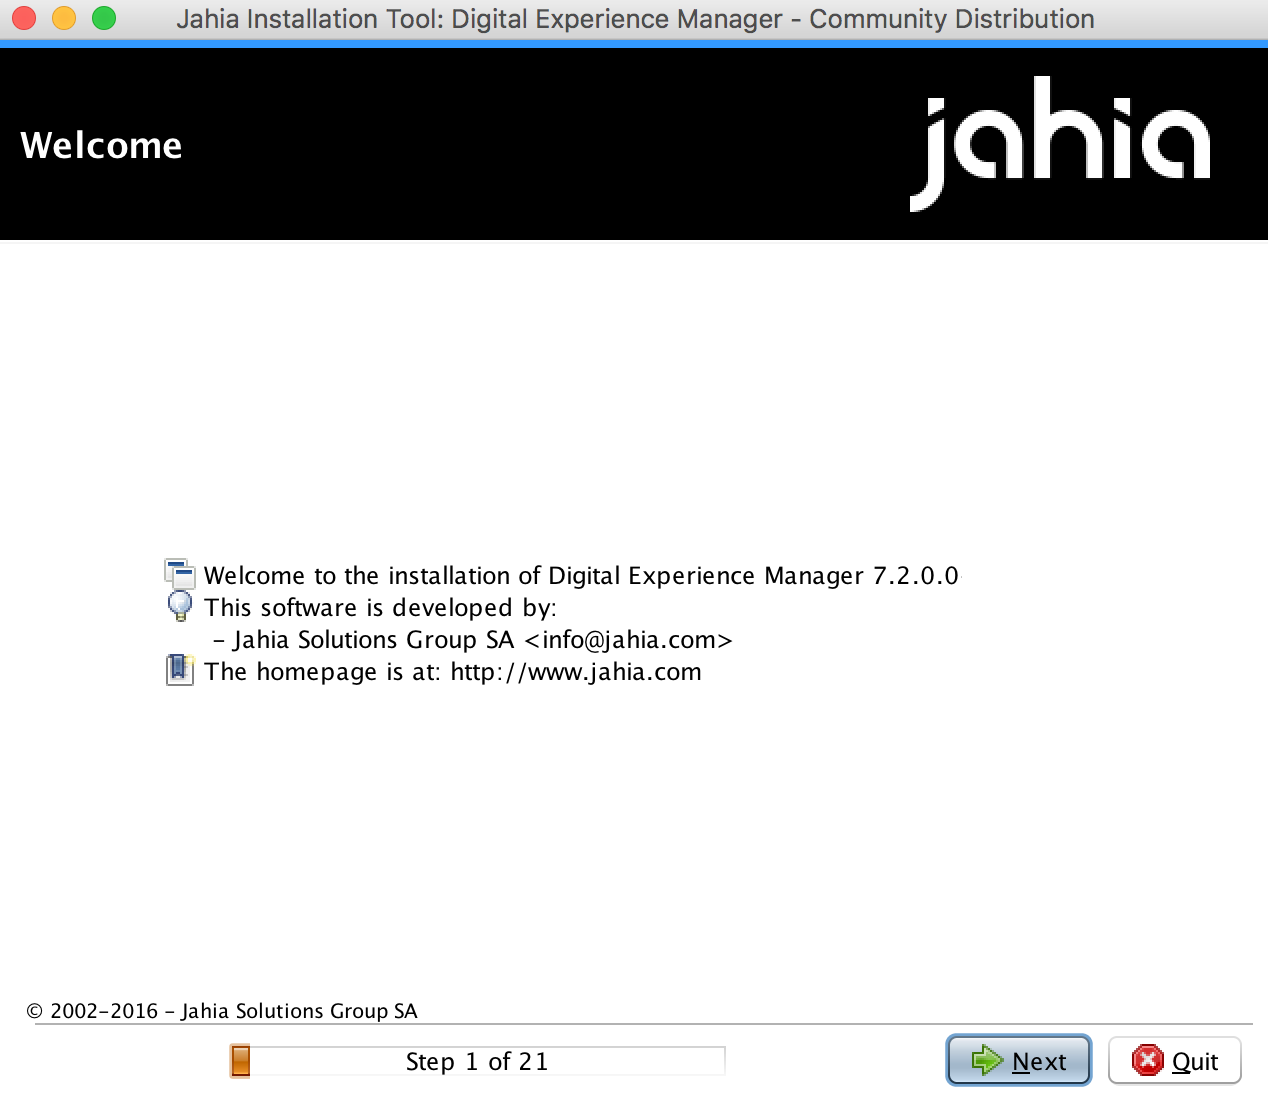
and then follow the process through the different steps of the installation tool.
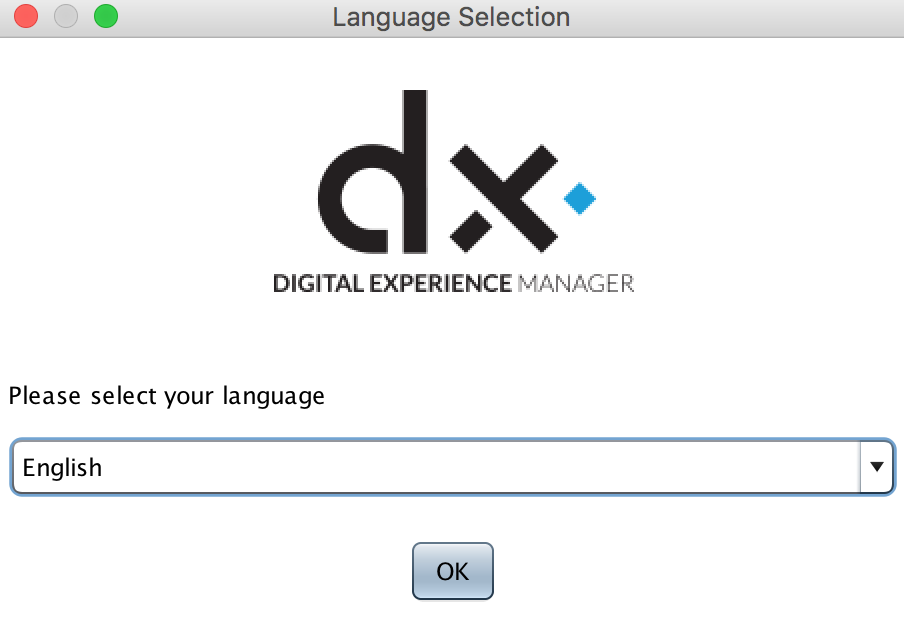
First, select your language:
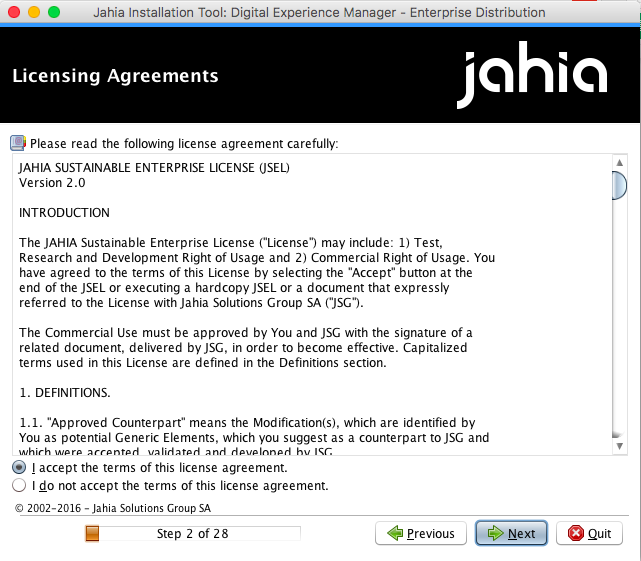
You must click on Next for each page, agree to the License Agreement and define a root password when asked.
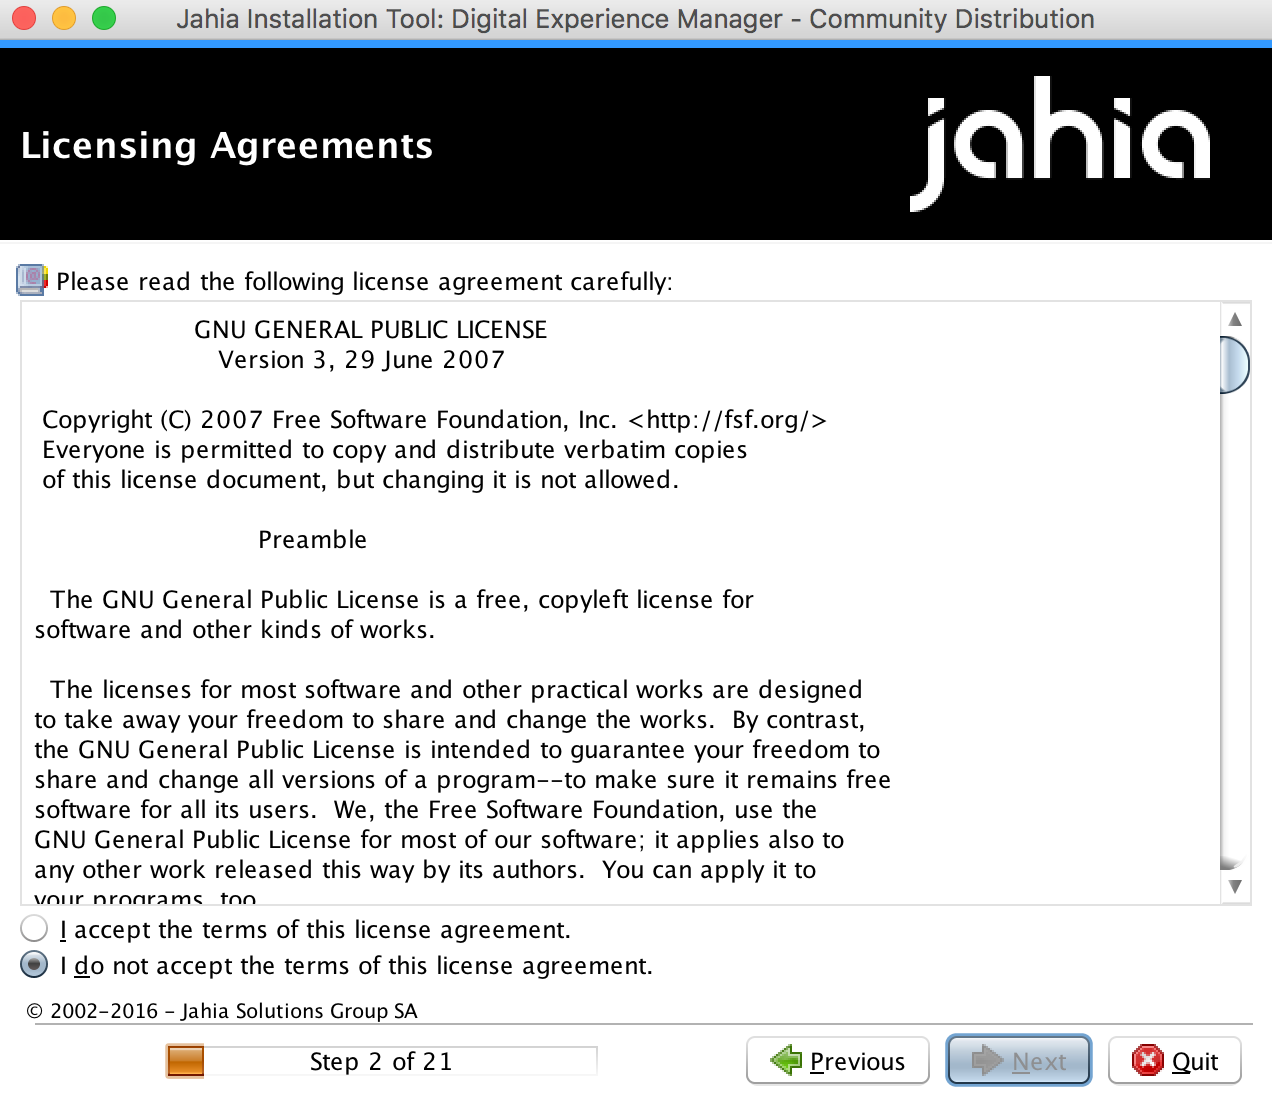
Accept the license agreement
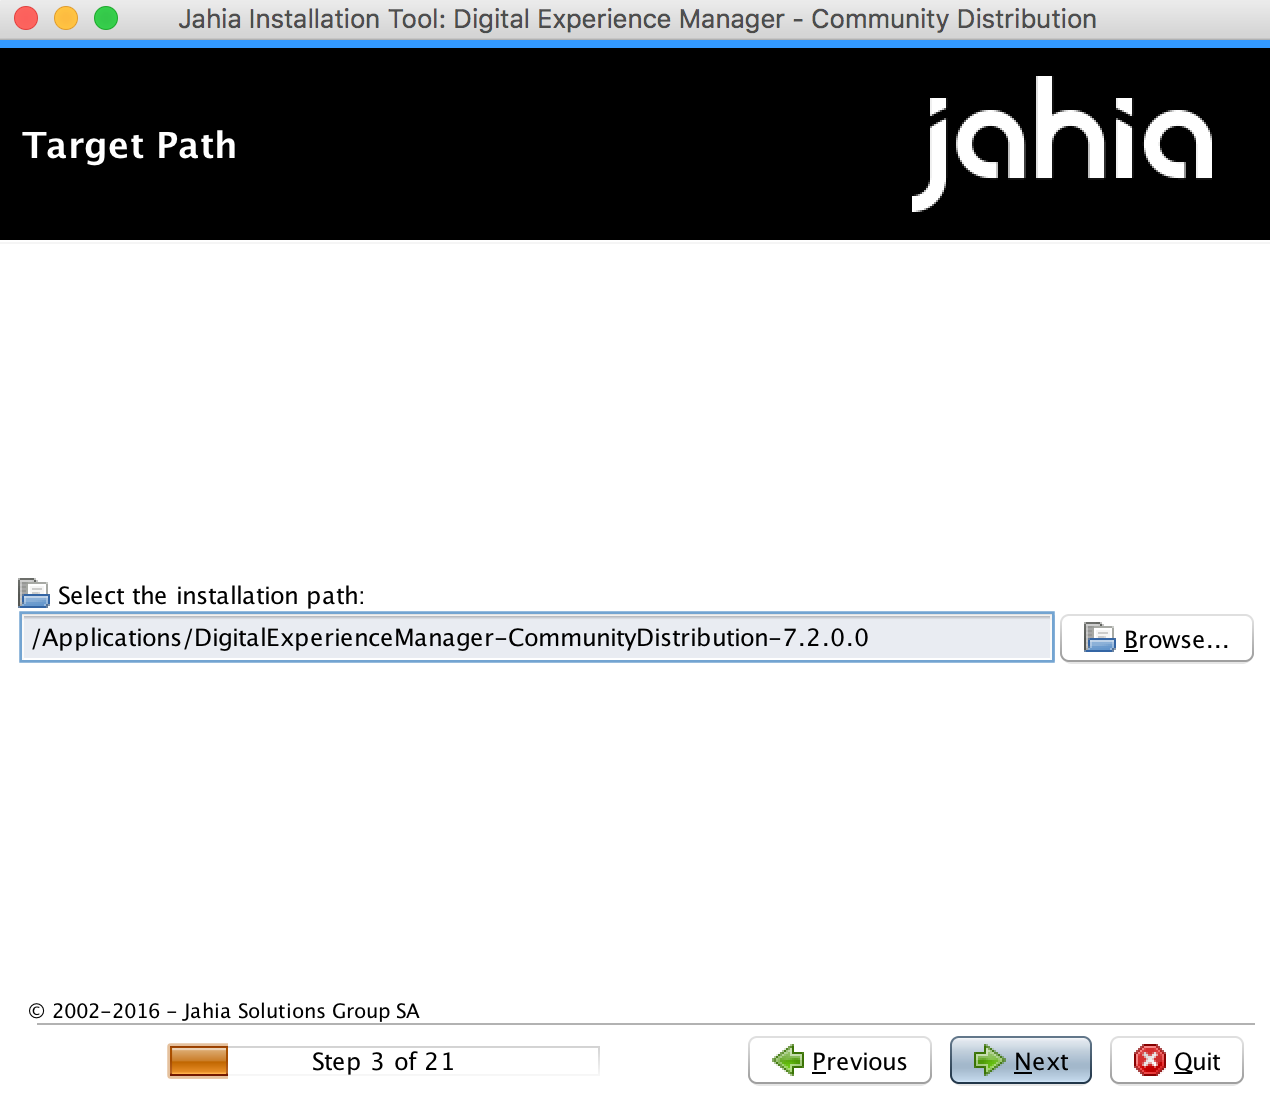
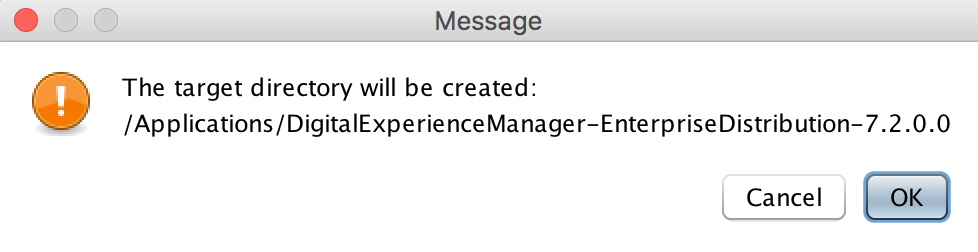
Choose a path or accept the proposed one.

Digital Experience Manager will ask for the authorization to create the destination folder, please accept.
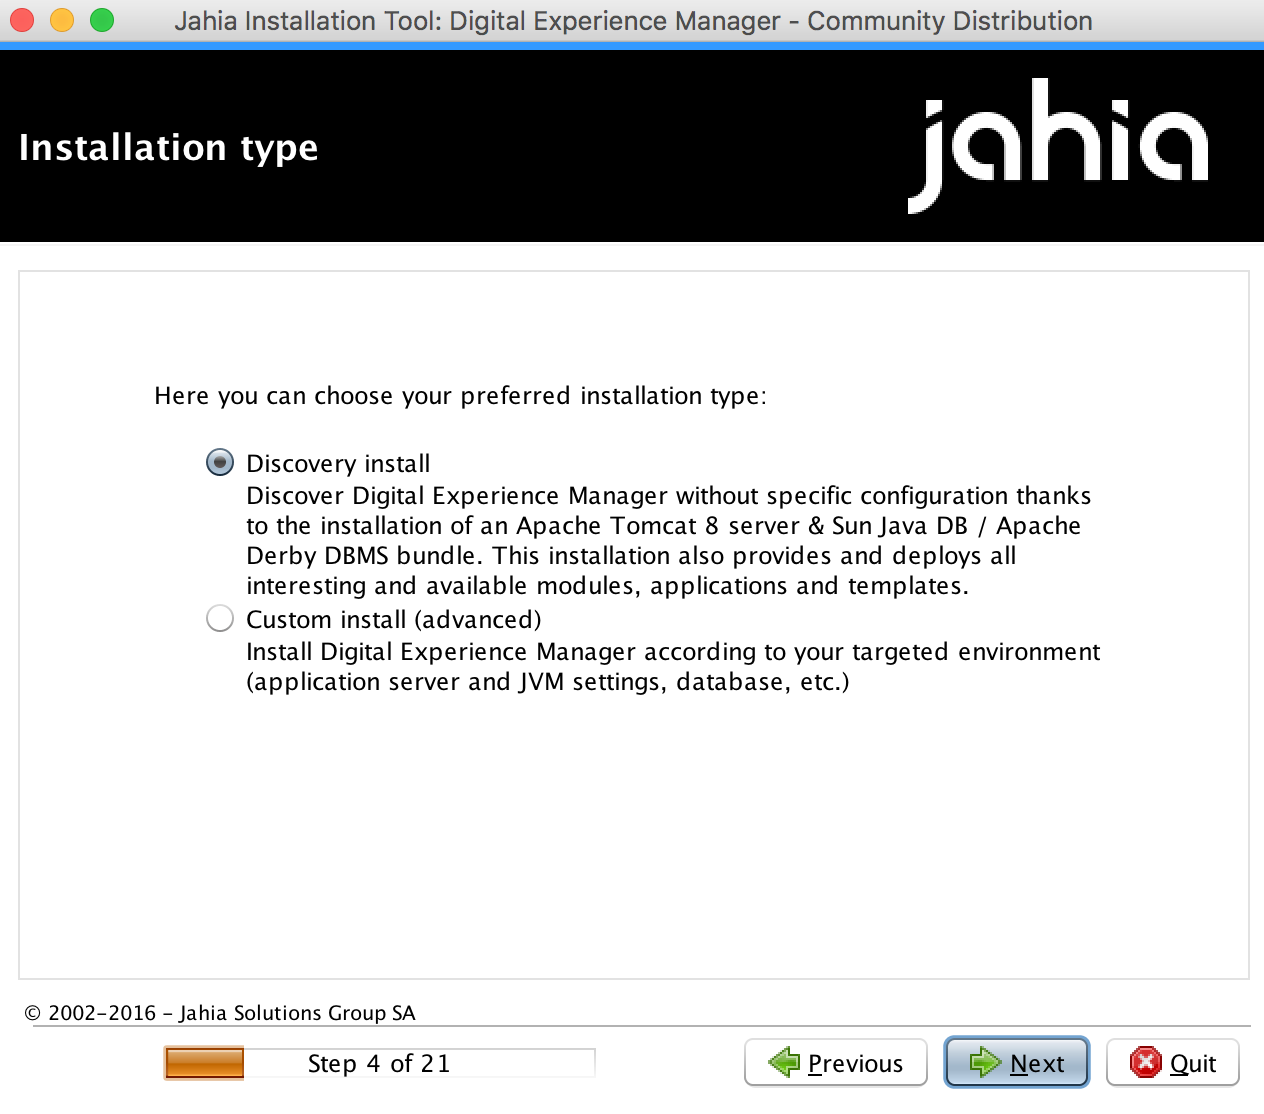
For a quick start, we will use the “Discovery” installation that comes with an embedded application server, an embedded DB and all optional modules. For elaborated developments or production servers, please choose a custom installation on an external DB server.
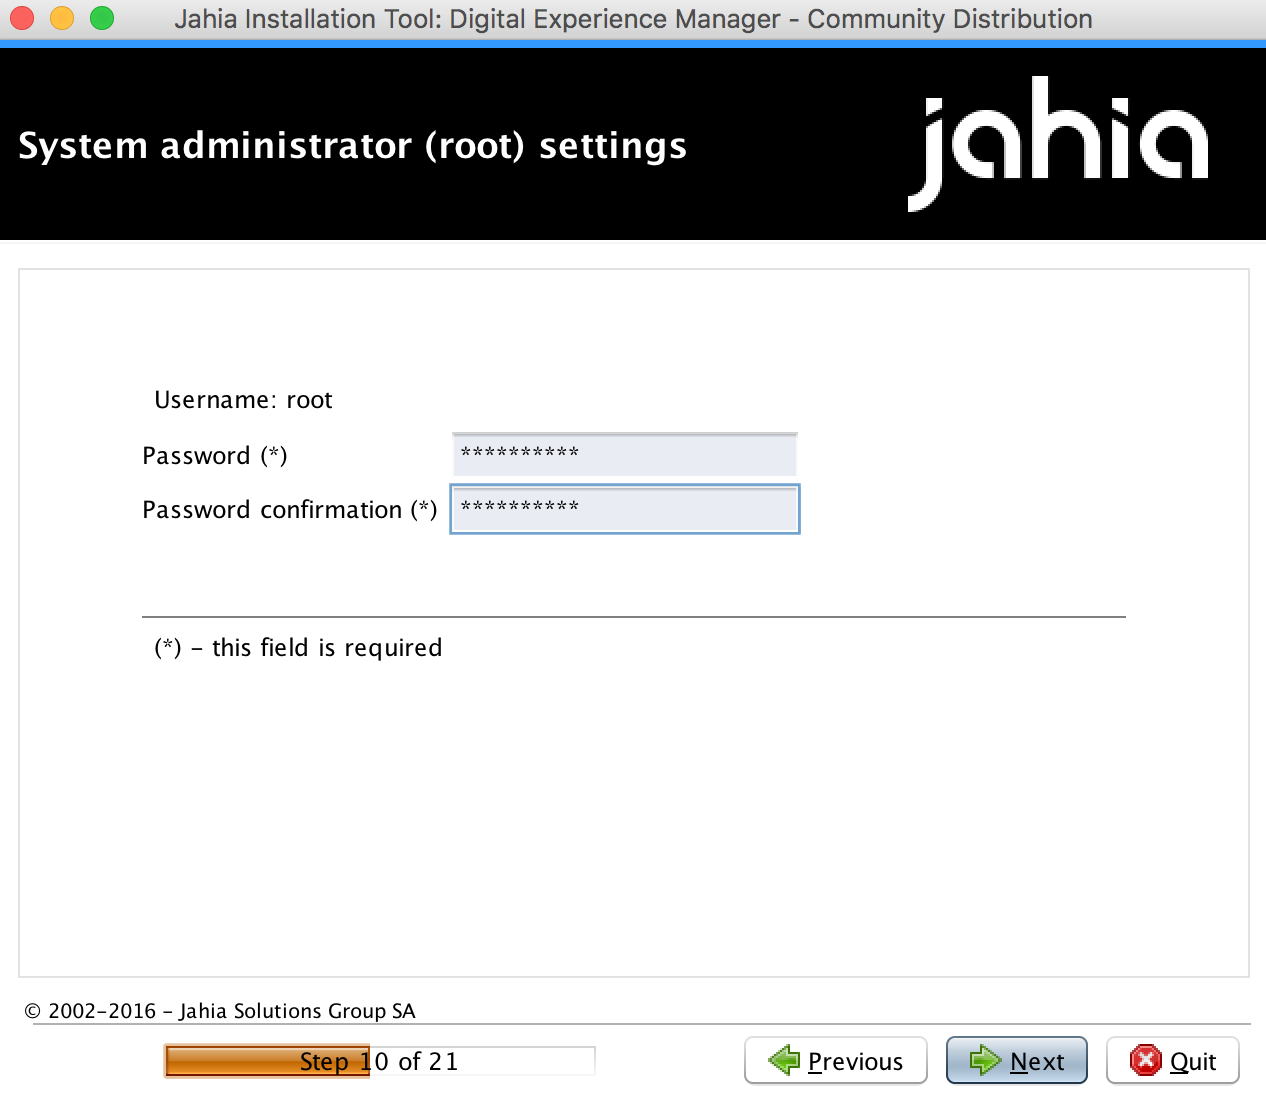
Set a password for the “root” account.

If some optional tools are available on the computer on which you’re installing Digital Experience Manager, the paths should be detected automatically. Those tools are used by Digital Experience Manager to perform some operations or improve some operations compared to embedded java classes. If they are not installed on your computer, that will not impeach Digital Experience Manager to run properly.
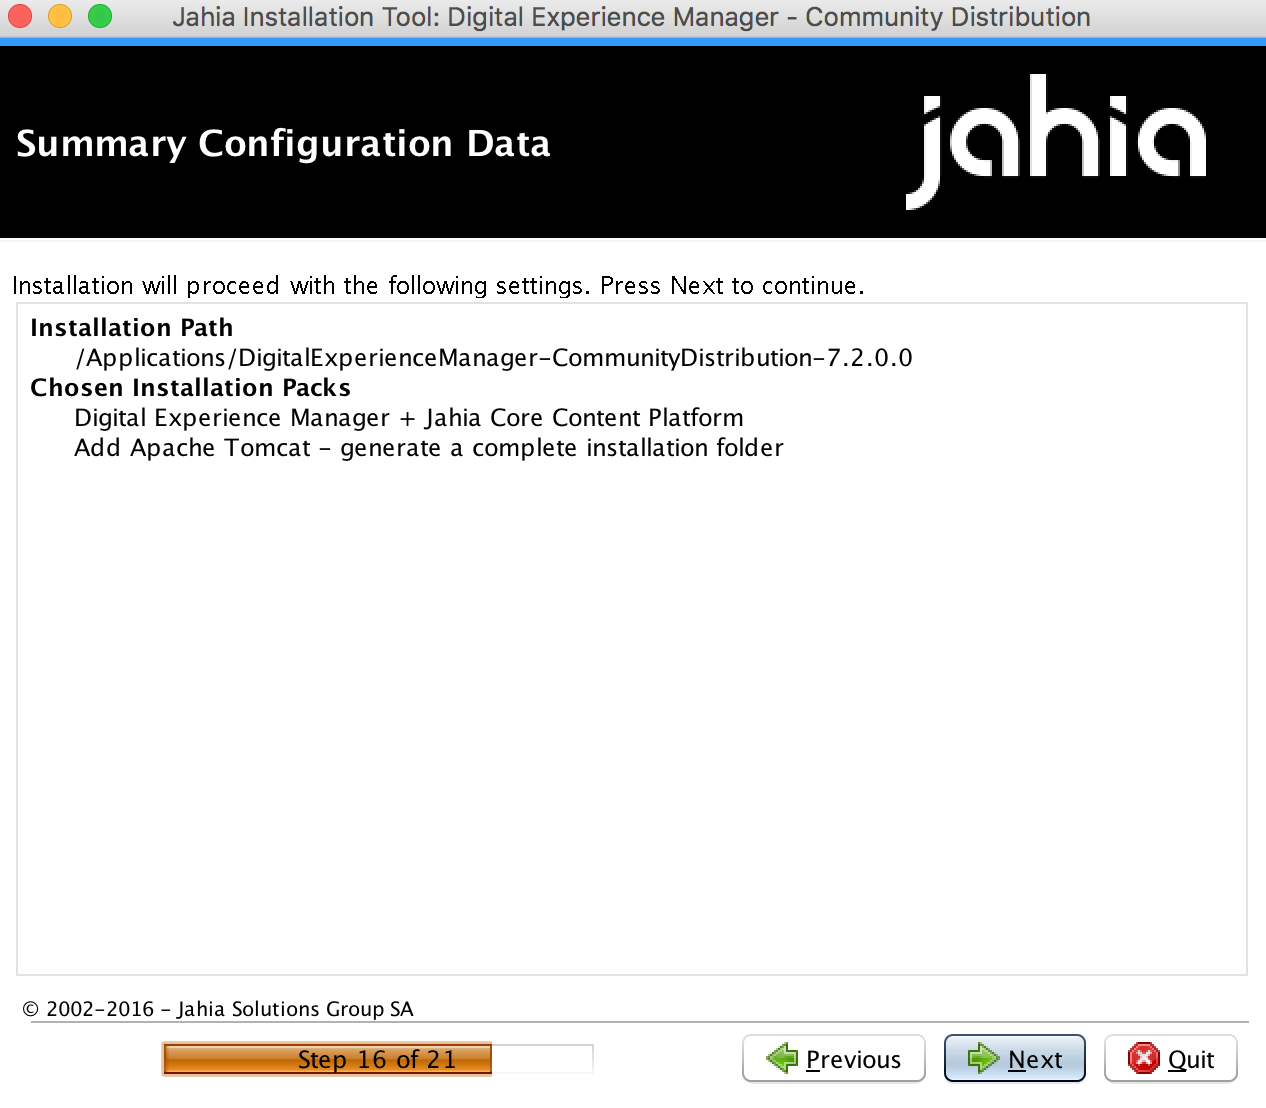
Digital Experience Manager summarizes the chosen settings before proceeding to the installation.
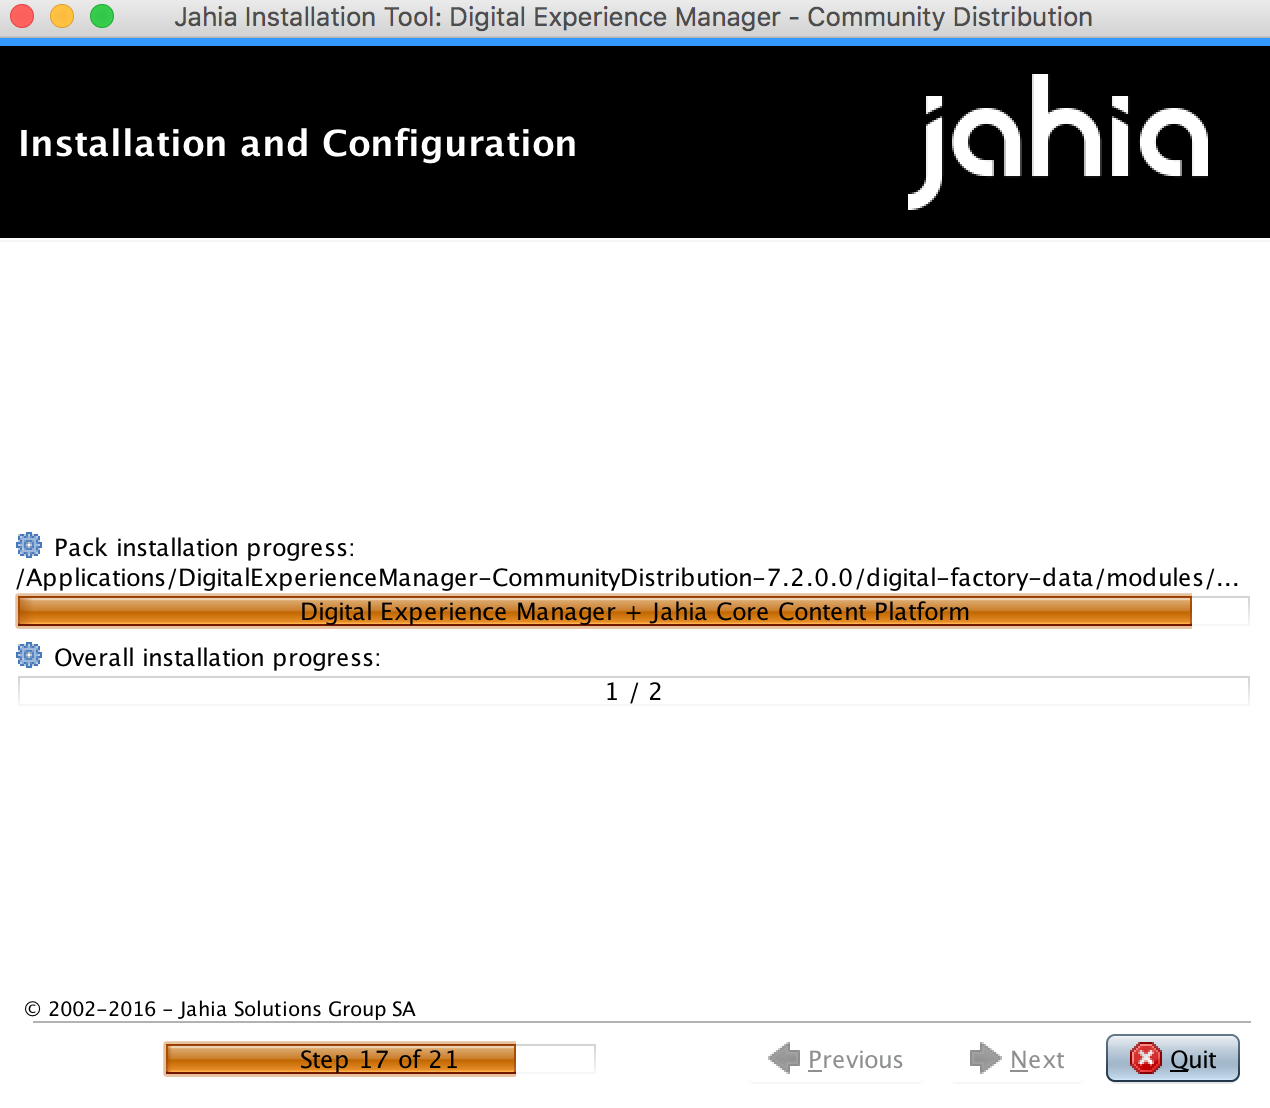
Digital Experience Manager installation process is actually running

Digital Experience Manager installation process is finished

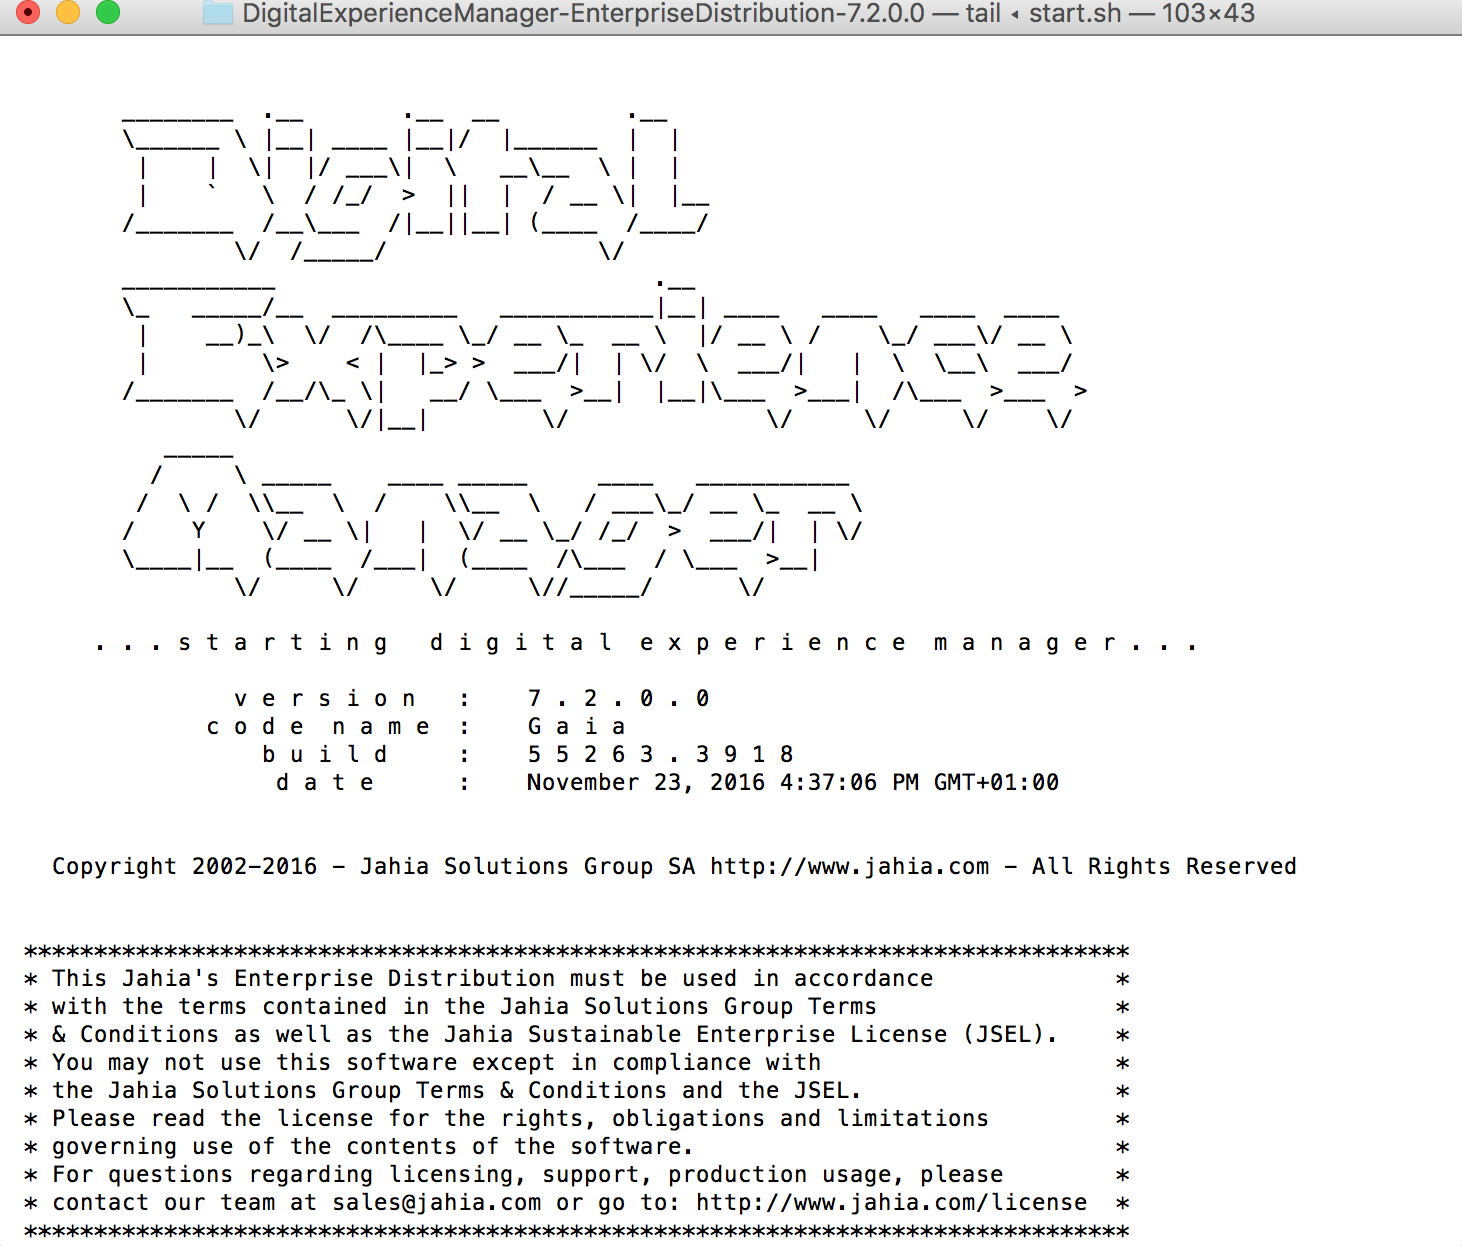
For the first startup and auto-configuration, type the following command in a Terminal window:
./start.sh
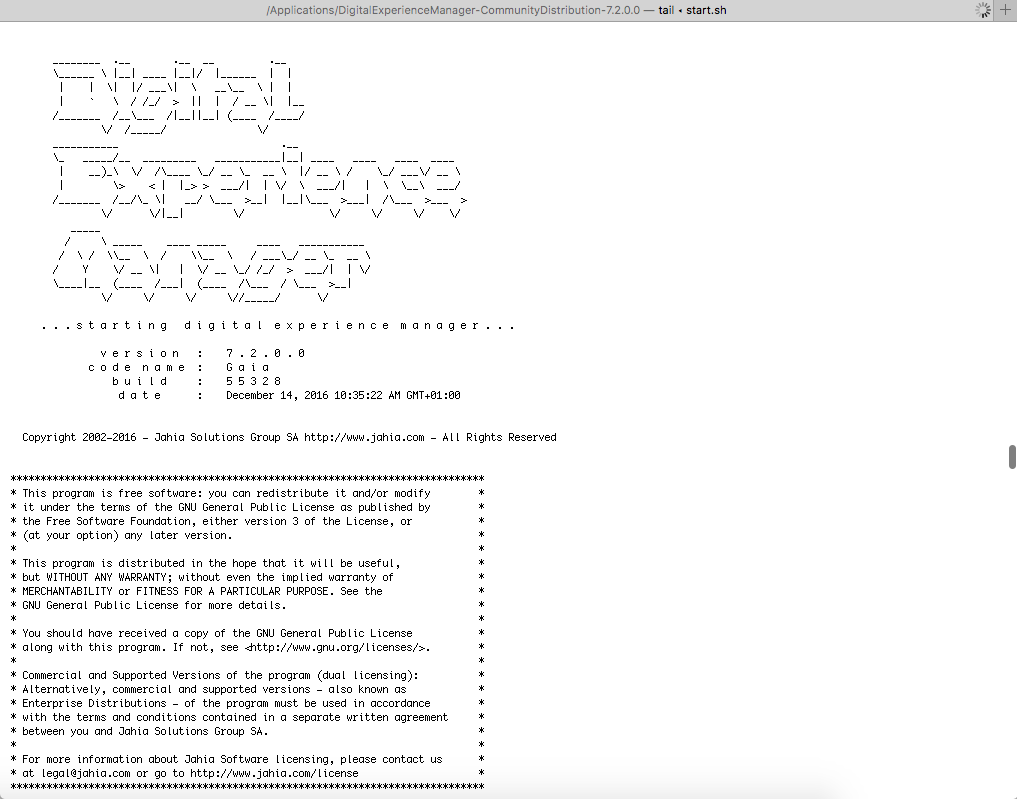
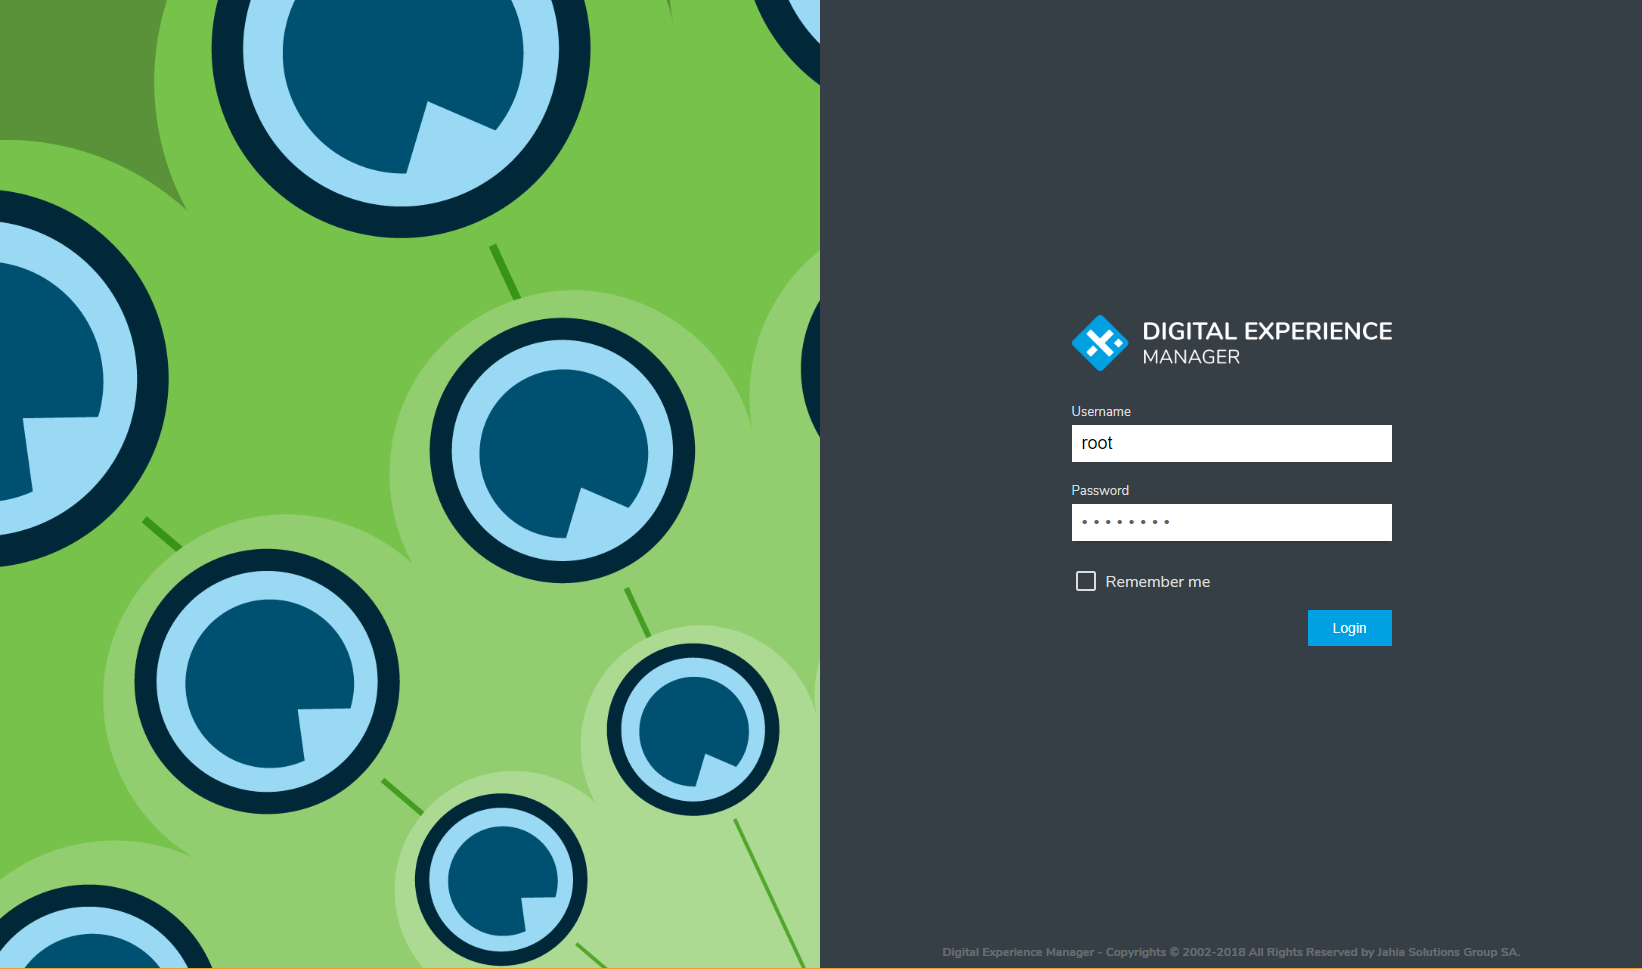
When Digital Experience Manager is ready, you are able to access it through a web browser by typing the following address:
http://localhost:8080/start
Digital Experience Manager will ask you to login with your username and password.
4 Installing Digital Experience Manager Enterprise Distribution
The following procedure is presented with the Windows version, but there are both Mac and Linux versions also available.
4.1 Procedure
First, download Digital Experience Manager 7 Enterprise Distribution
Please note the Enterprise Distribution packages are 60-day trial version.
Once the download is finished, double click on installer.exe then follow the steps of the installation tool. You must click on Next for each page, agree to the License Agreement and define a root password when asked.

Accept the license agreement

Choose a path or accept the proposed one.
Digital Experience Manager will ask for the authorization to create the destination folder, please accept.
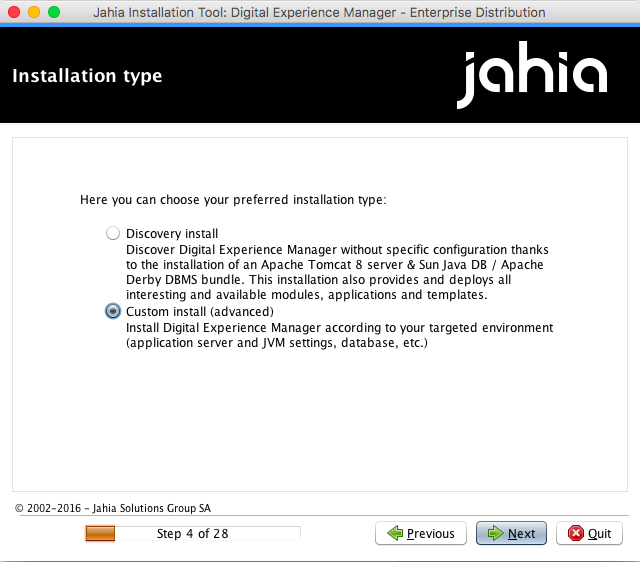
To discover some of the Enterprise Distribution capabilities, select the “Custom Install”

If needed, choose to install Apache Tomcat.
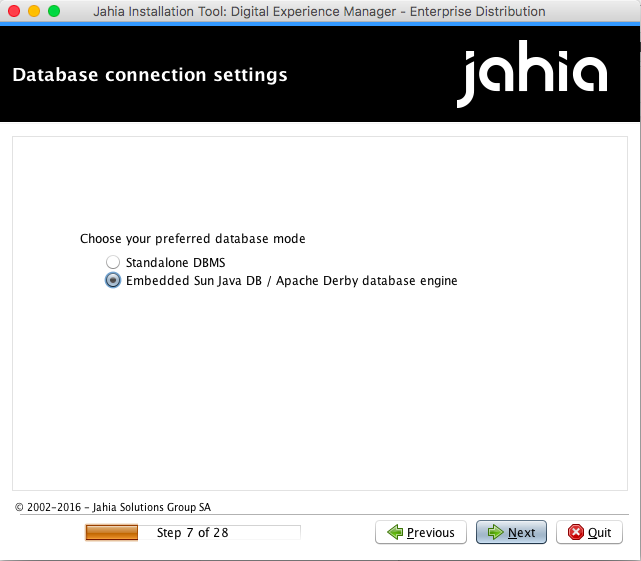
Select the database system you want to use.
Choose a password for the Jahia Tools
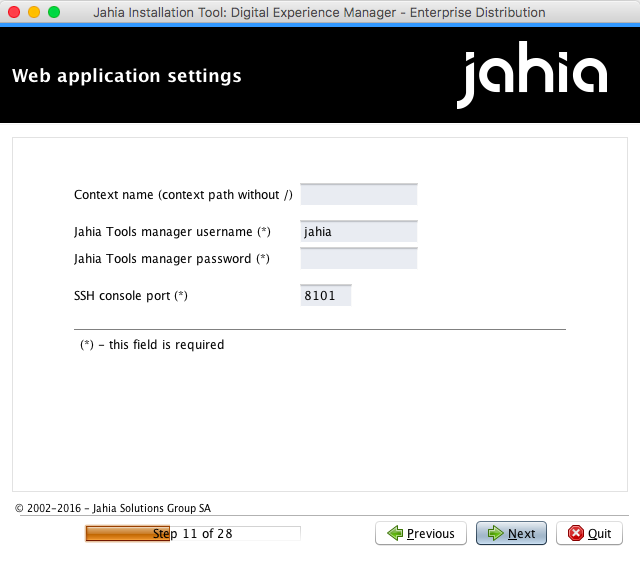
Configure your Web application.
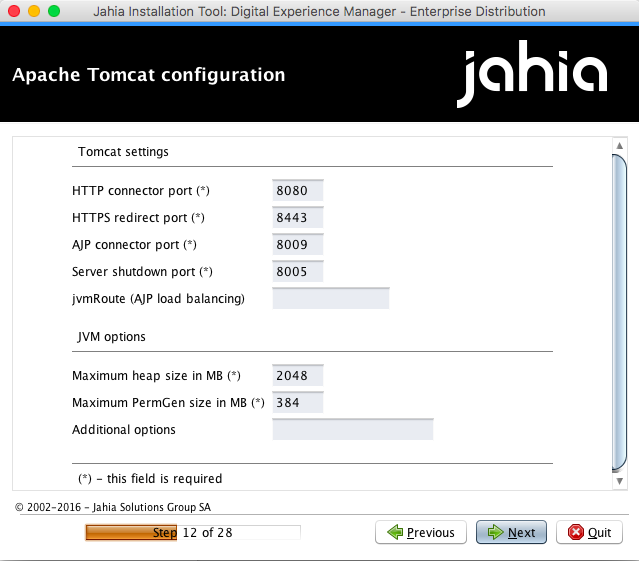
Configure the Apache Tomcat that is about to be installed.
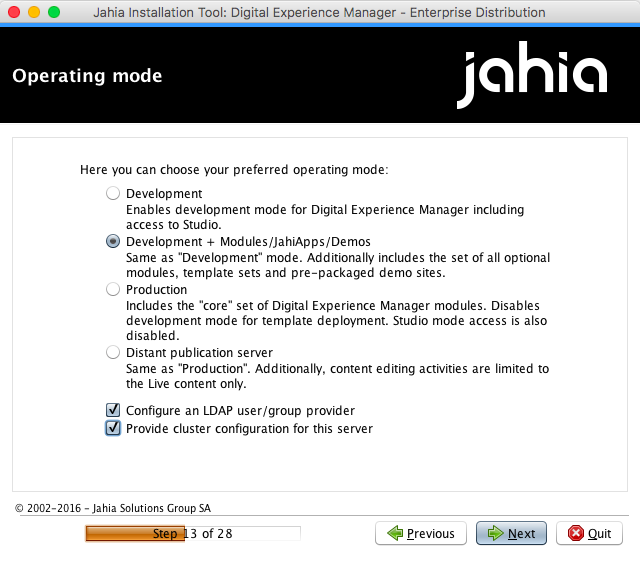
Select the operating mode you want to work into and check the LDAP and Cluster configuration check boxes.
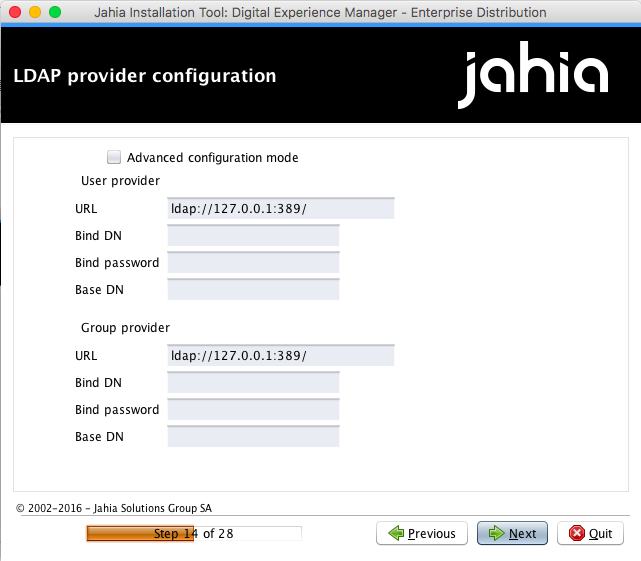
You can then configure your LDAP provider.
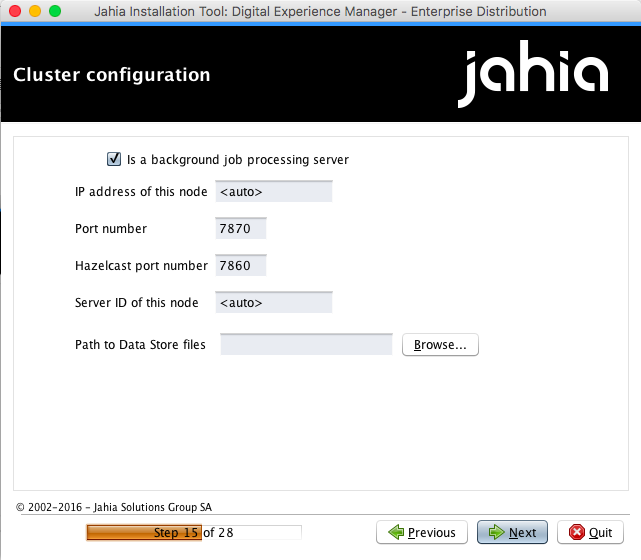
and your Cluster configuration as well as.
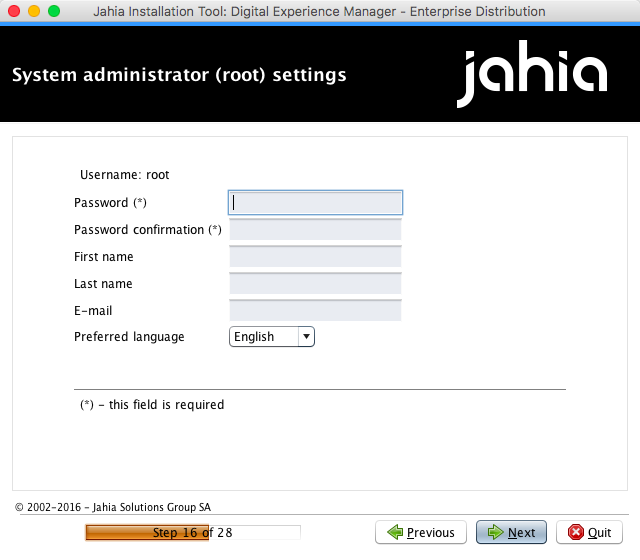
Now configure the system administrator account. Only password information for the root account are mandatory.
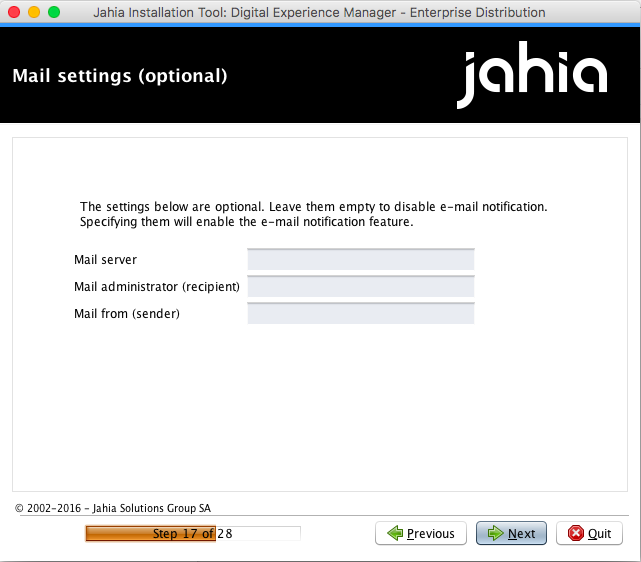
Though optional, the mail system used on the web server can be set here.

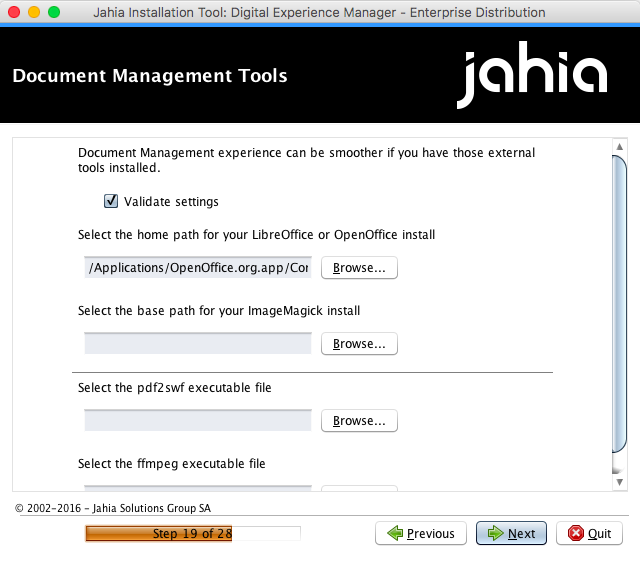
Though also optional, DX studio tools can be set here if some or all are not already targeted.
If some optional tools are available on the computer on which you’re installing Digital Experience Manager, the paths should be detected automatically. Those tools are used by Digital Experience Manager to perform some operations or improve some operations compared to embedded java classes
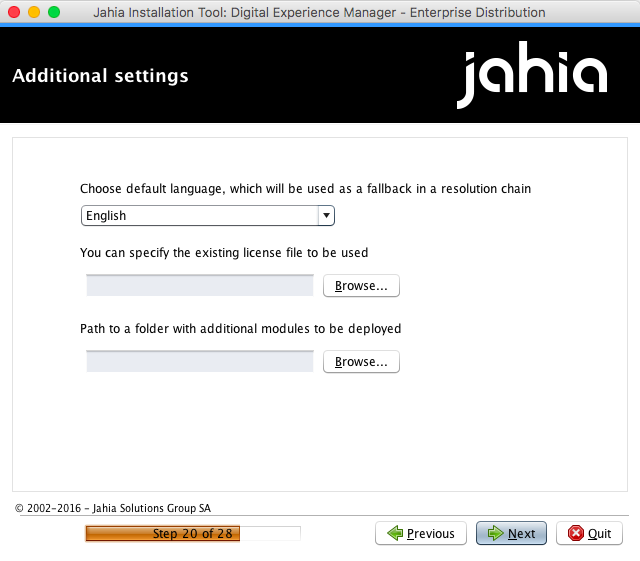
Additional setting such as default language, license file or additional modules will be done here.
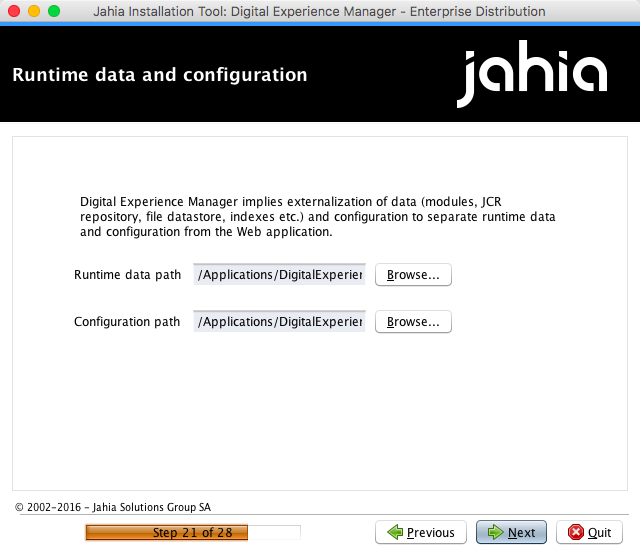
Runtime data and configuration path are set here.
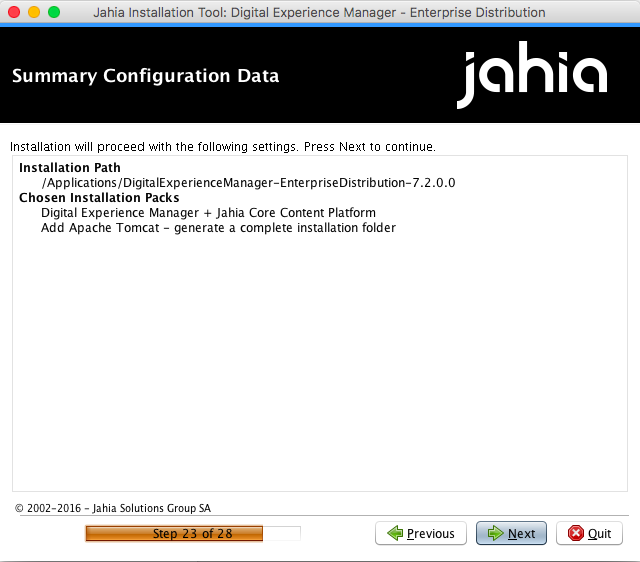
Digital Experience Manager summarizes the chosen settings before proceeding to the installation
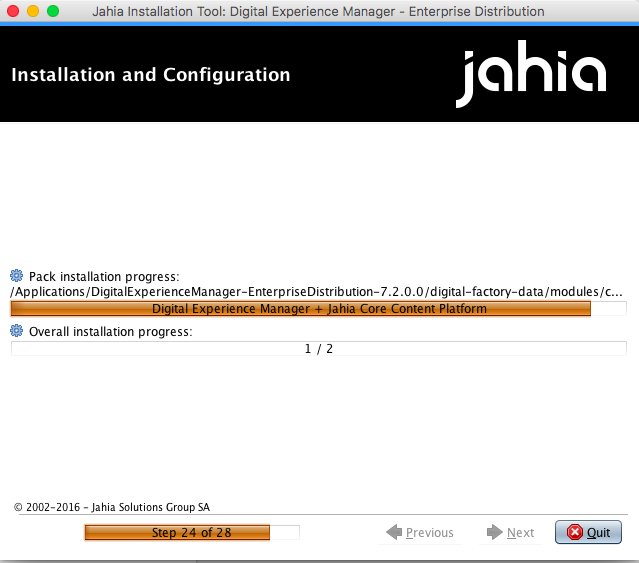
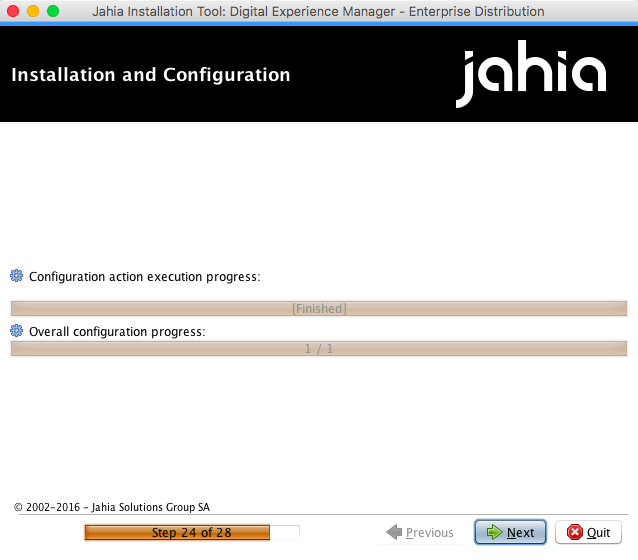
Digital Experience Manager installation process is actually running
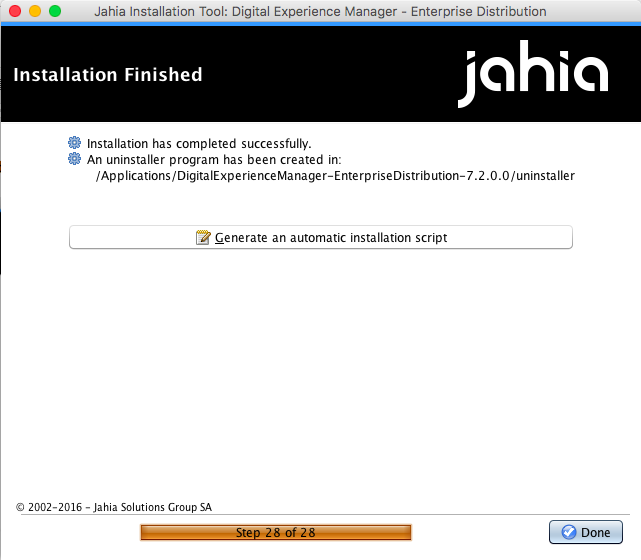
Digital Experience Manager installation process is finished
The first startup and auto-configuration can be followed in the Tomcat console
When Digital Experience Manager is ready, you are able to access it through a web browser by typing the following address:
http://localhost:8080/start
Digital Experience Manager will ask you to login with your username and password.
5 Going further
If this is your first try with Digital Experience Manager, you should read the following document